How Do You Make an Origami Flowerpot
// // I may receive a commission if you purchase through links in this post. Learn more here.
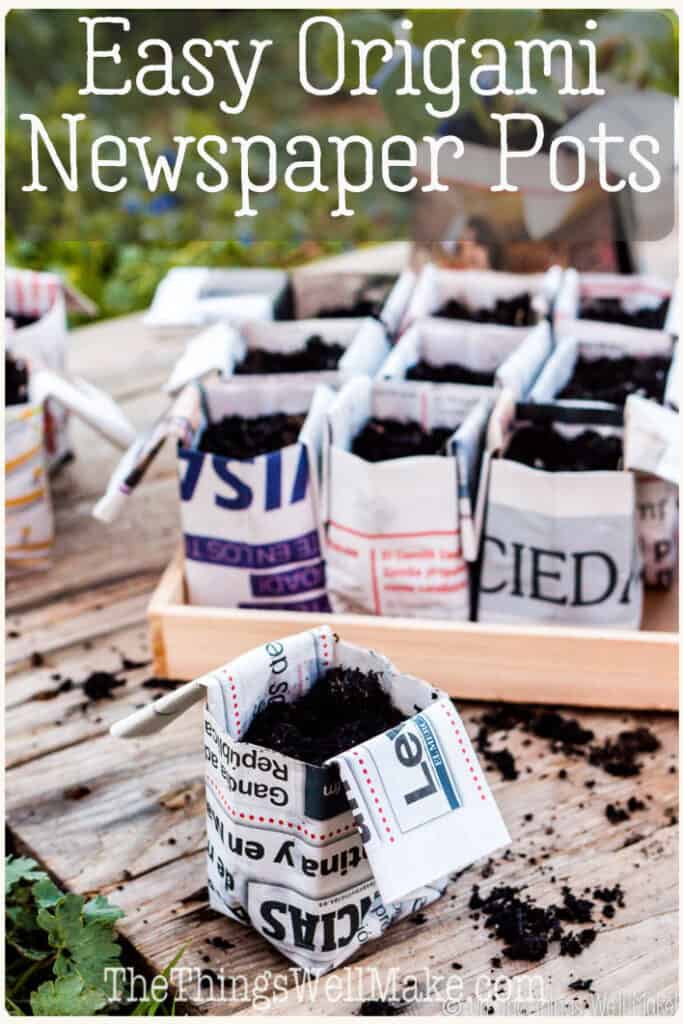
Quick and easy, making your own newspaper pots is a sustainable way to start your garden. Because they're biodegradable, they can be planted directly in the ground with your seedlings without needing to disturb young plants' delicate roots.
Are you stuck at home and looking for a fun project to do with kids? (or alone) ?
With all of the rain lately, we haven't been able to do a lot of gardening yet. That doesn't mean that we can't get a head start on our summer gardens, though.
Starting seedlings inside is a great way to get a head start on the growing season.
Why make newspaper pots?
There are a number of ways to make pots out of newspapers, and they're a great resource for starting your garden.
They're biodegradable
Newspaper makes a wonderful material for seedling pots because the paper biodegrades and turns into compost in your garden.
One of the big advantages of using a biodegradable pot is that you don't have to disturb the root system of your plants by removing them from their pots prior to planting them in the ground. Instead, plant everything in the ground, plants, pots, and all!
Not only is it easier, but it's less traumatic to your plants.
They're thrifty
While you can buy peat pots or other similar biodegradable pots, making your own from newspaper is a thriftier option. Not only can you save money, but it's a great way to recycle old newspapers.
A sustainable option
While I don't personally buy paper newspapers, local bars and cafés normally have them available for their customers here. Most are happy to give you the old newspapers that they are going to throw away or recycle anyway.
If you don't have access to newspapers, you may also be able to use larger advertising papers or other junk mail. (See my notes about the safety of inks below.)
It's important to me that my garden be sustainable and eco-friendly. I love putting something that would otherwise go to waste to good use in my garden!
Easy and space-saving
Making your own DIY origami newspaper pots might sound complicated, but they're really quite simple and quick. Once you get the hang of it, you can easily whip out a bunch of pots at one time.
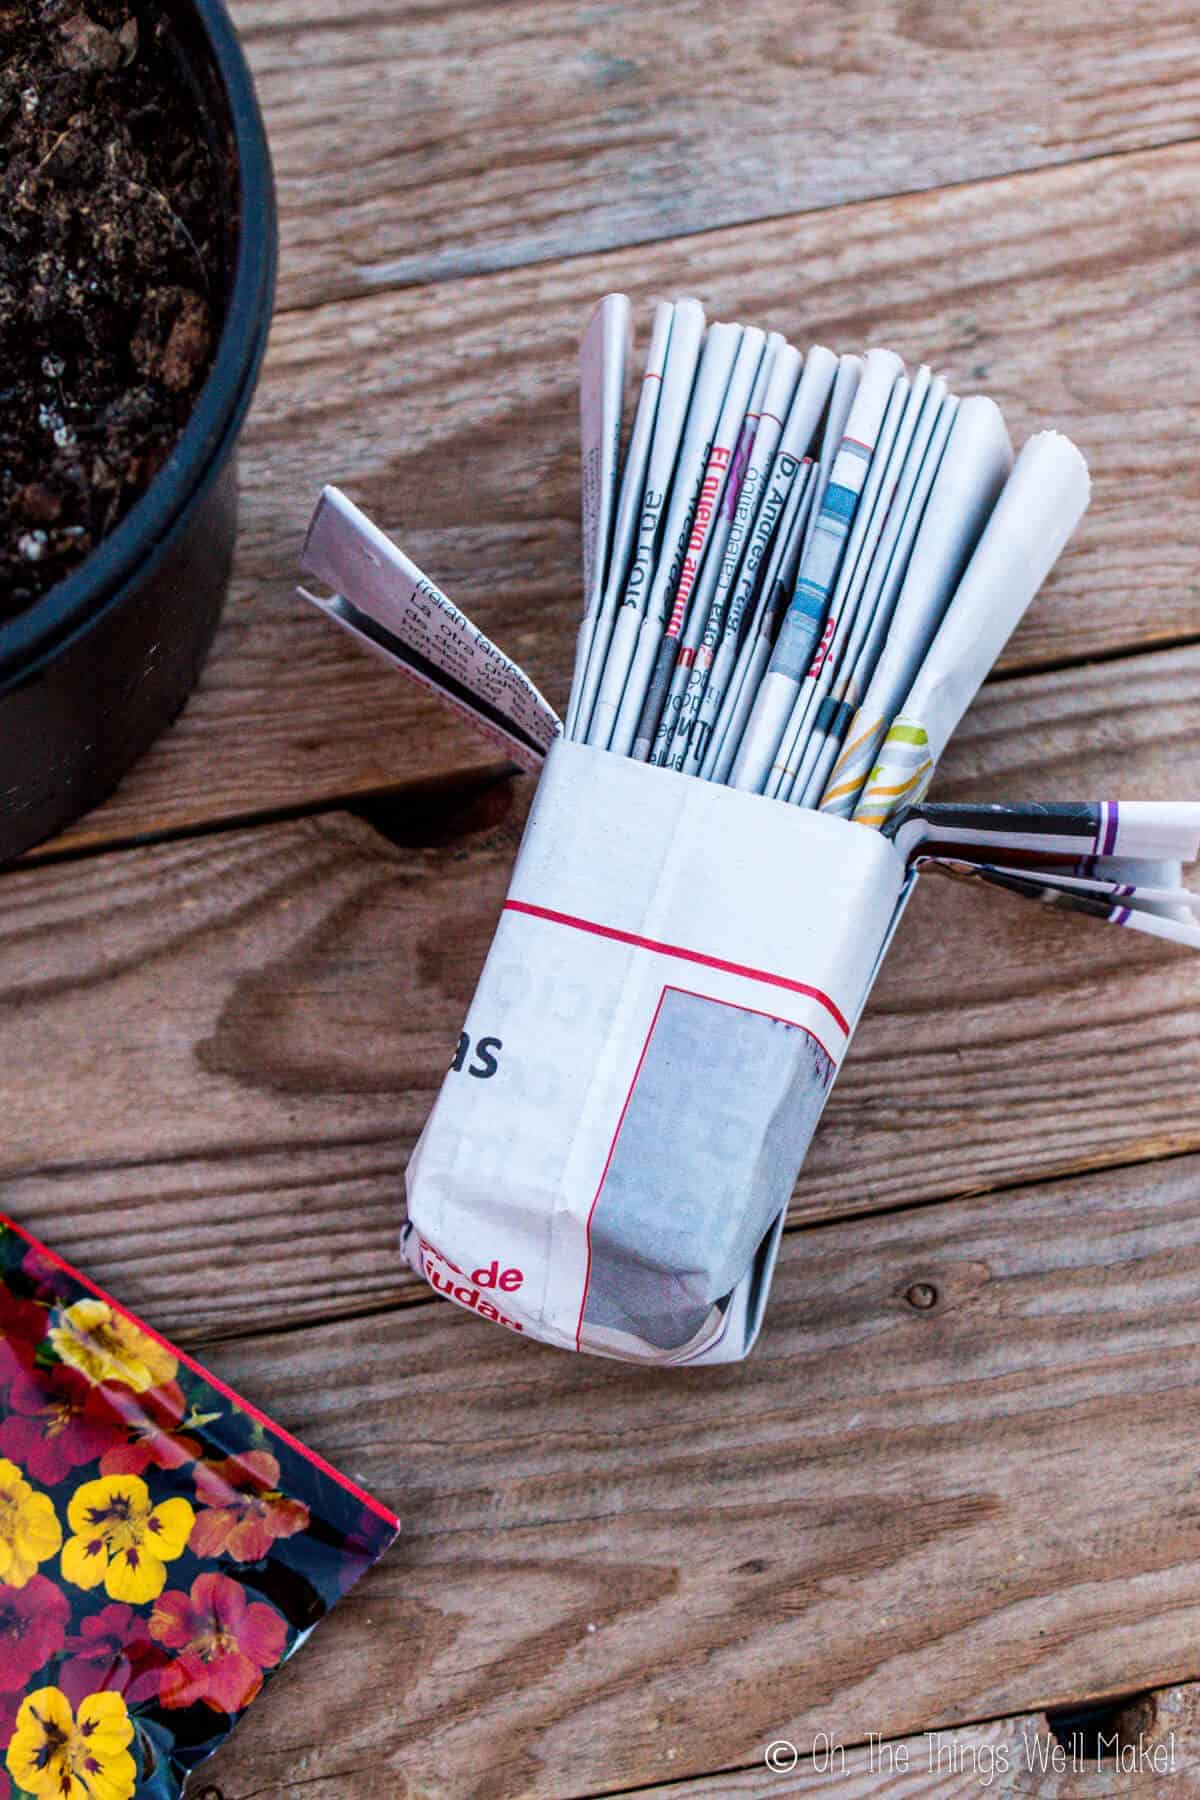
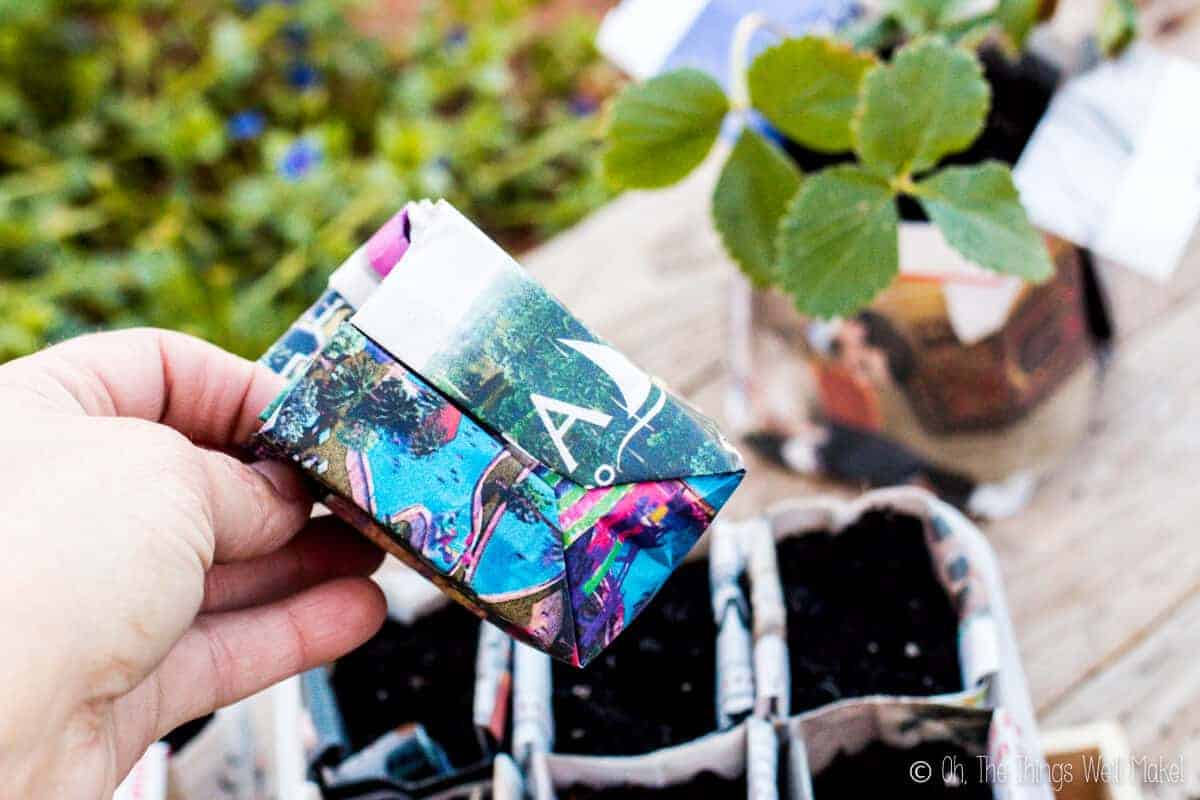
An advantage of making these newspaper origami pots is that they can be made ahead of time and stored in a folded position to save space. You can even store a bunch of folded pots inside an open pot for easy, compact storage.
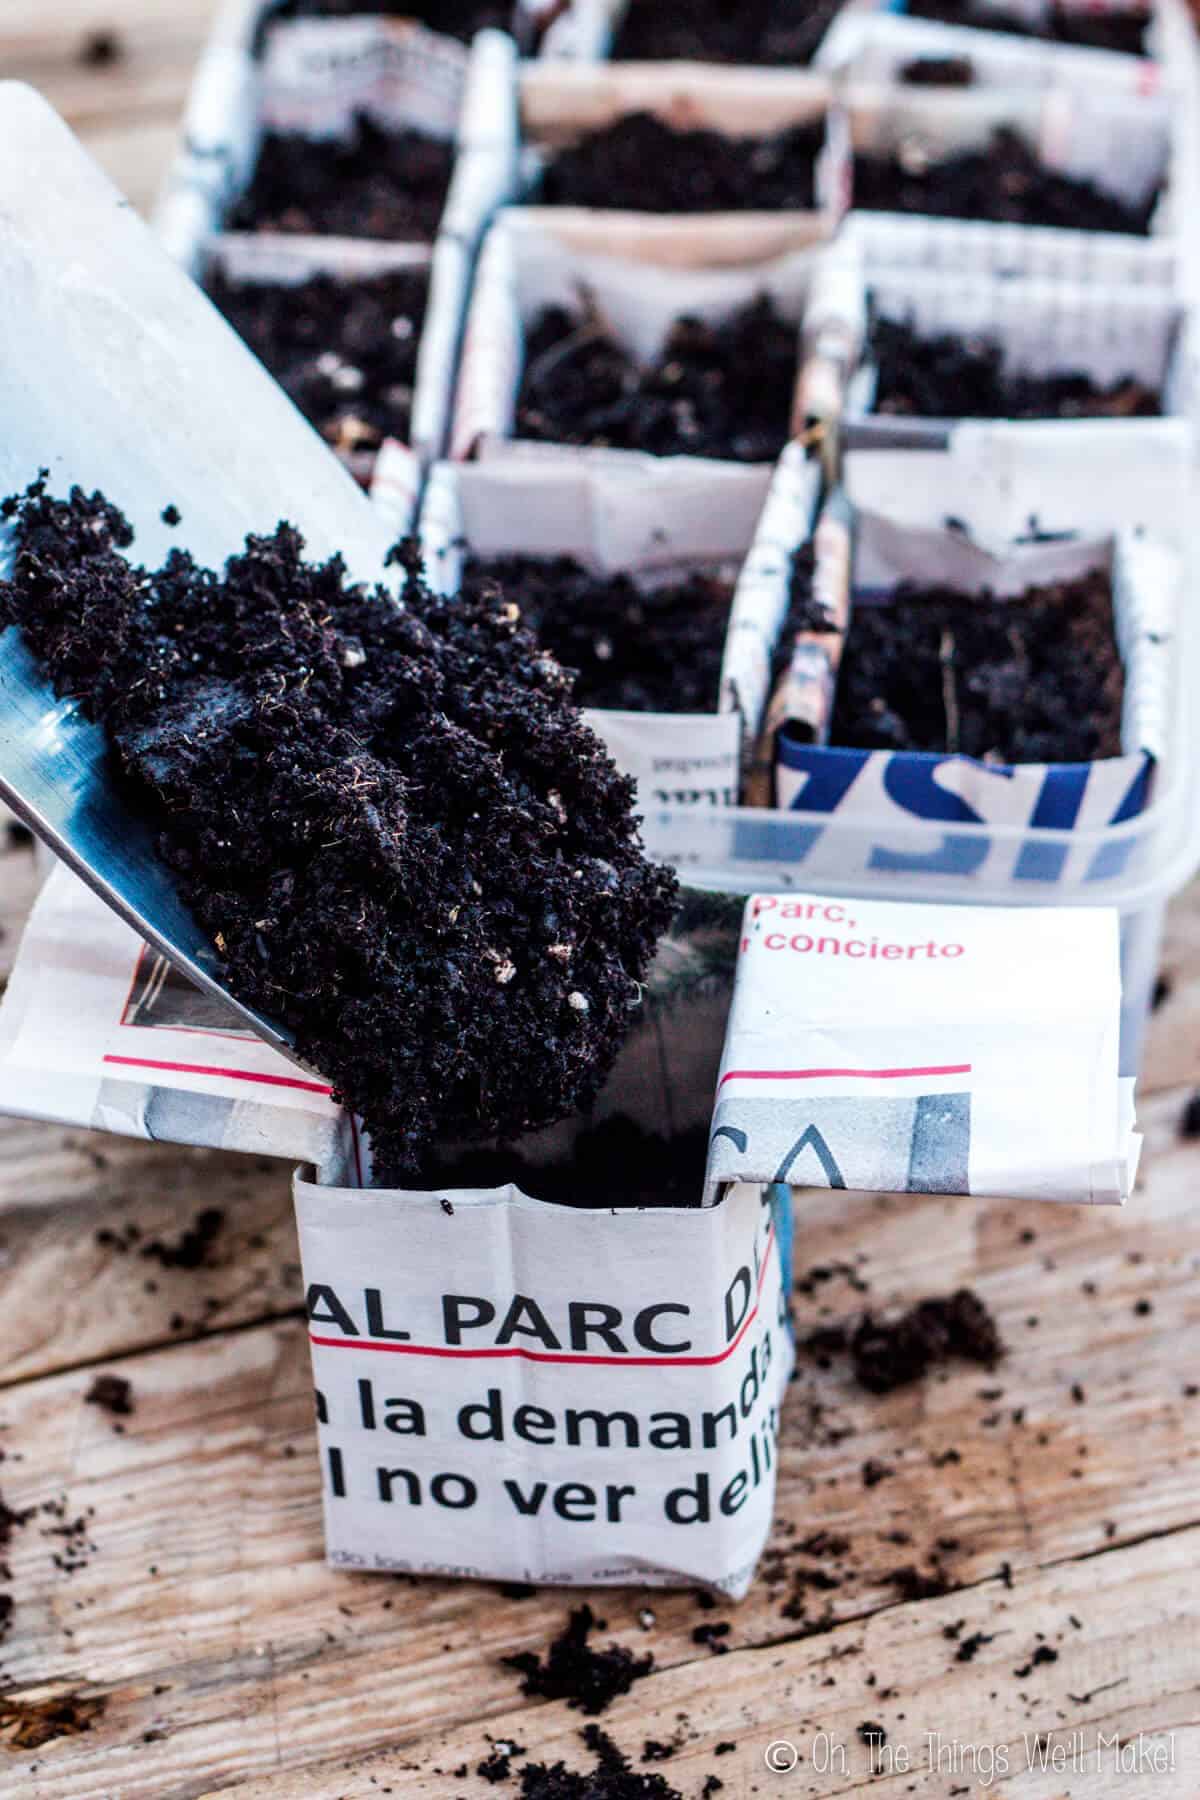
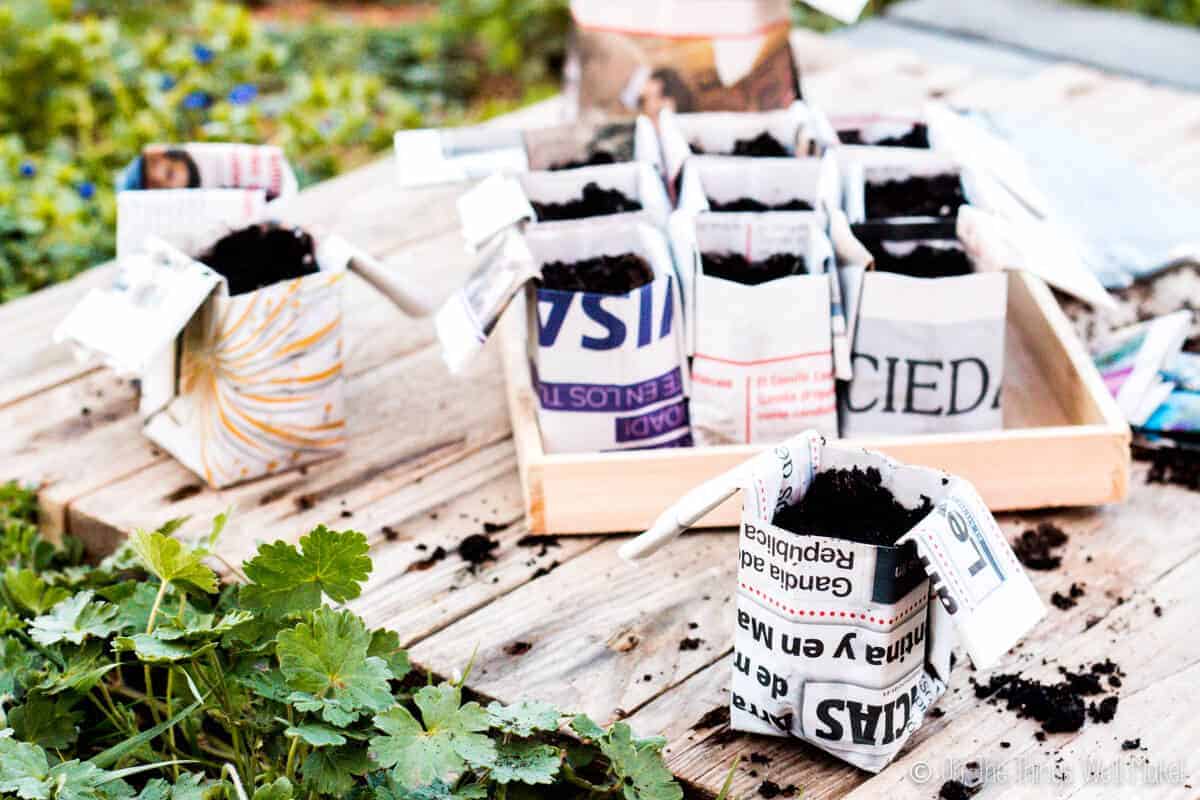
When you are ready to fill them, open them like you would a paper bag to fill them with soil for planting your seedlings. Since these pots are flexible, they are quite easy to fill because they conform to the shape of your garden shovel.
Is it safe to use newspaper for pots?
Over the years, some people have voiced their concerns about the safety of the inks used in newspapers. The concern is that the chemicals may leach into the soil and negatively affect the vegetables grown in that soil.
I get that. You do all the work to make your own vegetables to ensure the highest quality possible and don't want to ruin it with toxic pots!
Warning: In the past, many newspapers used heavy metals in their inks. That was especially true for color printing. So, you'll want to avoid using vintage newspapers that likely have lead or other not-so-safe inks.
Modern newspapers generally use natural pigments. For example, soybean oil is often used as an ink. While I normally avoid GMO's and do realize that genetically modified soy is very possibly one of the sources of the ink, I don't think that in this case, it poses a big threat to your vegetable garden.
The Appropriate Technology Transfer for Rural Areas (ATTRA) guidelines for sustainable agriculture covers what sort of papers can be used for mulch and compost in organic gardens. Following the same logic, the same sorts of paper should be fine to use in pots for your seedlings.
According to them, newspaper and cardboard can be used in organic gardening as long as you don't choose glossy paper or colored ink. For your home use, if wanting to use colored inks (as most are probably safe these days), consider looking into the information given by the particular newspaper you are using.
Some newspapers are happy to share what sorts of ink they use or at least tell you they don't use heavy metals or other unsafe materials for your garden. The Charlotte Observer published an article about the safety of using their brightly colored pages in the garden. (It also includes some tips and other helpful information for using newspapers in the garden.)
Watch me make some!
Instructions
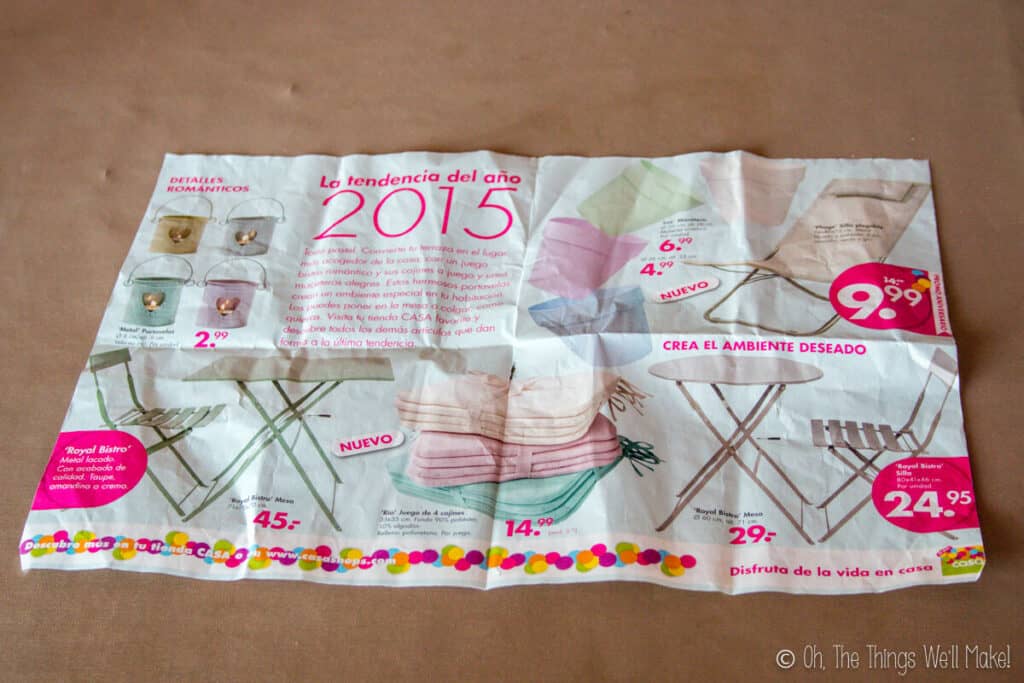
First, take a full newspaper sheet and cut it down the center. You only need one half of the page for each pot.
If you want to make thicker pots, you could just fold the newspaper in half before beginning, using the paper doubled up. Keep in mind, though, that if you make thicker pots, they will be more resistant, but it will also take longer for the paper to biodegrade. This could impede the roots of your plants from growing into the garden.
If using a smaller newspaper, you can use the whole sheet or your pot will end up being too small.
Note: I used a magazine for the following pictures because its smaller size makes for easier (and more vibrant) picture taking, but I would avoid using glossy pages for your pots, just in case. (Unless you know the paper and inks are safe for garden use.)
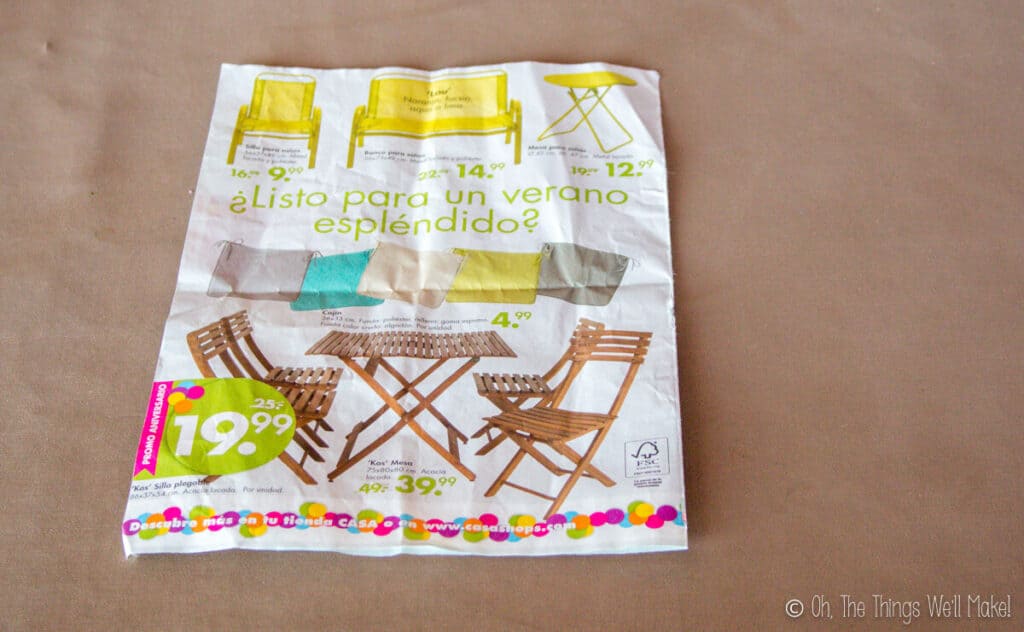
Fold the sheet in half by bringing the two sides that are furthest away from each other together.
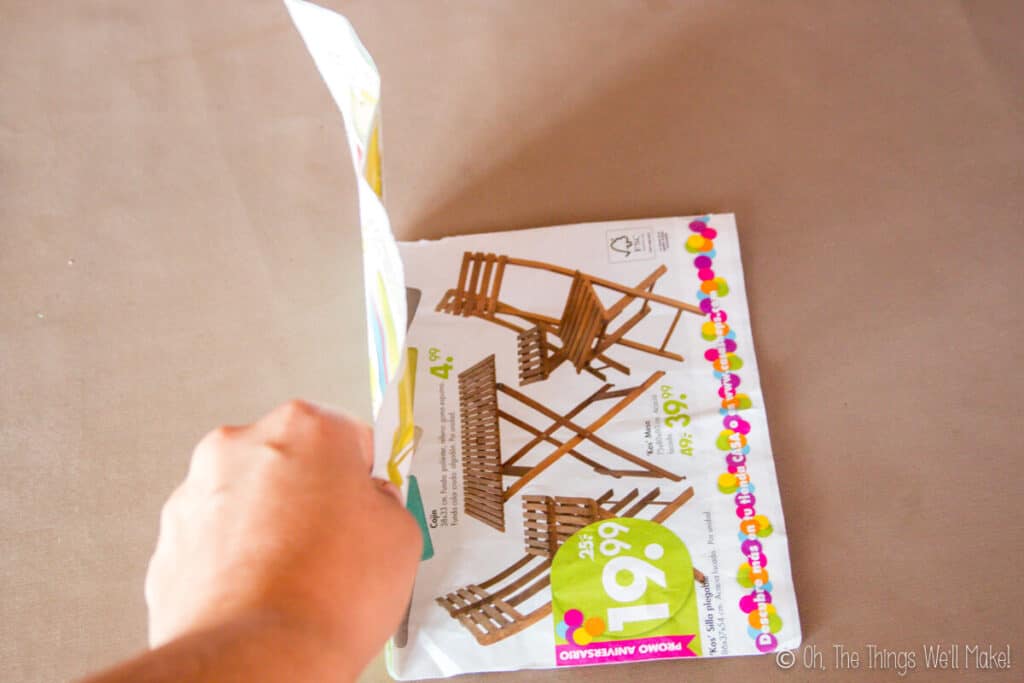
We will repeat that process 2 more times. So, fold the paper twice more, each time bringing the two sides of your rectangle that are furthest away from each other together. You can rotate the paper so that it's in a landscape orientation and then bring the two sides together.
The third fold is only done to crease the center of your paper. Once you've creased it, unfold the last fold.
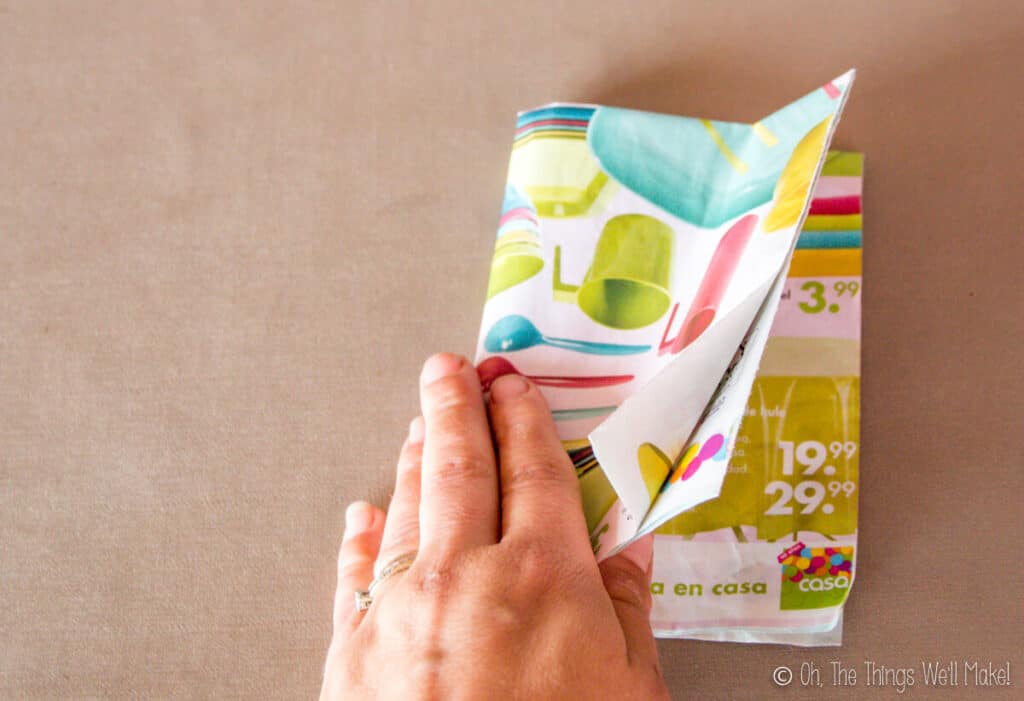
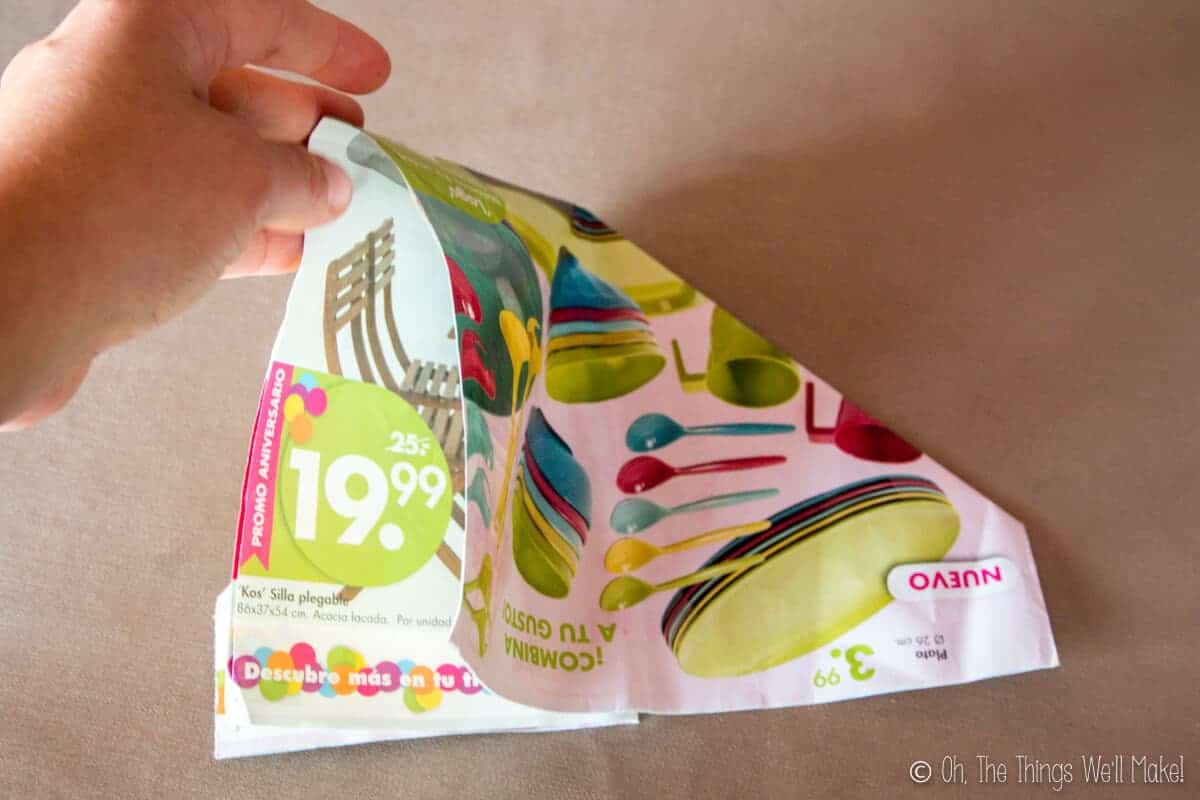
Take ahold of the top fold at one side of the paper and press it open from the center crease to the edge, forming a triangle at the top of your paper like the one in the photo.
If you have a hard time getting it to open as needed, it can help to make diagonal creases in the paper by first folding the top edges down to the center crease as you would if you were folding a paper hat.
This is, perhaps, the trickiest step to explain and do, but once you've gotten the hang of it, it's really quite simple. I'd suggest watching the video to see how it's done if you can't figure it out.
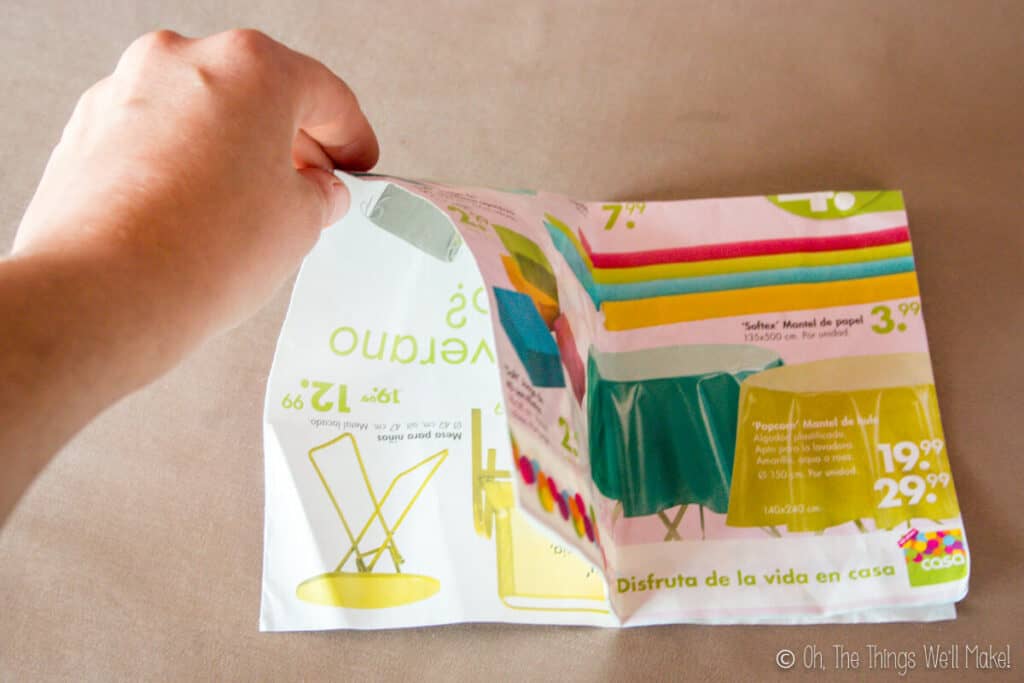
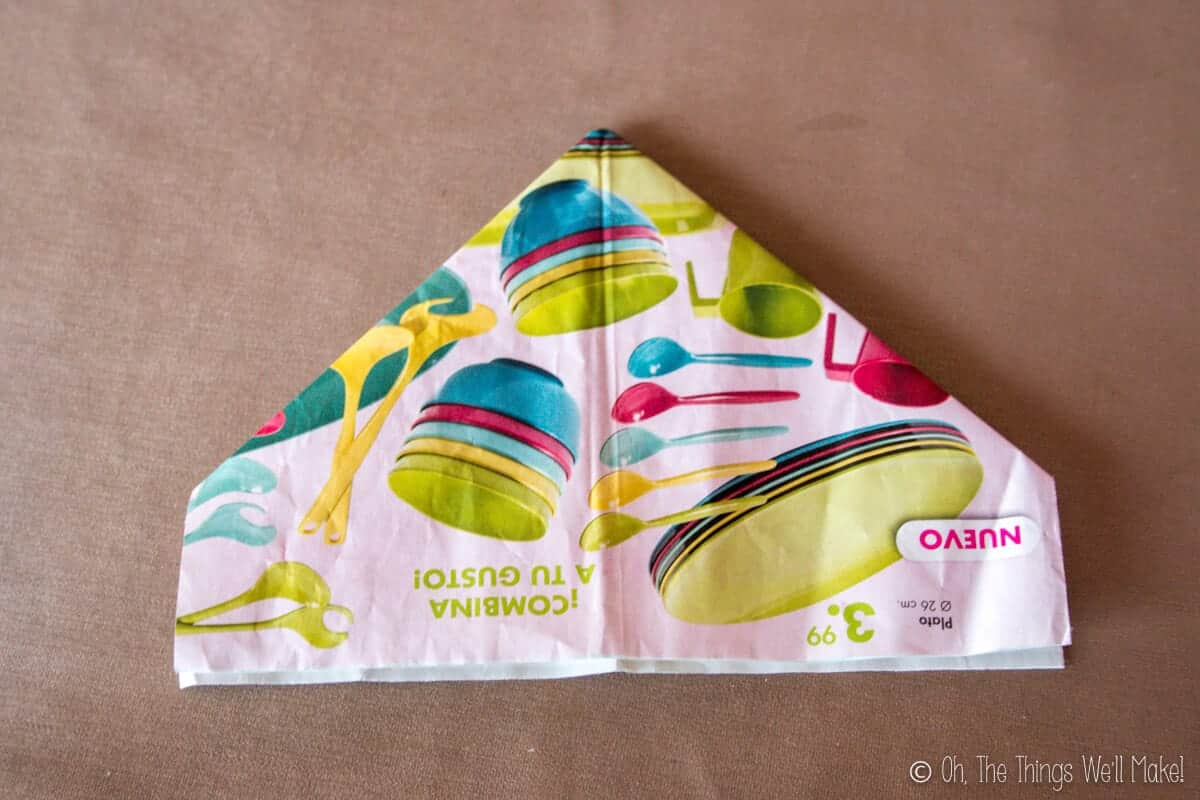
Flip the paper over and repeat the last step on the other side.
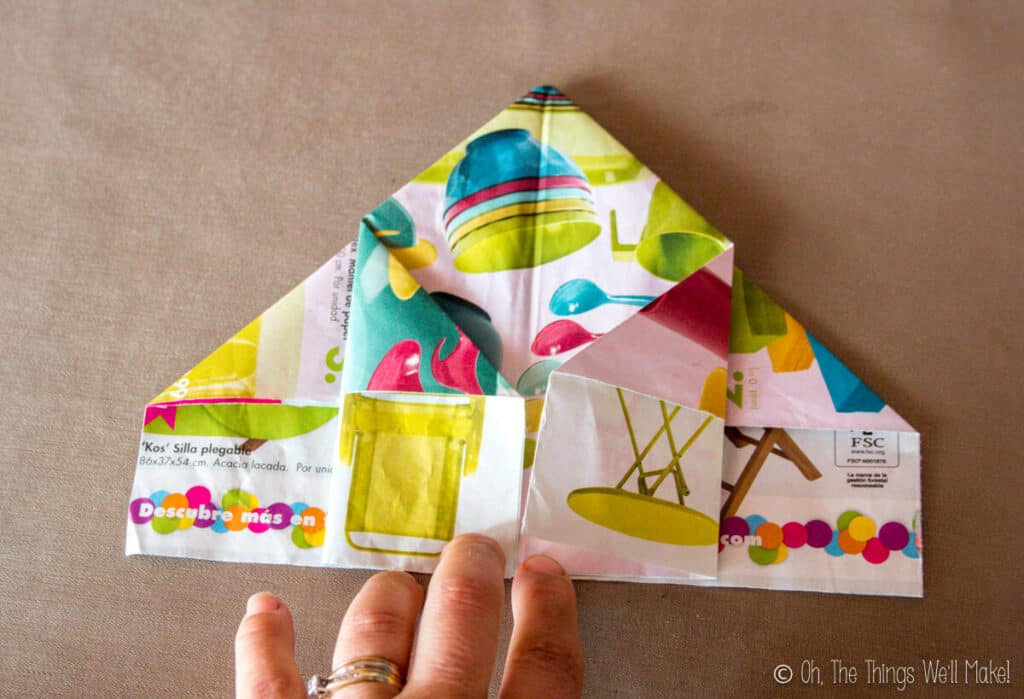
Flip the sections, rotating both the upper and lower sections in the same direction. You should end up with smooth sections on the top and the bottom.
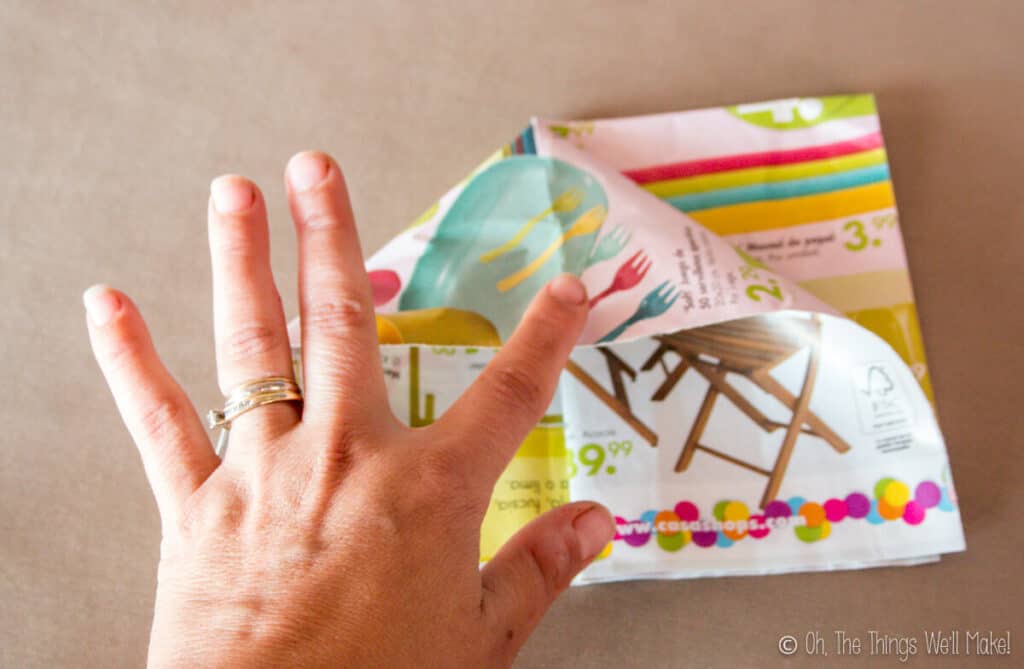
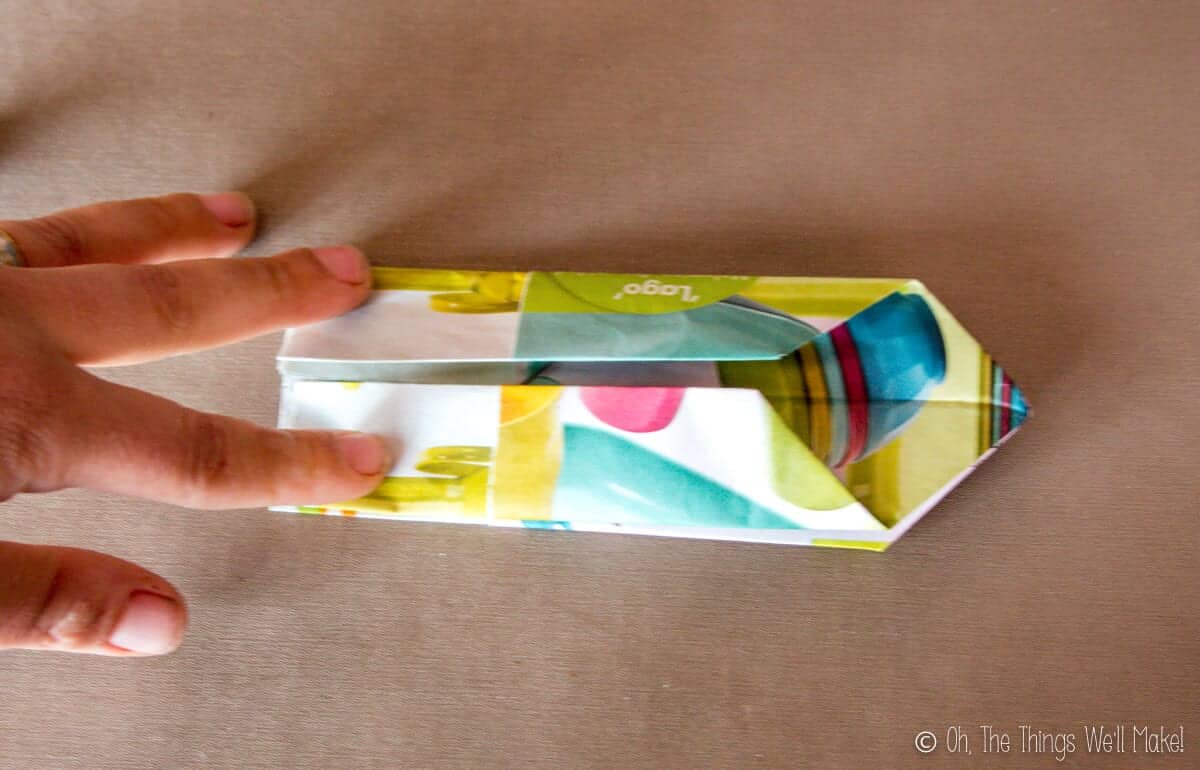
Fold both outside edges in towards the center seam. Flip and repeat on the other side.
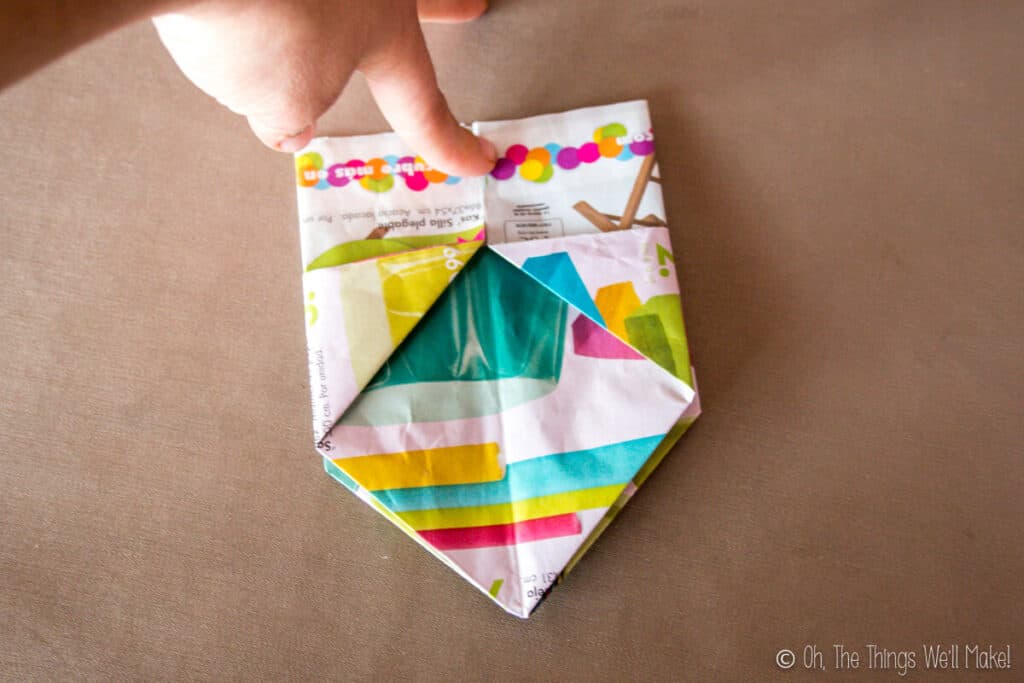
Fold both outside edges in towards the center again. Then flip it over and repeat on the other side.
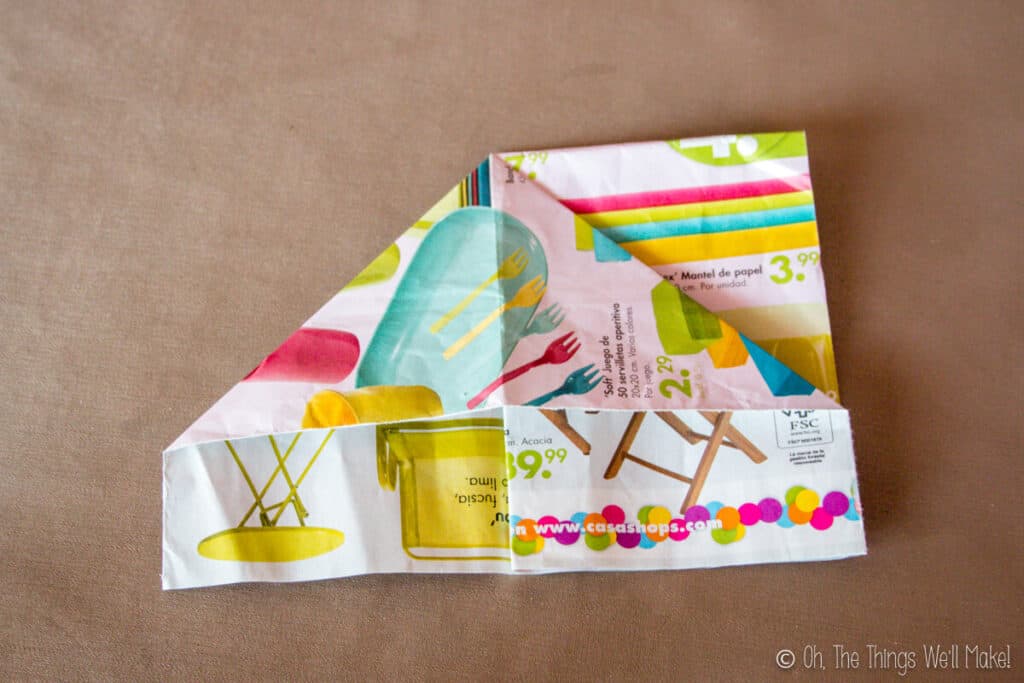
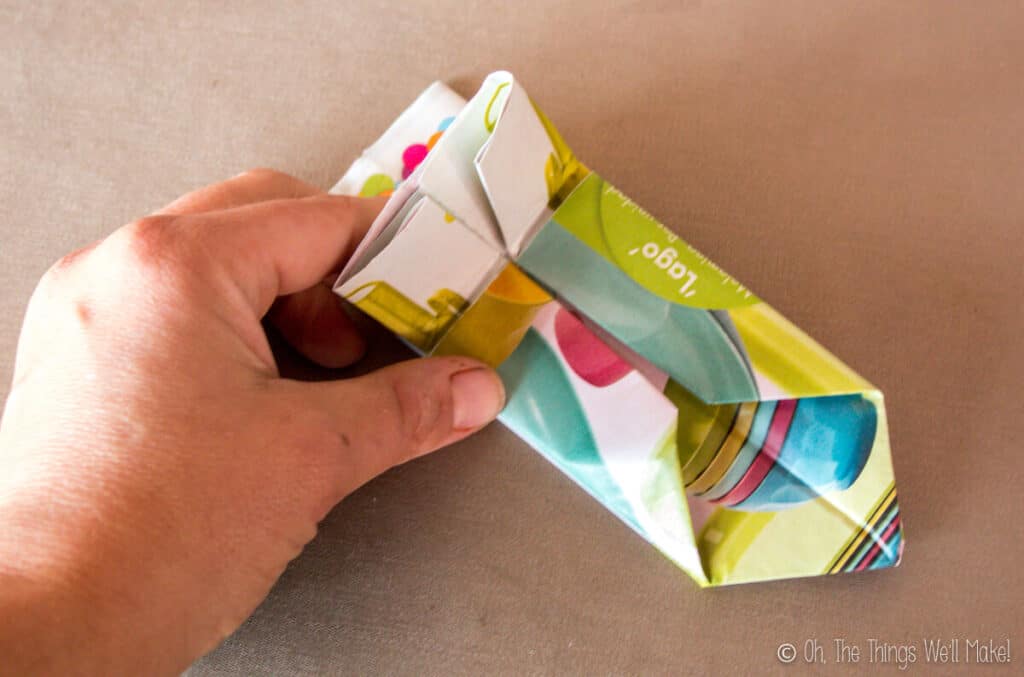
Your pot is basically finished! To keep the pot from falling apart, fold the edges of the paper (the ones opposite the point) down towards the point.
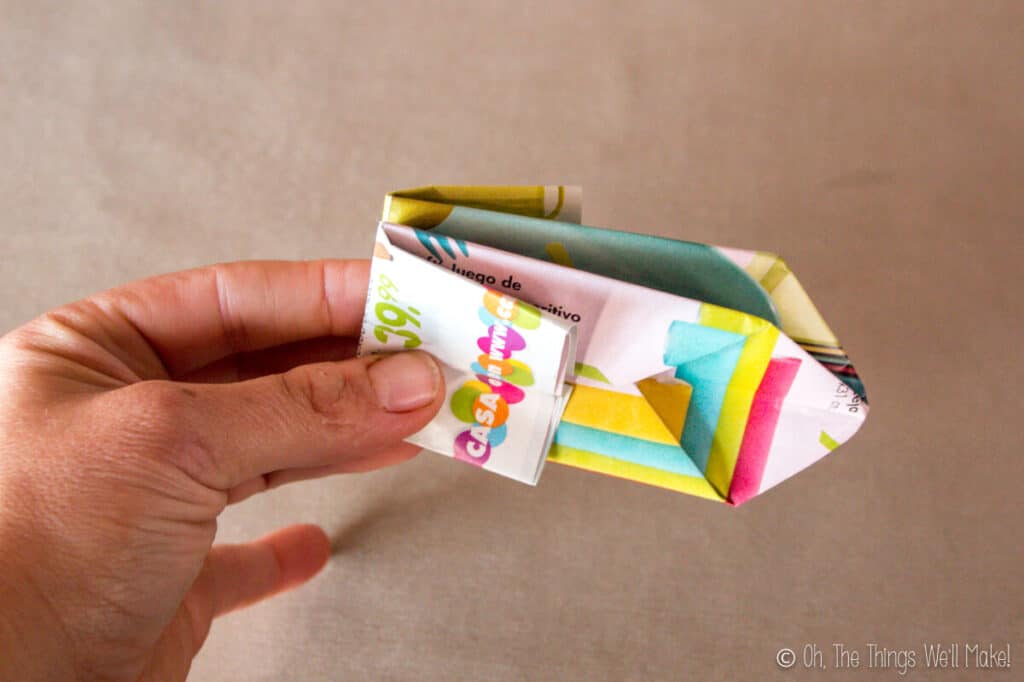
Open your pot as you would open a folded paper bag.
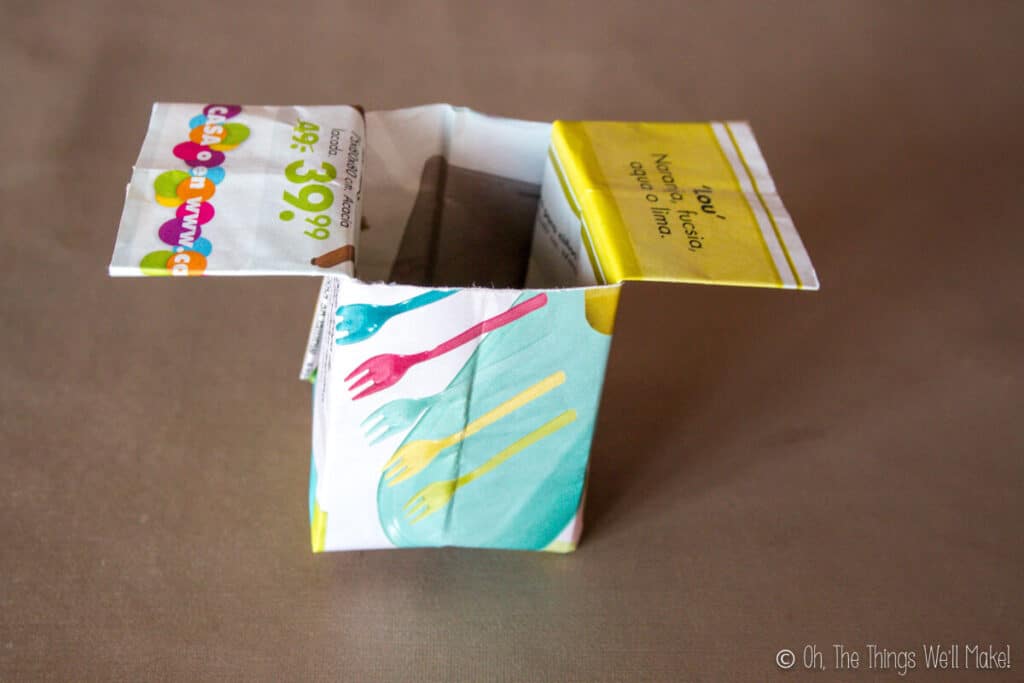
You can leave the flaps as they are or you can choose to tuck them inside the pot. (as shown below).
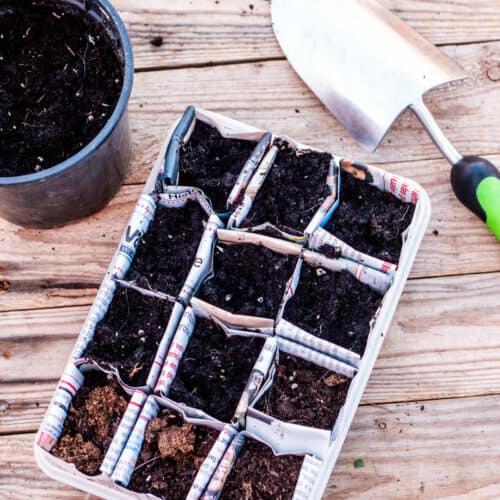
I find that the pots are more stable if you leave the tabs on the outside. They stay down when pushed against other pots when you group them together anyway.
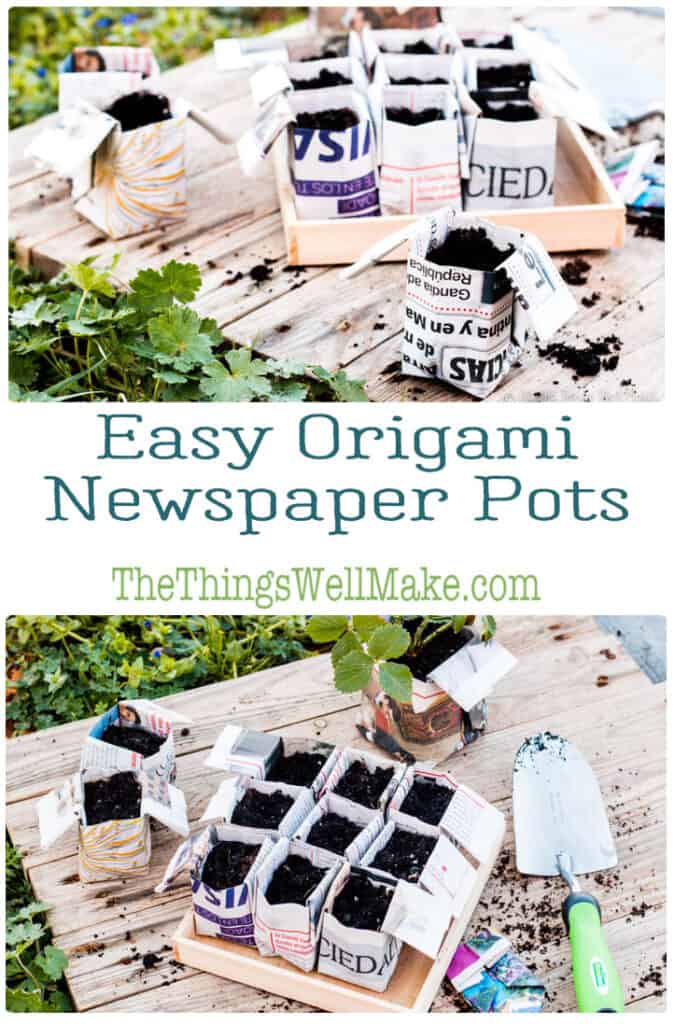
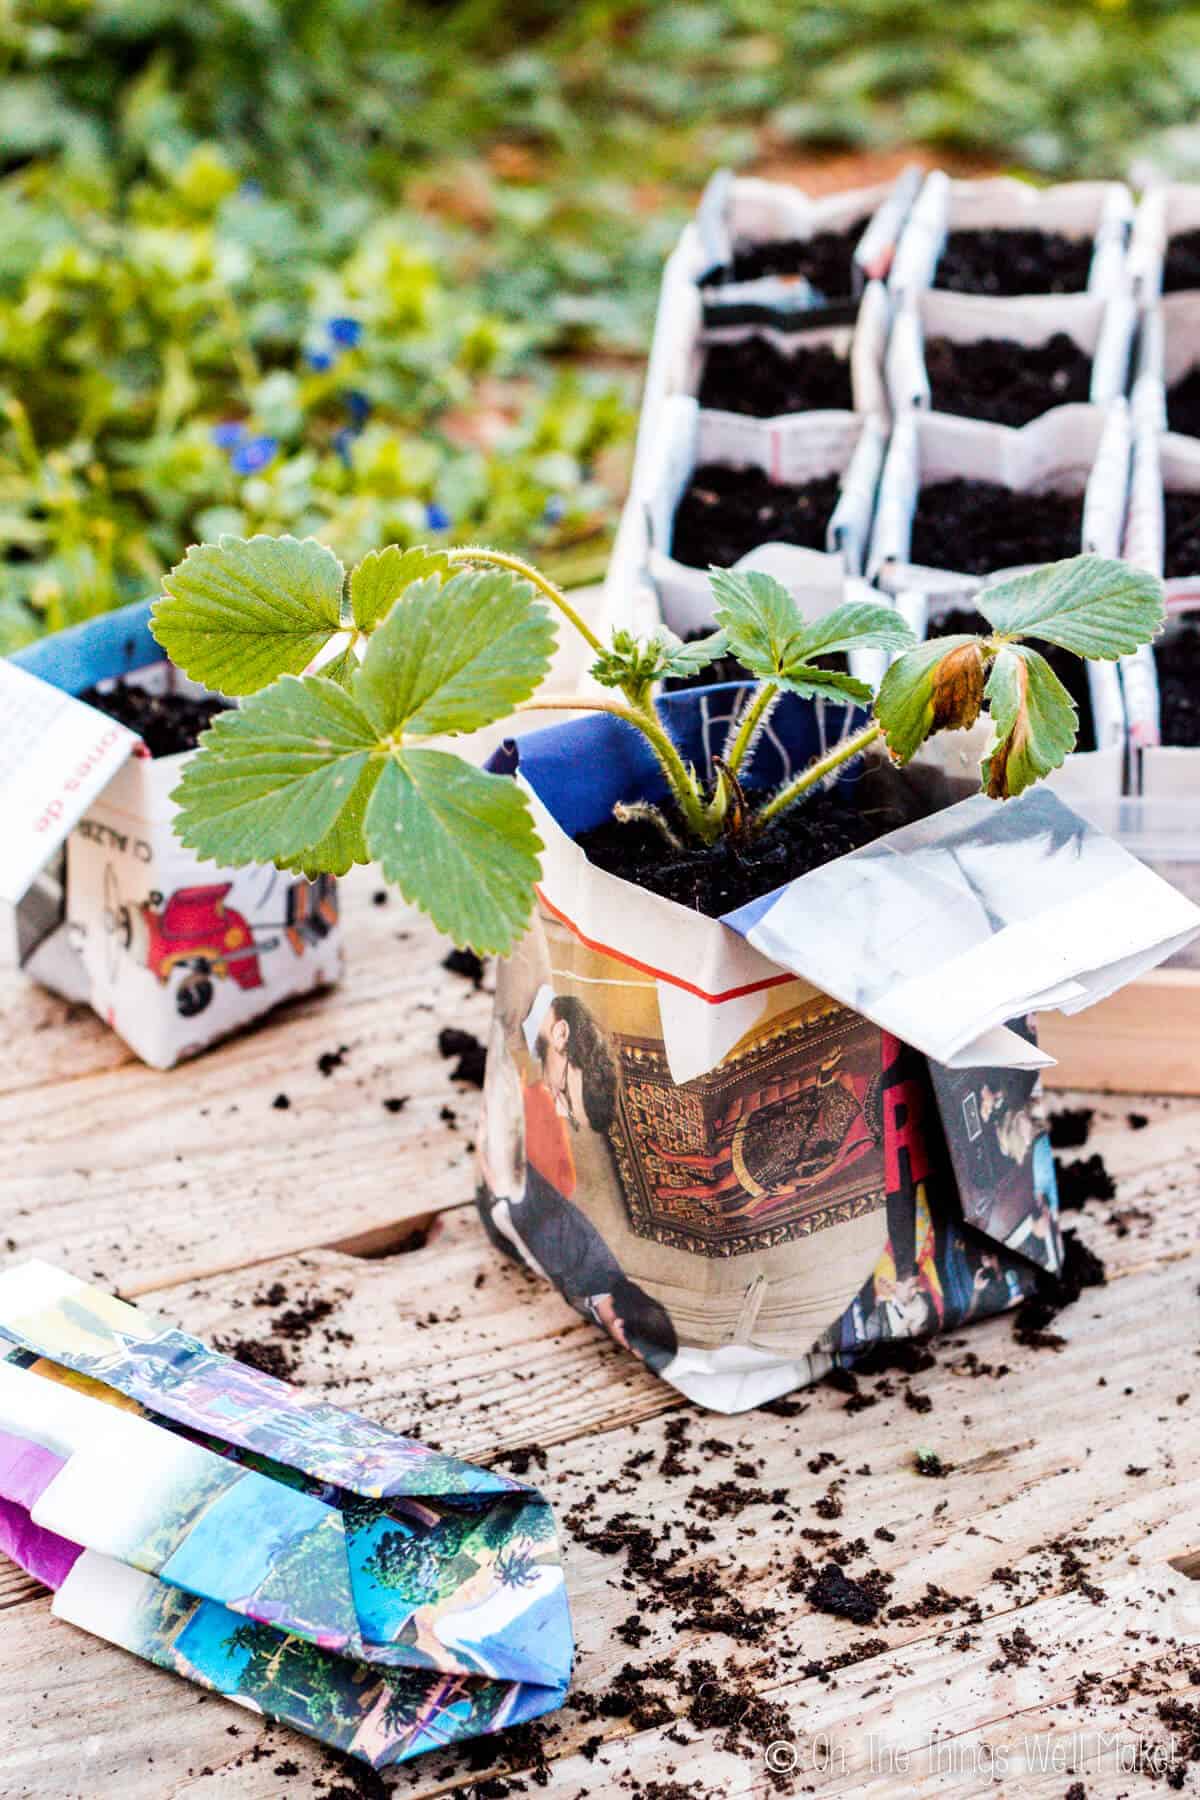
If you want a bigger pot for something, just use a full newspaper sheet. The strawberry plant below is planted in one of those.
Because larger plants with more soil will are more likely to break the pots, consider doubling up the paper to ensure the larger pots don't fall apart on you.
Consider marking your pots with these cute DIY garden markers. Marking your plants will help you identify which seeds you planted where, which definitely comes in handy later on!
Subscribe to my newsletter for the latest projects (and recipes)!
- 1 Newspaper sheet
-
Take a sheet of newspaper and cut it down the center. You only need one half of the page for each pot.
-
Fold the sheet in half bringing in either side of your rectangle (the sides that are furthest away from each other together).
-
Fold in half two more times, each time bringing in the sides that are furthest away from each other together just like you did the first time. (Flip and fold in the same direction as before.)The third fold is made only to crease the paper, so unfold it again once you have marked the paper.
-
Take ahold of the top fold on one side of the paper and press it open and down. You should form a triangular shape at the top.
-
Flip the paper over and repeat on the other side.
-
Flip the sections by rotating the top and bottom sections in the same direction. You should end up with smooth sections on the top and the bottom.
-
Fold both outside edges in towards the center seam. Flip and repeat on the other side.
-
Fold the outside edges in towards the center again and repeat on the other side.
-
Your pot is basically finished!
-
To keep if from falling apart, fold the top edges of the paper down towards the point.
-
Open the pot as you would open a folded paper bag. You can now fill the pot with soil.
-
You can store them easily in a space efficient way by folding them back up again and filling an open pot with several folded ones.
You can leave the flaps as they are or tuck them inside the pot. I find that the pots are more stable if you leave the tabs on the outside.
Press several pots together to hold the tabs down between the pots.
If you want to make a bigger pot, use a full newspaper sheet. It will be less strong, but you can use two sheets of paper together to strengthen the pot. Using several layers will make for a stronger pot, but it may impede the root growth and speed at which the pots can biodegrade in the garden.
This post was originally published on April 14, 2015. It was rewritten in March of 2020, adding new video, better explanations, and photos, as well as safety information.
How Do You Make an Origami Flowerpot
Source: https://thethingswellmake.com/quick-diy-origami-newspaper-pots/
Belum ada Komentar untuk "How Do You Make an Origami Flowerpot"
Posting Komentar