How to Make a Swallow in Origami
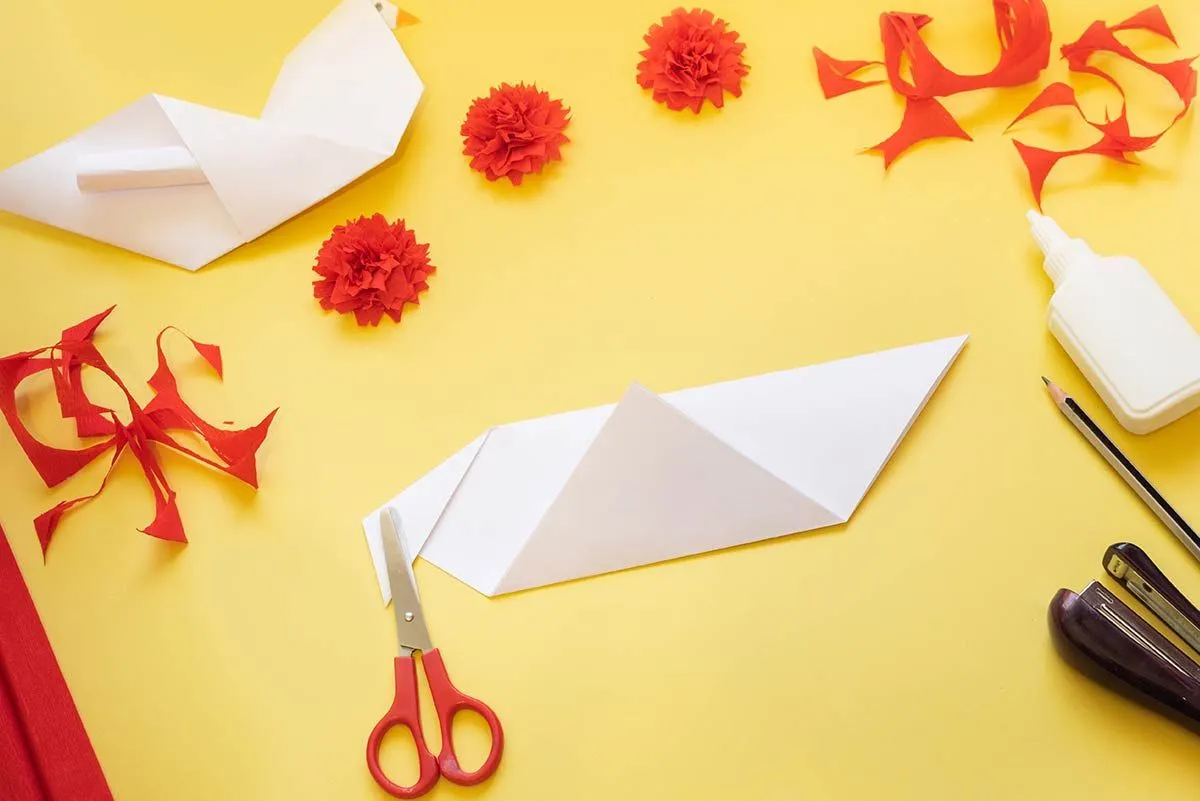
Image © vgstockstudio, under a Creative Commons license.
The traditional craft of paper folding to create intricate shapes and animals is known as origami; it has roots in Japan, China and in parts of Europe where intricately folding napkins and cloths was highly regarded.
Origami birds are common, with the crane and swan being two of the most popular models of paper bird. Our easy step by step paper folding guide shows you how to make a different origami bird: an origami swallow that looks like it is in flight.
Happy folding!
Equipment
Although most origami art doesn't use anything apart from paper to make the model and hold it together, this origami swallow tutorial does require a few extra touches to finish it.
You Will Need:
One sheet of square origami paper per swallow.
A glue stick or tape.
Scissors.

Origami Swallow Instructions
1) With your origami paper colour side down, fold in half vertically, crease and unfold. Then fold in half horizontally.
2) Fold the top right-hand corner down to the centre crease.
3) Flip your origami paper onto the other side so that the point of the triangle is now on the left hand side.
4) Fold the top right-hand corner down to the centre crease.
5) Open your origami model up and collapse the right hand side down to create a diamond with the opening at the bottom.
6) Next, fold the left and right corners of the top layer of paper to the centre crease and then fold the triangle at the top of the model down before unfolding all three flaps.
7) Lift the top layer of paper and fold up while folding in the sides as well to create a tall diamond shape.

8) Flip your swallow model over, fold the left and right corners to the centre crease and the triangle in the middle down. Unfold all three flaps.
9) Open this origami layer up and fold it in on itself to create a diamond just like you did on the other side.
10) Fold the left and right corners of this layer to the centre crease. Flip the model over and repeat on the other side.
11) Fold the top right hand layer over to the left. Flip the model over again and fold the right flap to the left again. Both sides should now have two prongs at the top.
12) Open the left prong and use a reverse fold to fold it down inside itself to create a triangle shape that points out to the left. Do the same to the right prong to create a triangle shape that points to the right. These are the wings of your origami swallow.
13) Take the bottom point of the top layer of paper and fold it upwards. Pleat this piece twice more to create the head and beak of your origami swallow. Use glue or tape to fix the neck of the swallow to the body.
14) The remaining pointed layer becomes the tail of your origami swallow. Cut in half to two thirds of the way up, cross the two parts over one another slightly and glue or tape in place. Your bird origami is finished!

Tips, Tricks And Extra Activities
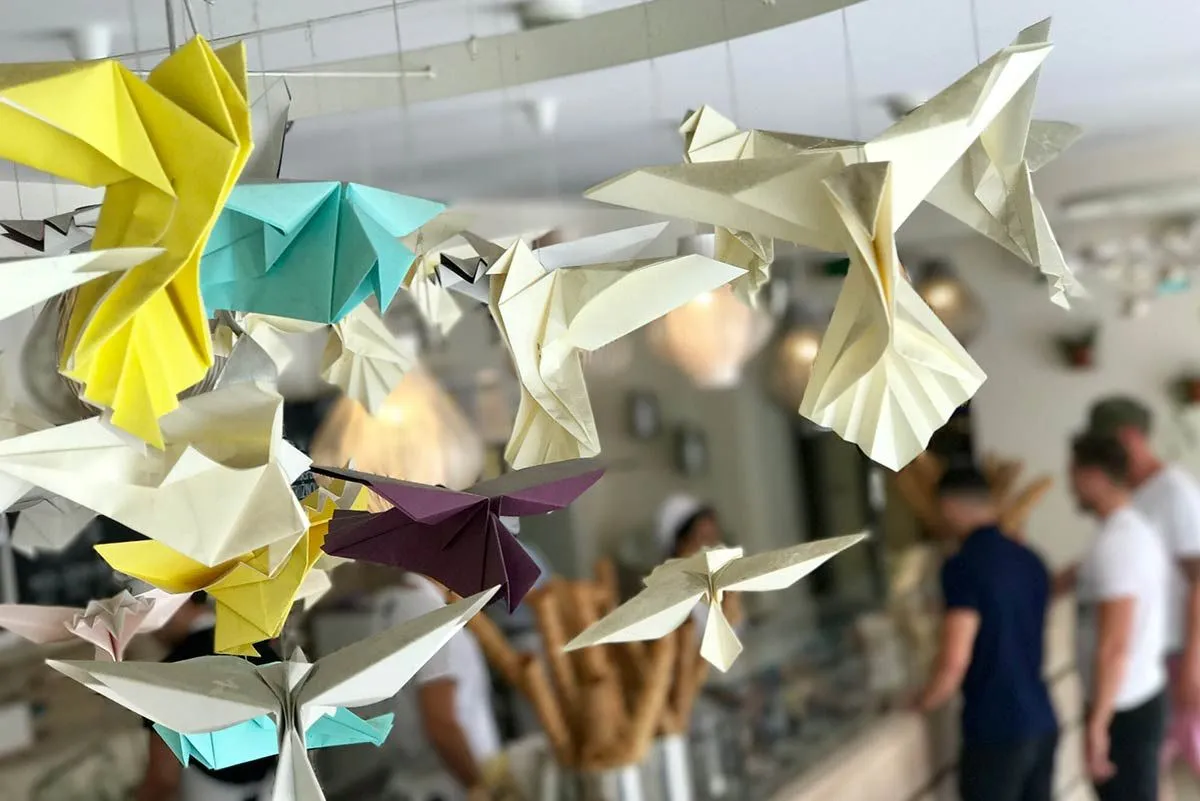
As fun extensions to this craft, you could create more than one origami swallow. Use a range of coloured papers and then string them together to make bunting or a hanging mobile.
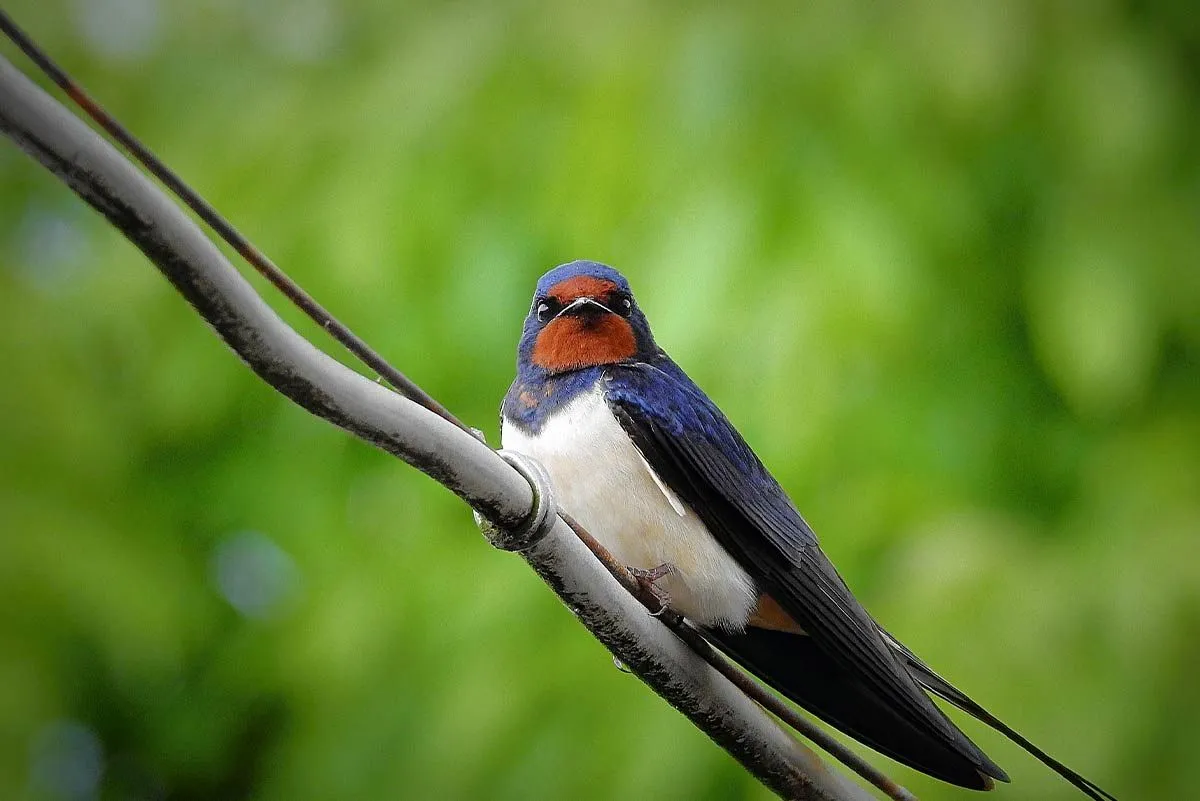
You could even take your models into the garden and have a swallow race! Throw them like you would a paper aeroplane and see which swallow can travel (or fly!) the furthest. Whilst outside, why not take part in a little bird watching and see if you can spot any real swallows too?
How to Make a Swallow in Origami
Source: https://kidadl.com/articles/how-to-make-an-origami-swallow
Belum ada Komentar untuk "How to Make a Swallow in Origami"
Posting Komentar