Basic Steps for Creating One's Own Origami
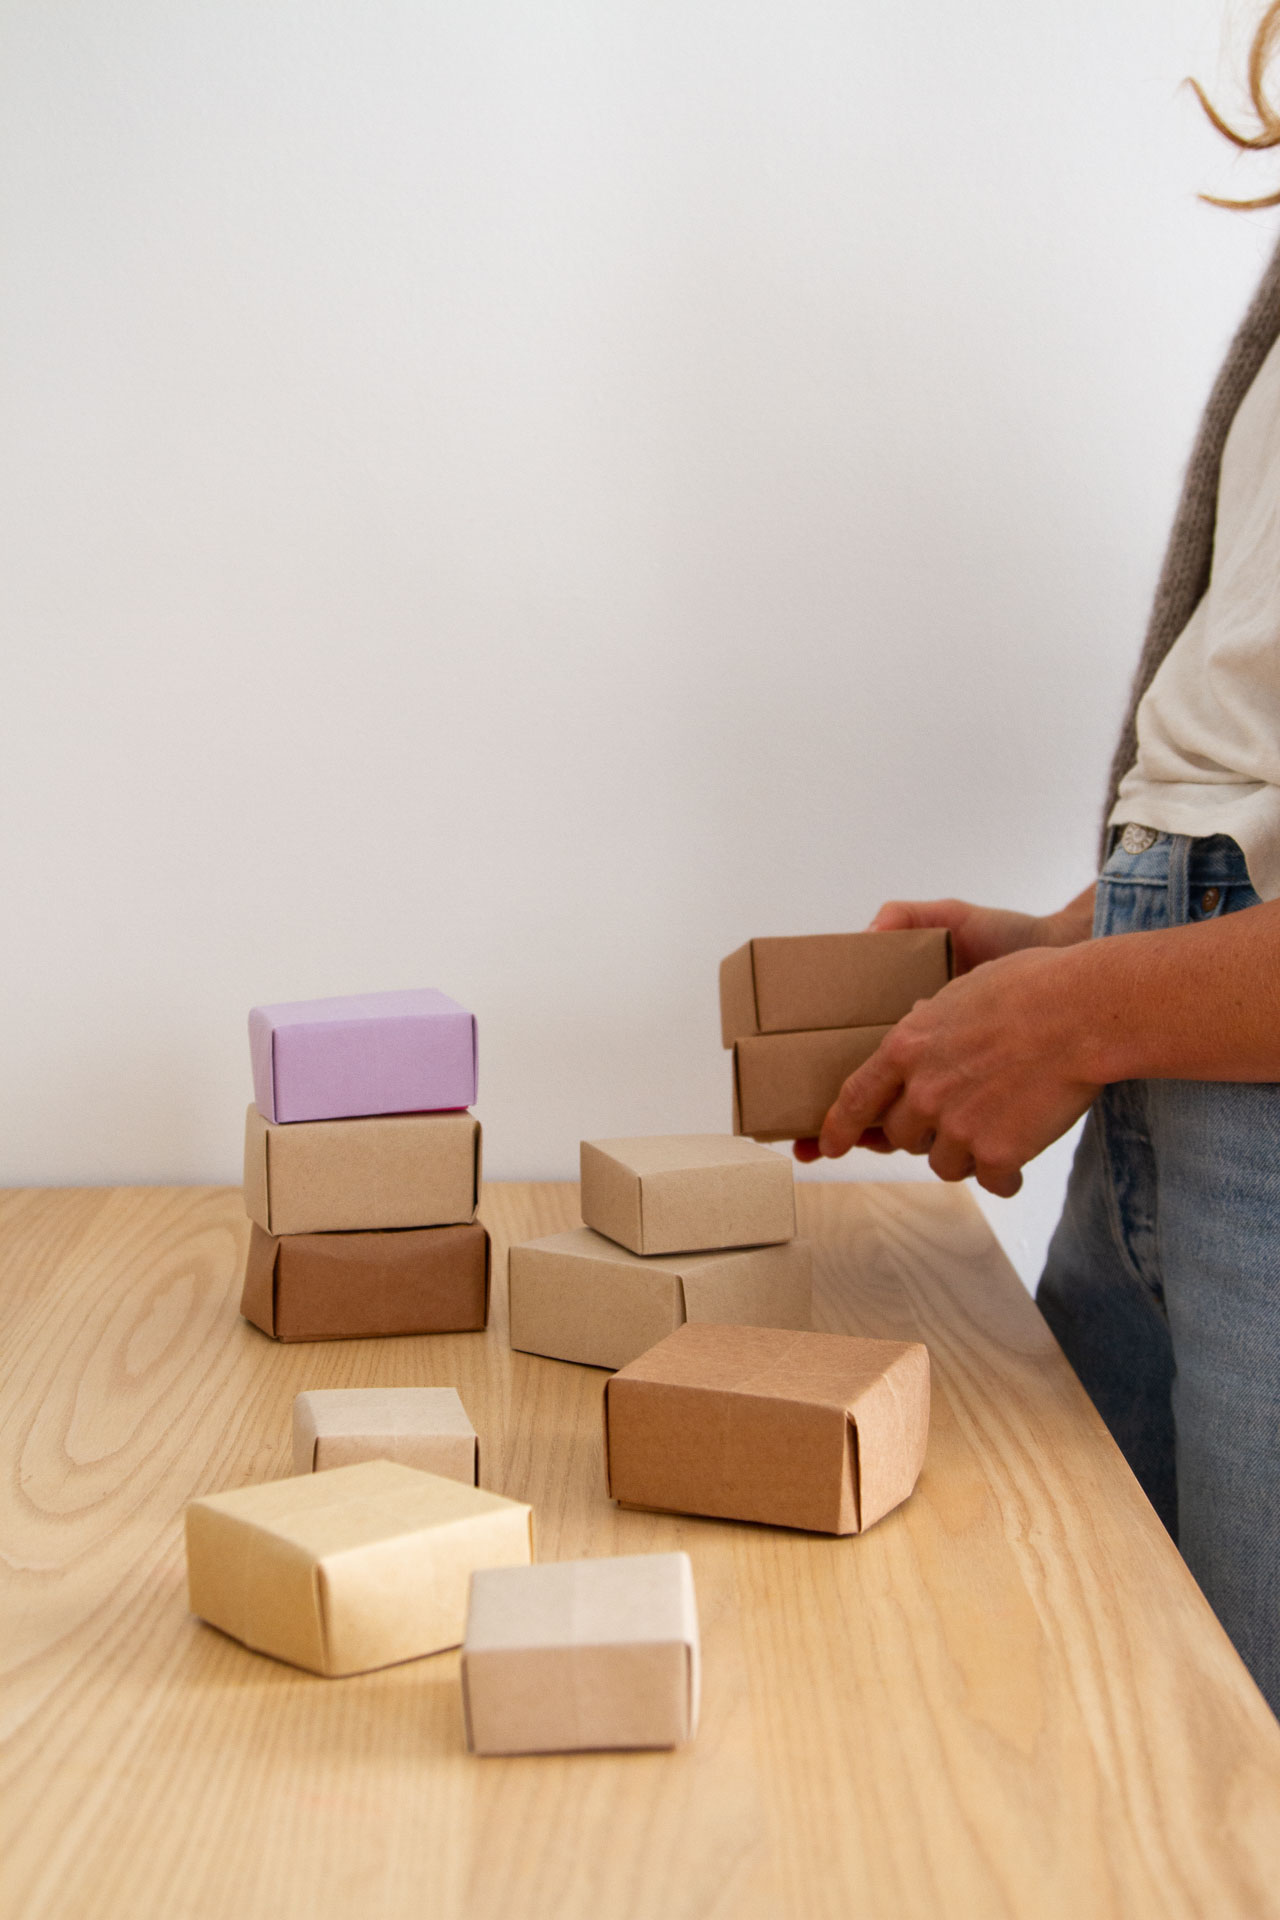
All three of my kids are home sick this week, so a tutorial for something that makes anything at all feel neat and tidy and moderately contained is feeling just right. These origami masu boxes come together without scissors, tape, or glue, and they're addicting to make once you memorize the folds. Masu boxes were originally small square wooden boxes used for measuring rice in Japan and when my friend Sachiko saw the boxes we made, she was immediately reminded of the Japanese celebration of Setsubun. During the celebration, held just before the first day of spring in the Lunar calendar, masu boxes are filled with roasted soybeans and the beans are thrown into corners of homes, temples, and shrines to drive away evil spirits. In the world of origami, the name applies to this classic square box that can be filled up and used for just about anything.
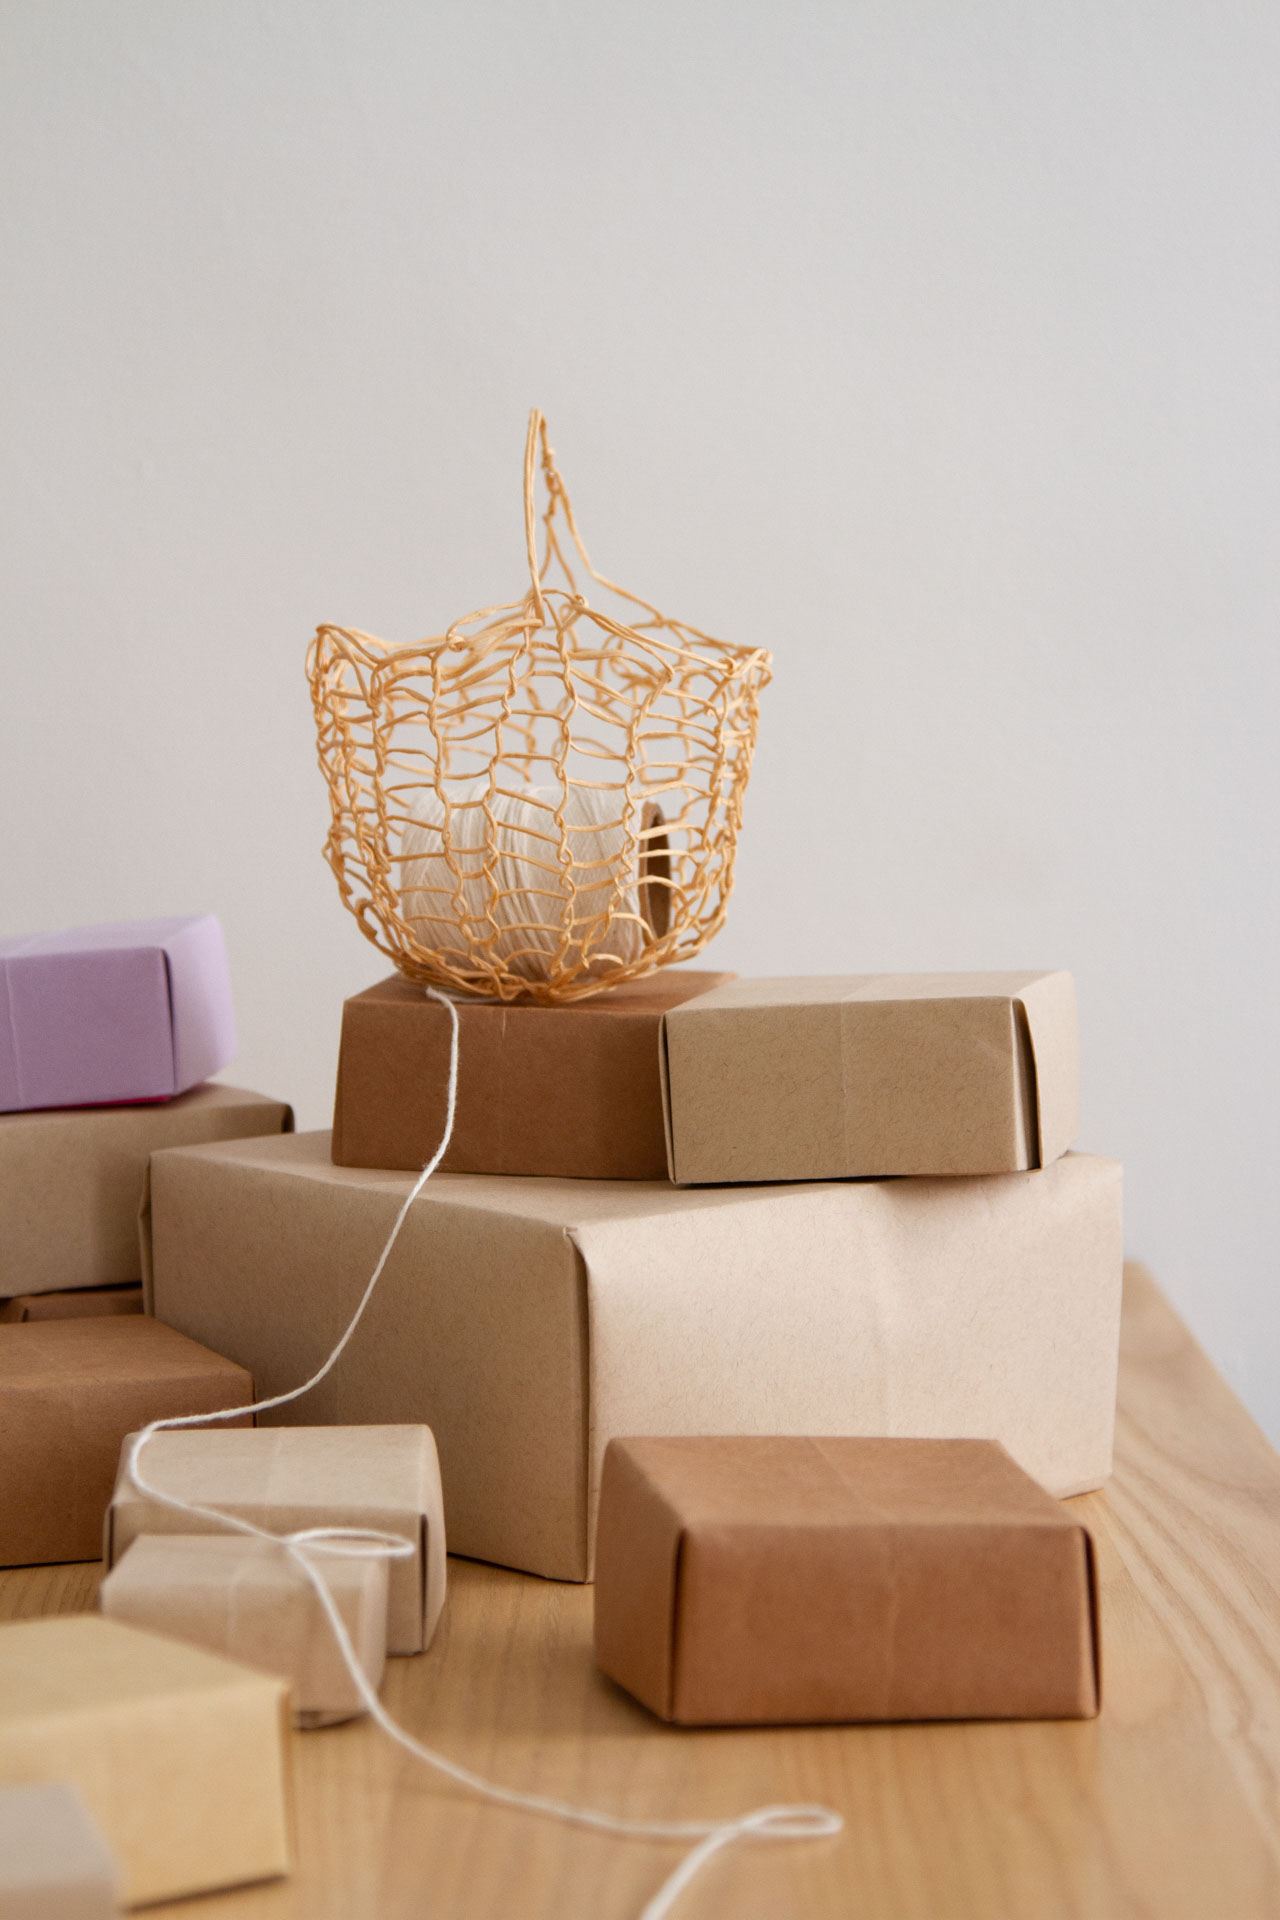
In my house this week, I've been using the simple paper boxes to stash children's ibuprofen bottles and thermometers that would otherwise be littering dresser tops. I've also sent Uno cards and checkers pieces packing, and, yes, maybe even a fistful of cough drops found a new place for getting secreted away. Who could blame me? Heed Rose's advice and label your boxes, but don't let this stop you from boxing up everything you've got rolling around your drawers or dressers.
We've given photographic and written instructions below and for those of us who benefit from a step-by-step walk through, we'll be sharing a video on my Instagram feed later in the day. And later this week: we'll show you how to make paper out of…fabric!
Here's more from Rose:
It was late summer when I folded my first Japanese origami box. It was craft taught to me at my parents' dining room table, from a dear friend I've known since childhood who learned it from her friend and origami artist, Sok Song.
Here was this craft so perfect in form, so simple in materials, so easy in technique, and yet so adaptable that I have since made hundreds of all-sized boxes. I've made boxes from scrap paper, from kid's art, phone bills, magazines, wrapping paper, and lately from fabric turned paper turned box (more on that magic in a bit). With these boxes I organize drawers, package gifts, and spend too much time looking for all the little things that I boxed up and forgot to properly label.
While I am nowhere near the first to fold paper into a box, I cannot help but share this little miracle of a craft. If it wasn't for Sok Song's simple magazine cover box, I would not have taken the deep dive I did into all sorts of functional origami creations. Here's one of my favorites—the masu box—perfect for its proportions, its simplicity, and its many, many uses.
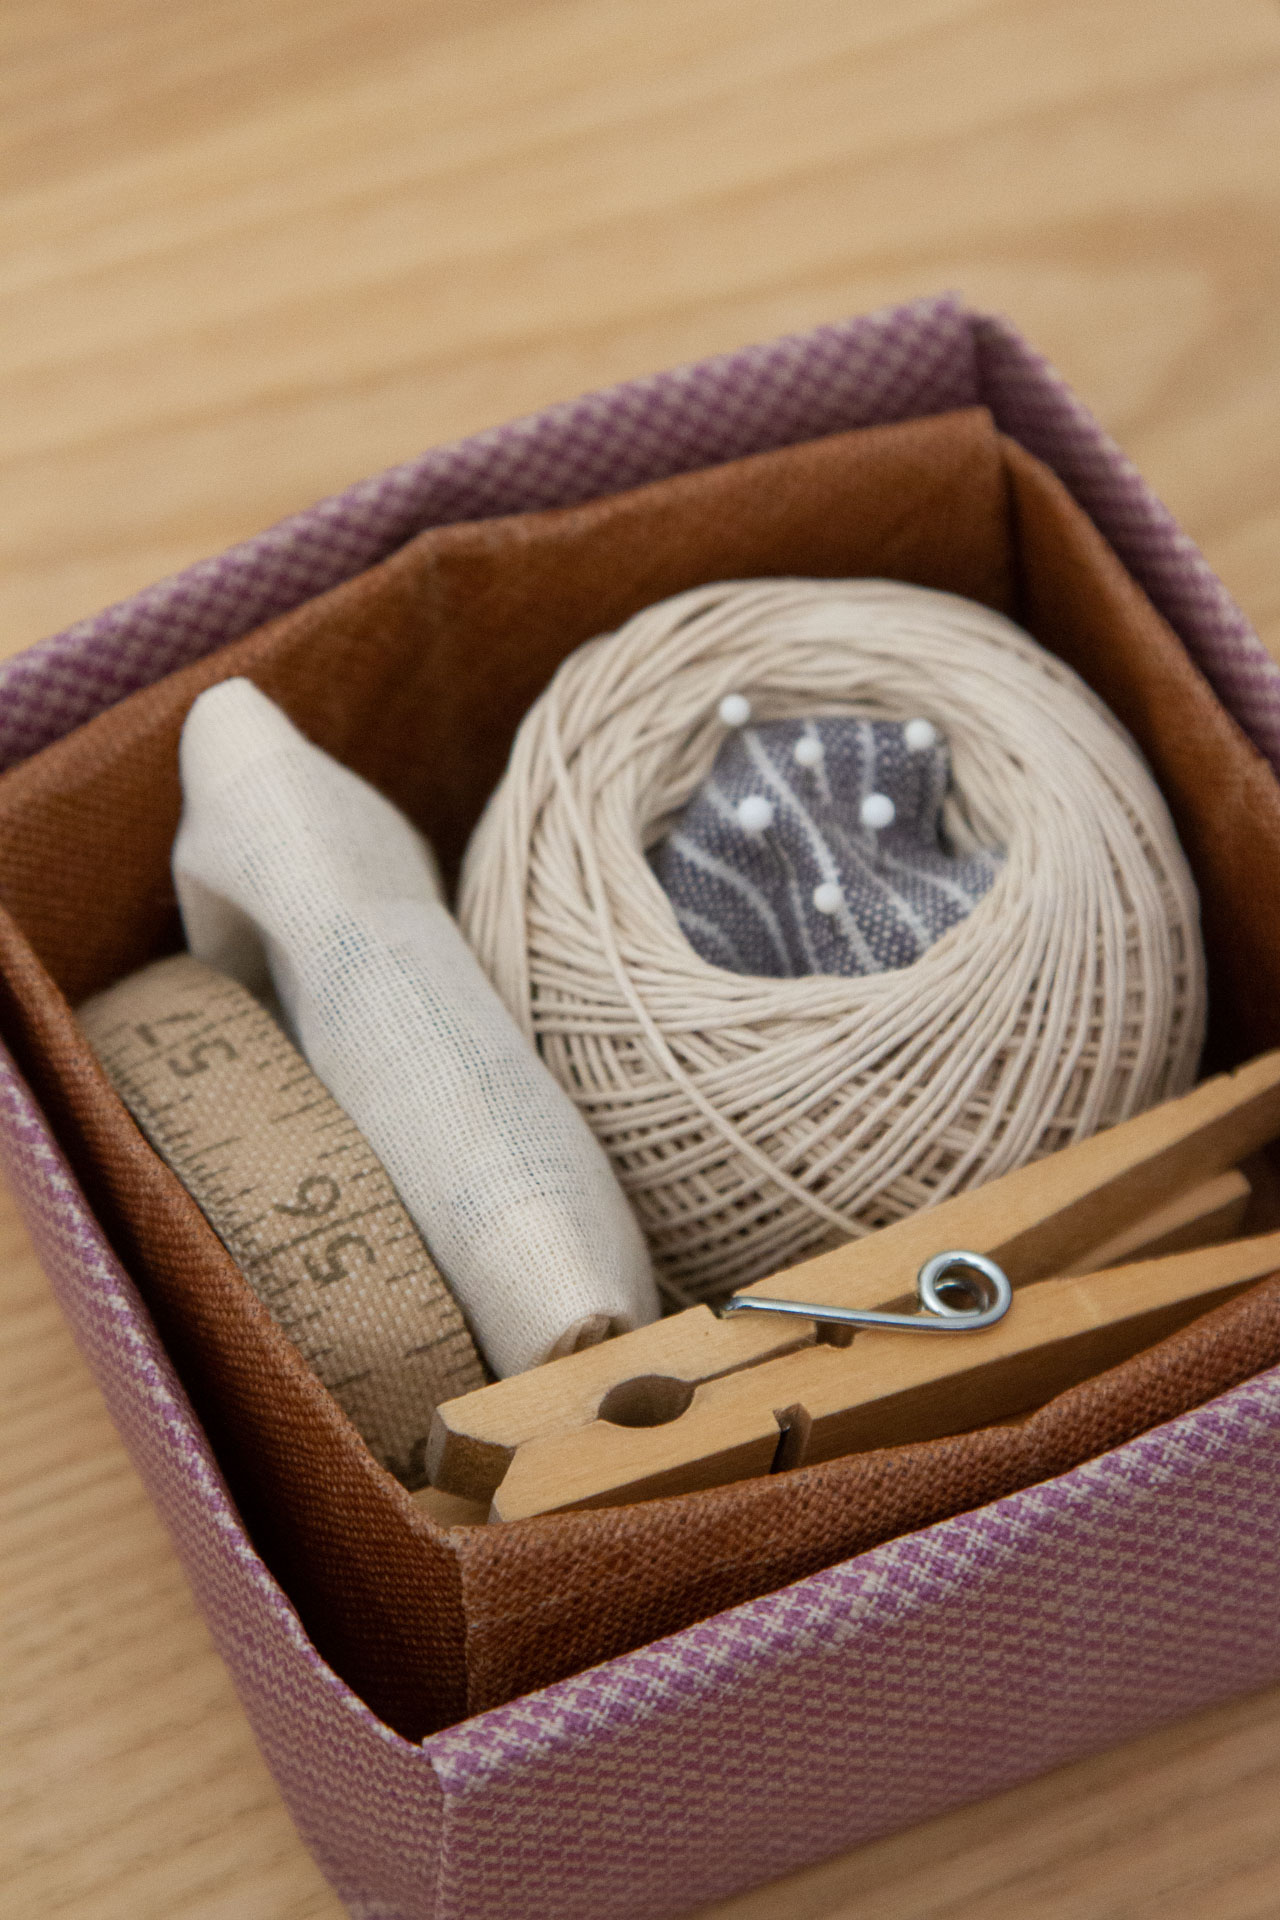
Make one and you can corral all the little notions knocking around your bedside drawer. Make two, (one slightly smaller than the other) and you can safely store those notions away…just don't forget to add a label. (The box above is made using starched fabric paper!)
Materials:
+ Two sheets of square kraft paper (or any paper of your choosing)
+ Scissors (optional and only needed to cut your paper into a square—see below for simple instructions)

+ If using a rectangular piece of paper, you will need to trim it into a square. To do this, fold the largest
triangle possible, squaring off with the edge of the paper. The extra rectangle of paper at the top
can then be cut off. You will be left with a square sheet of paper with the first fold down the
center.
+ When making a box with a lid, you will want the inside box to be at least ½" smaller (so the top can fit
over it). To make a smaller square from the same sized rectangular paper, fold in the triangle edge (same
as before) but stop ½" from the edge. Cut off the excess paper on both sides of the triangle.
Instructions:
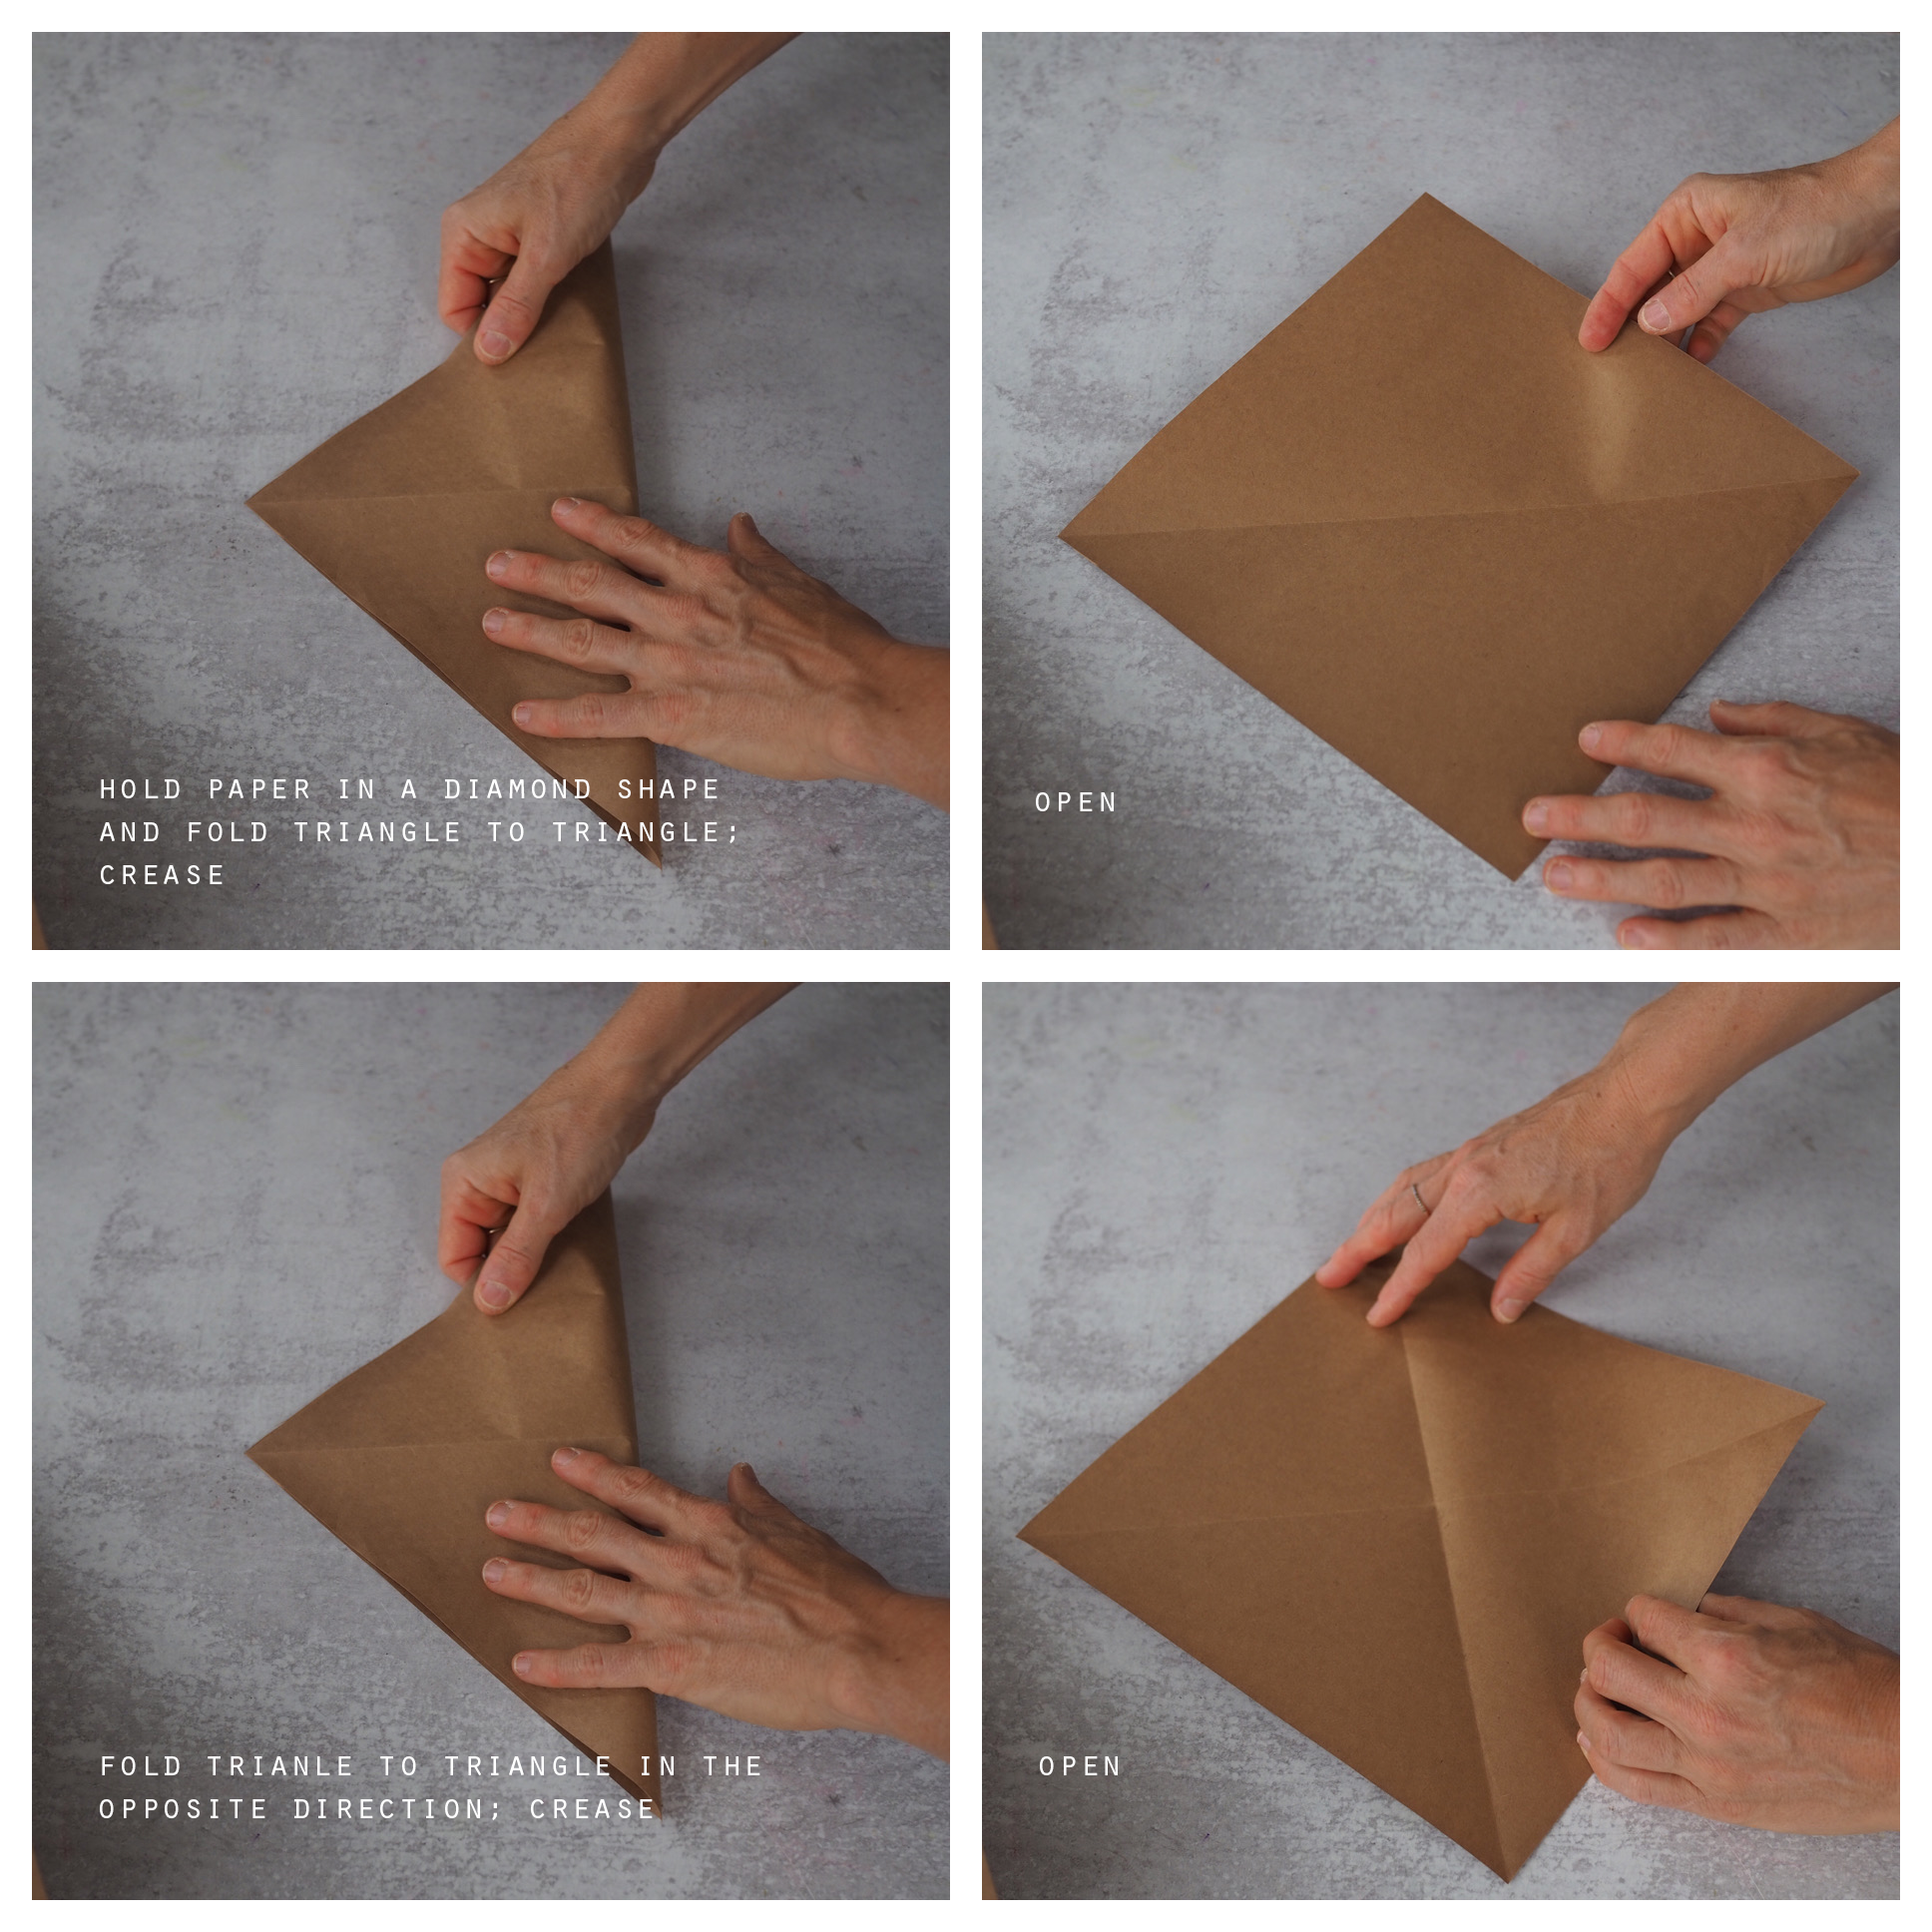
+ To begin, fold one corner triangle to meet the other side. Crease in the center fold.
+ Open the paper up again and fold in the opposite direction (so the corners meet again). Crease
well and open.
+ You will now have a square with four triangles meeting in the center.
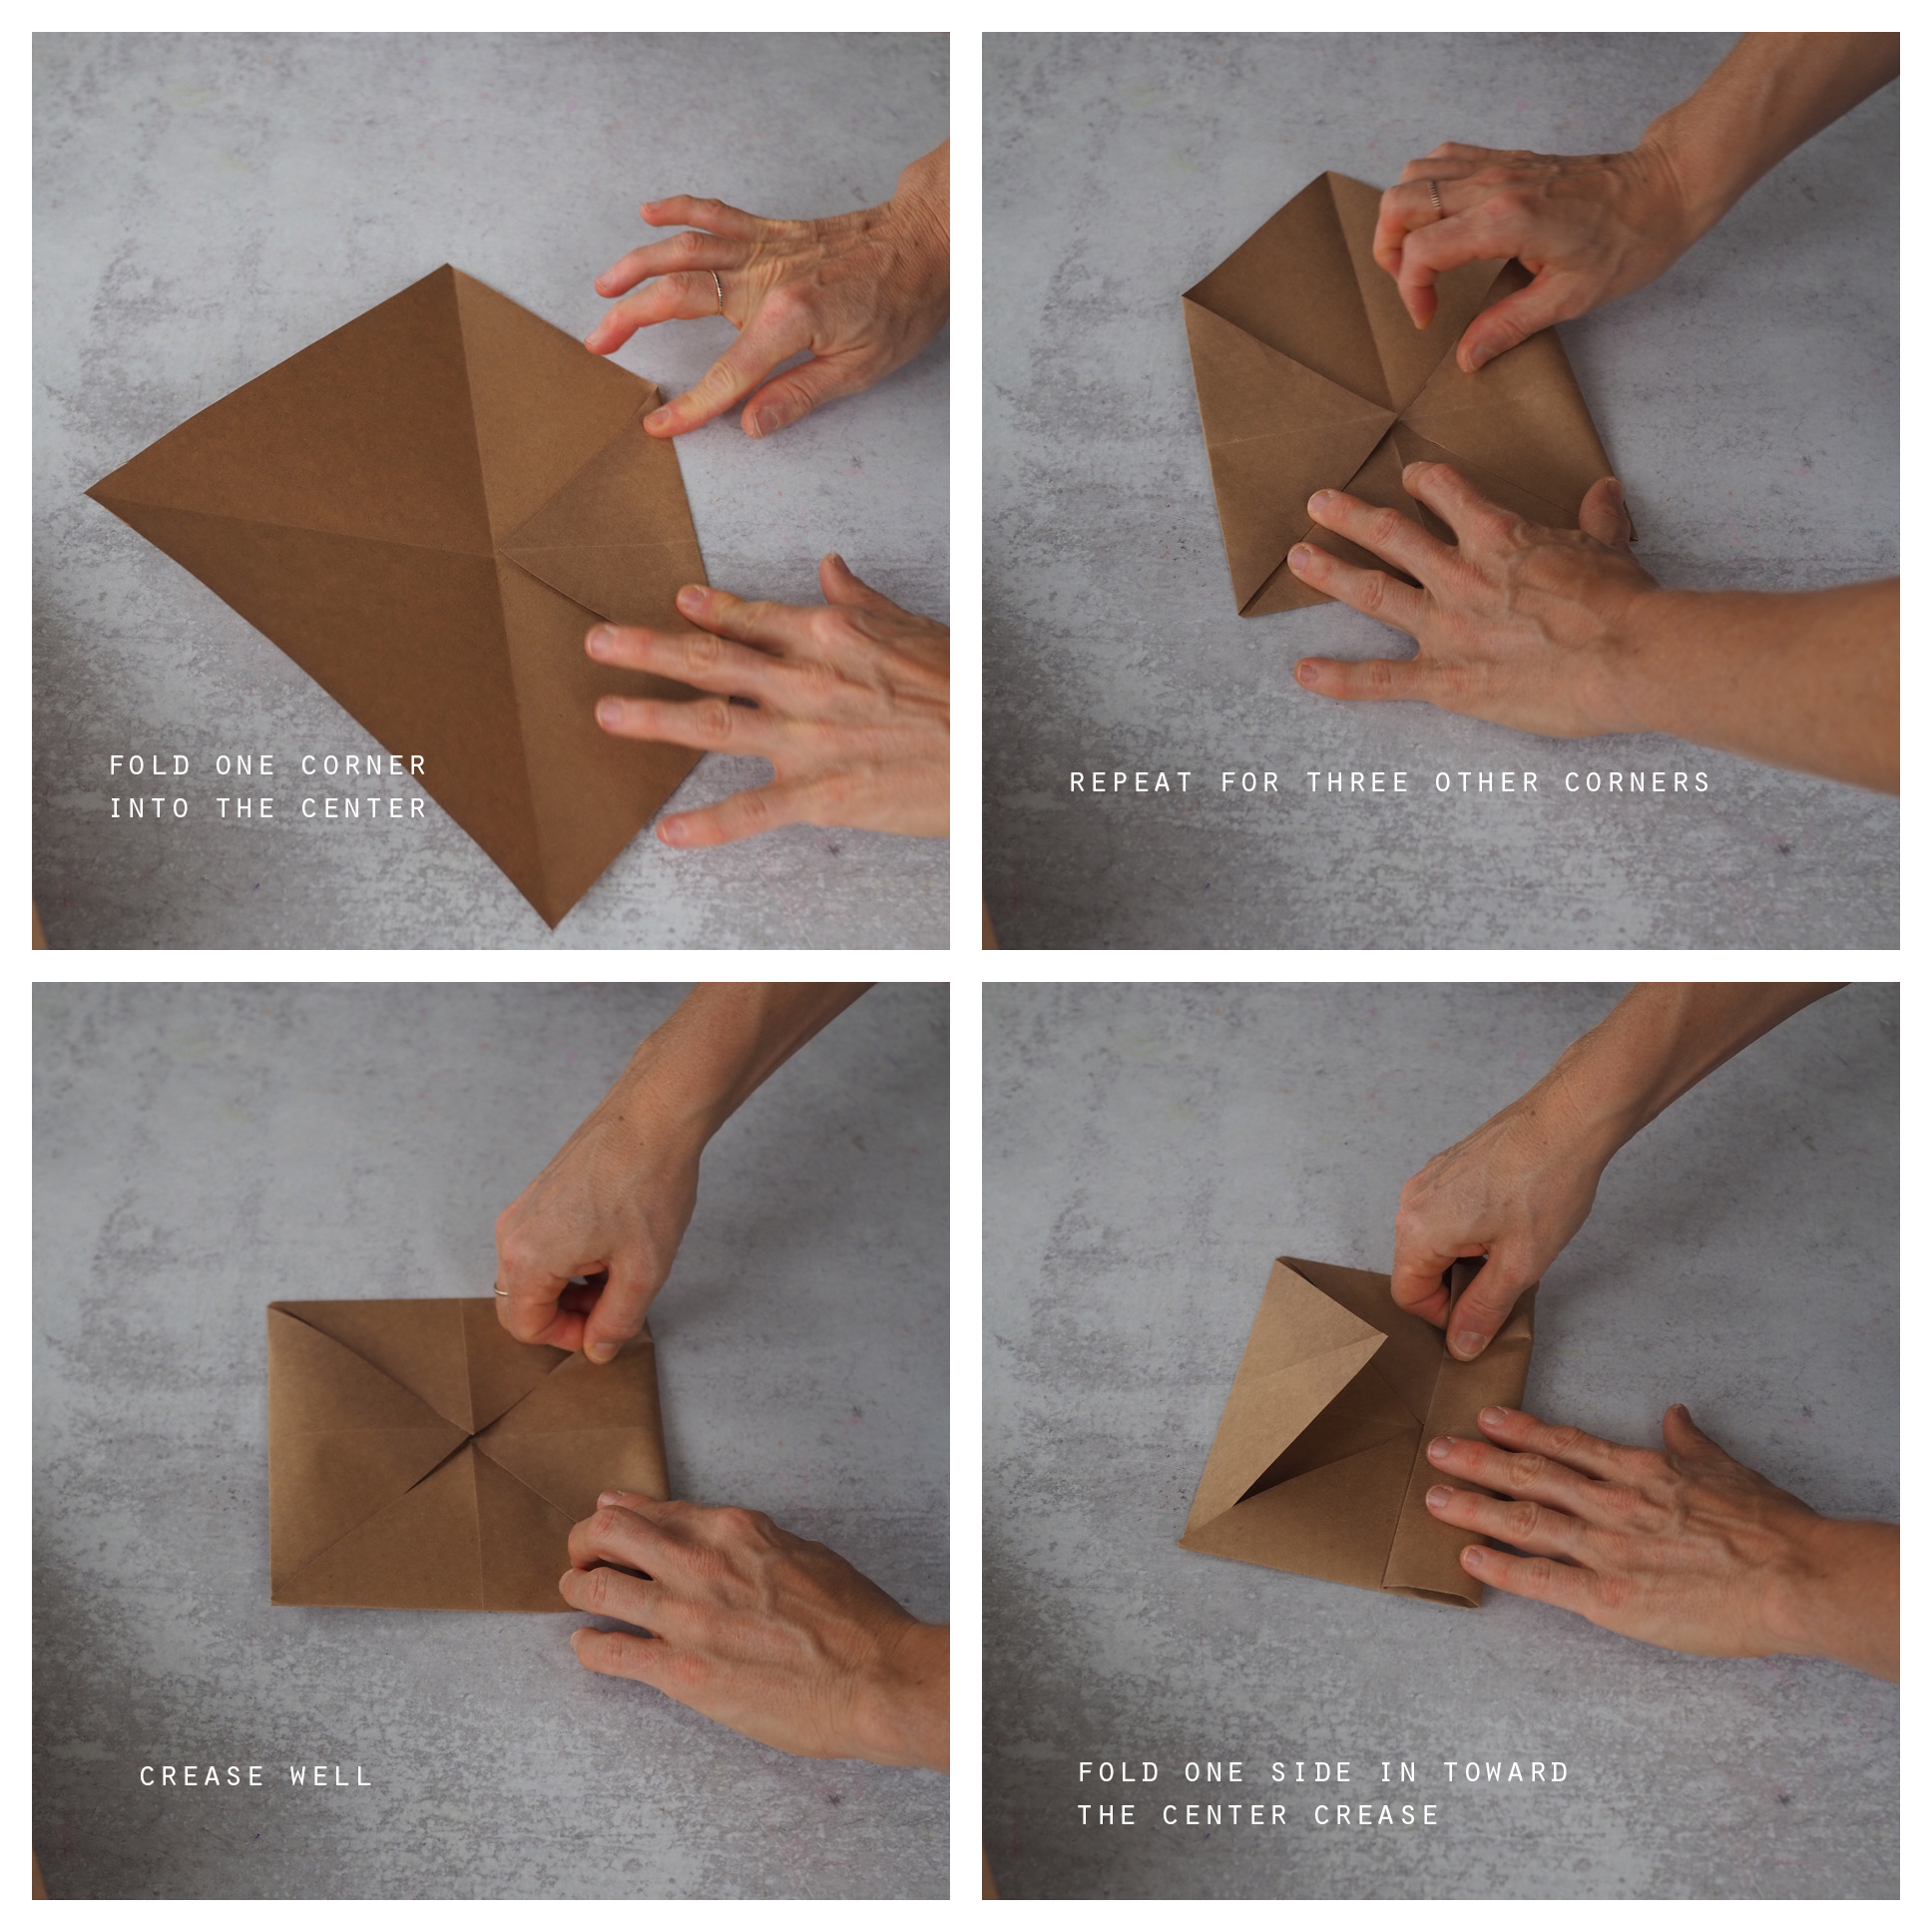
+ Starting with one corner of the square, fold into the center mark and crease the bottom.
+ Repeat for the remaining 3 corners (you will once again have folded the paper to form a square)
+ Starting with one flat edge, fold it in to the center line and crease.
+ Repeat for the opposite side so that both straight edges meet in the middle to make a rectangle
shape—this is called a cupboard fold because it looks like two doors of a cupboard.
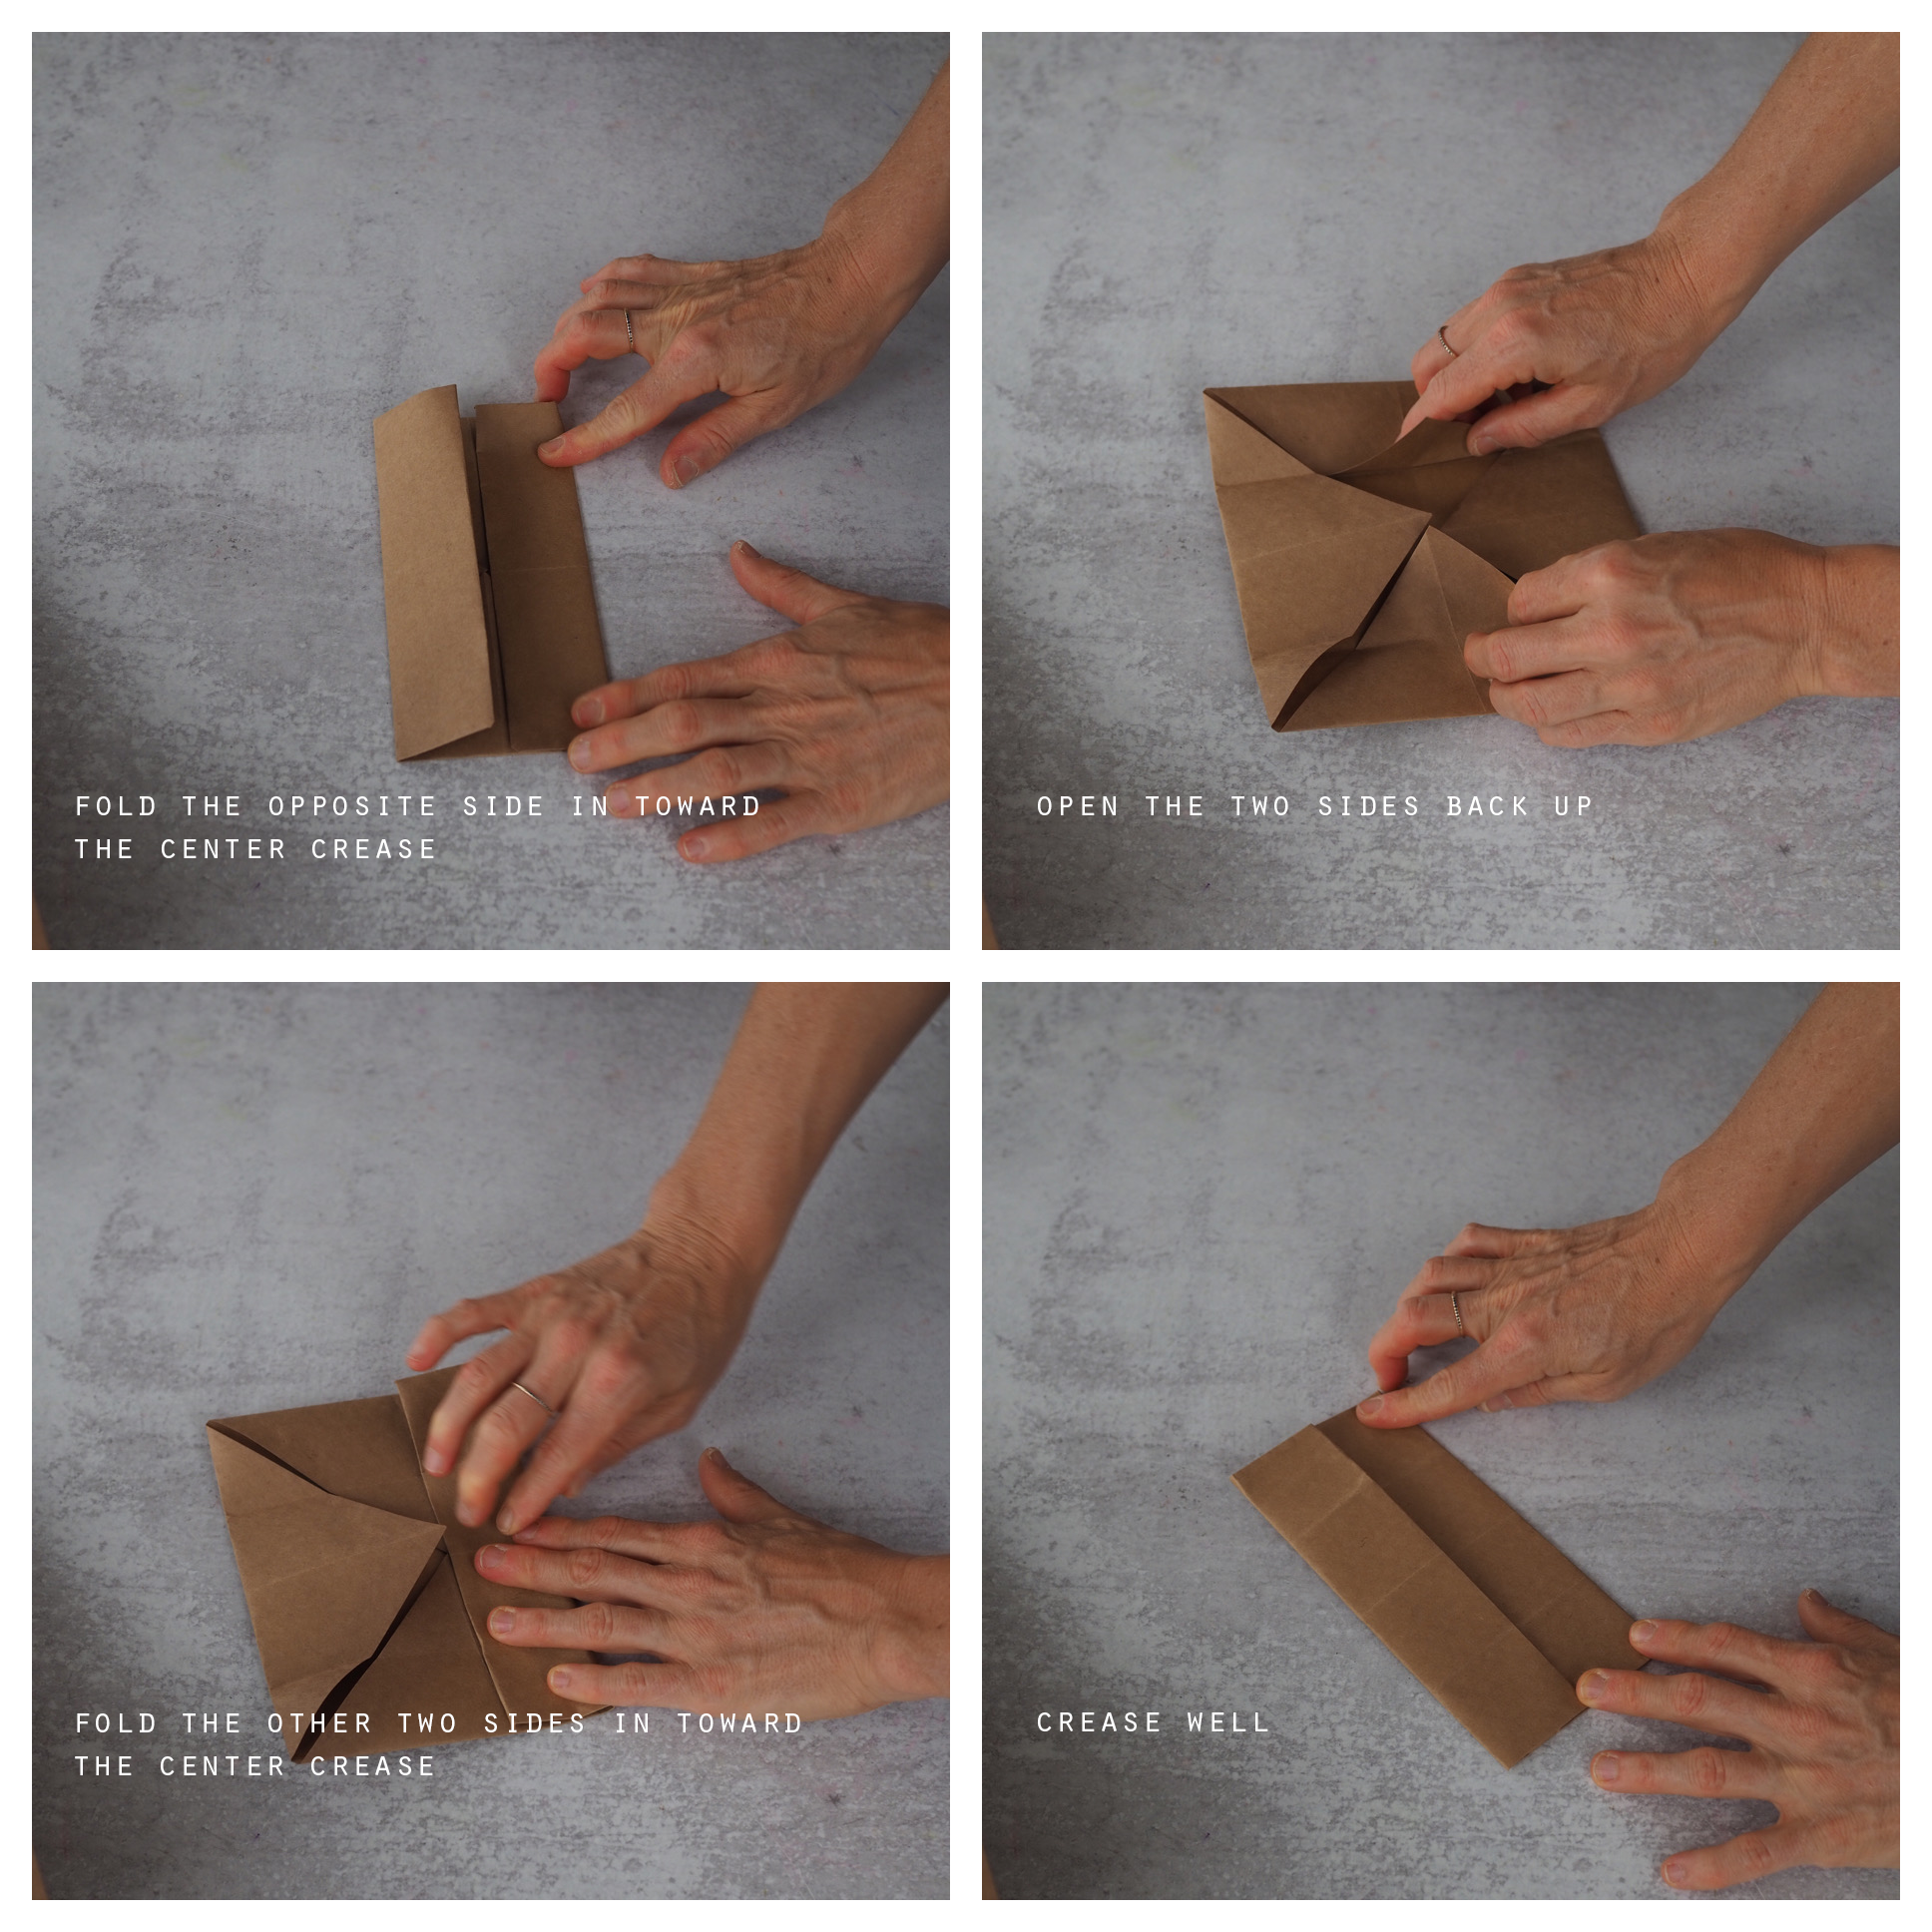
+ Open the two sides up, and repeat on the opposite two sides, folding both sides into to the center.
+ Open the last two sides up. You will find you have a square shape with creases for 16 small
boxes inside.
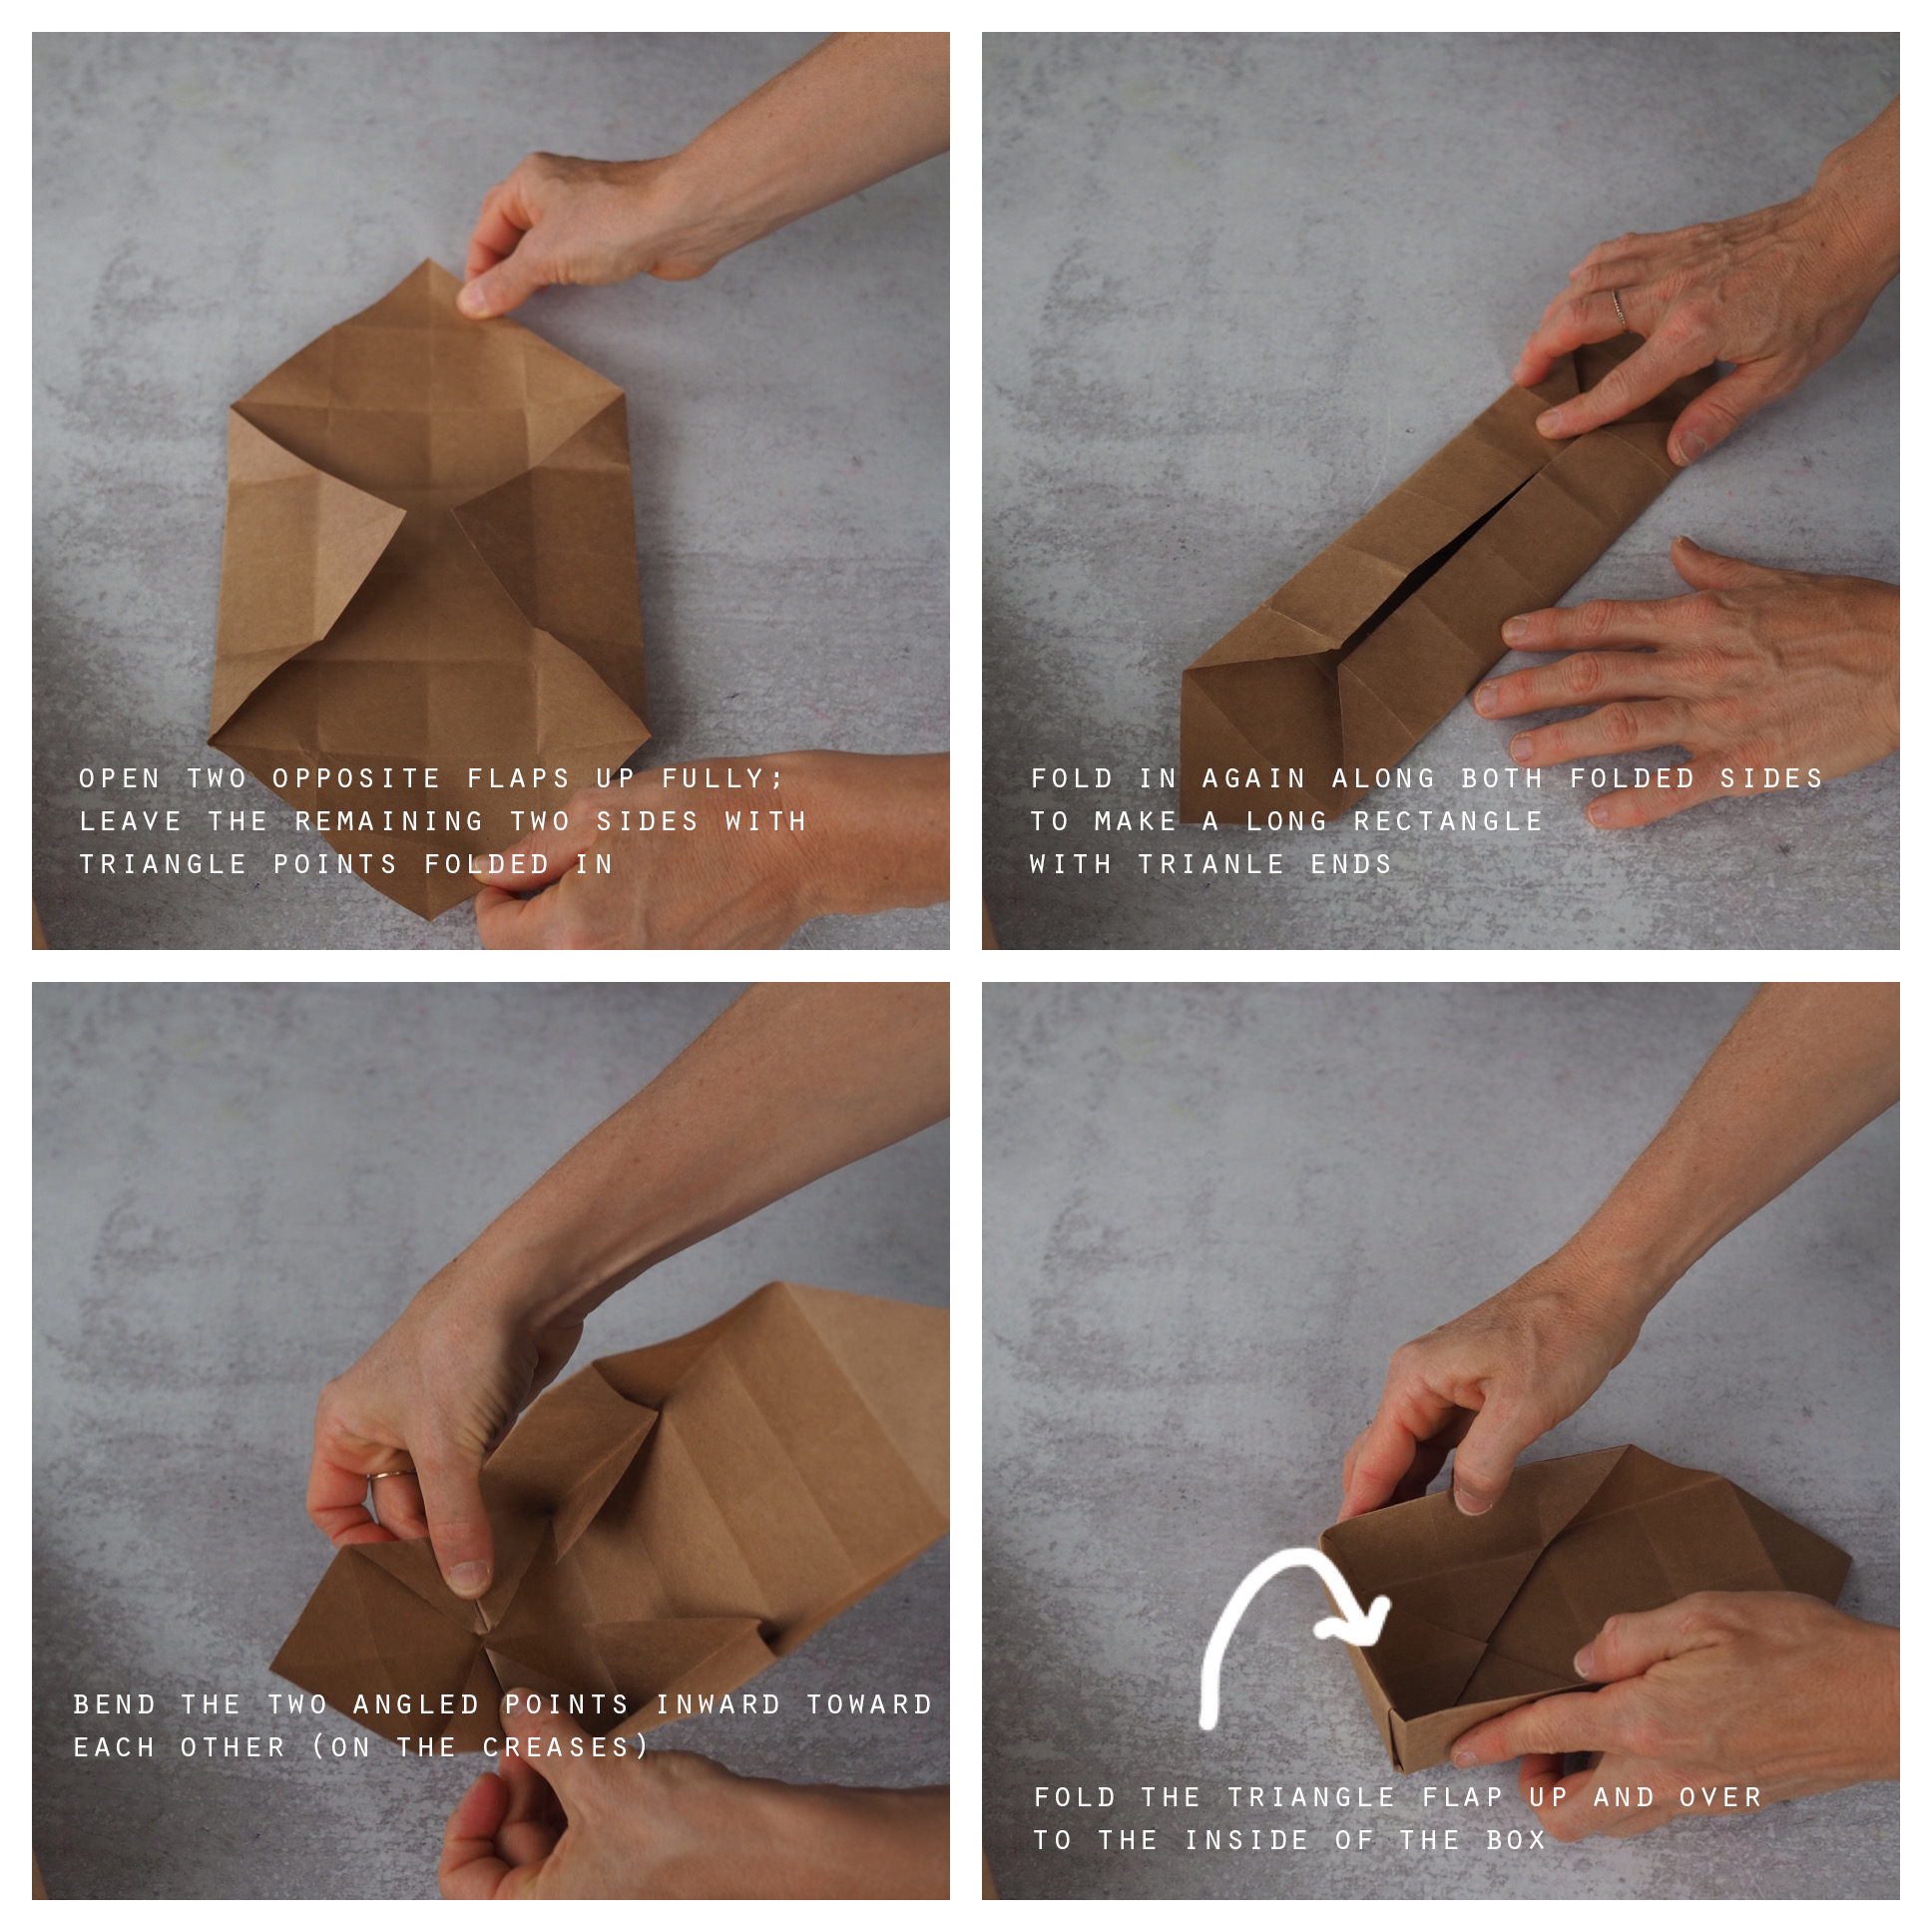
+ Open up two of the triangles on opposite sides from each other and leave the other two triangles
folded in.
+ Fold the long edges on opposite sides in to the center (the previously creased folds should make
this easy. Your shape will now be a long rectangle with two pointed triangles at each end.
+ Using the creases you already created with previous folds, fold up the triangle end by bending the
two angled points in towards the center.
+ Then fold the flap downward over the side and in towards the inside of the box. Crease there.
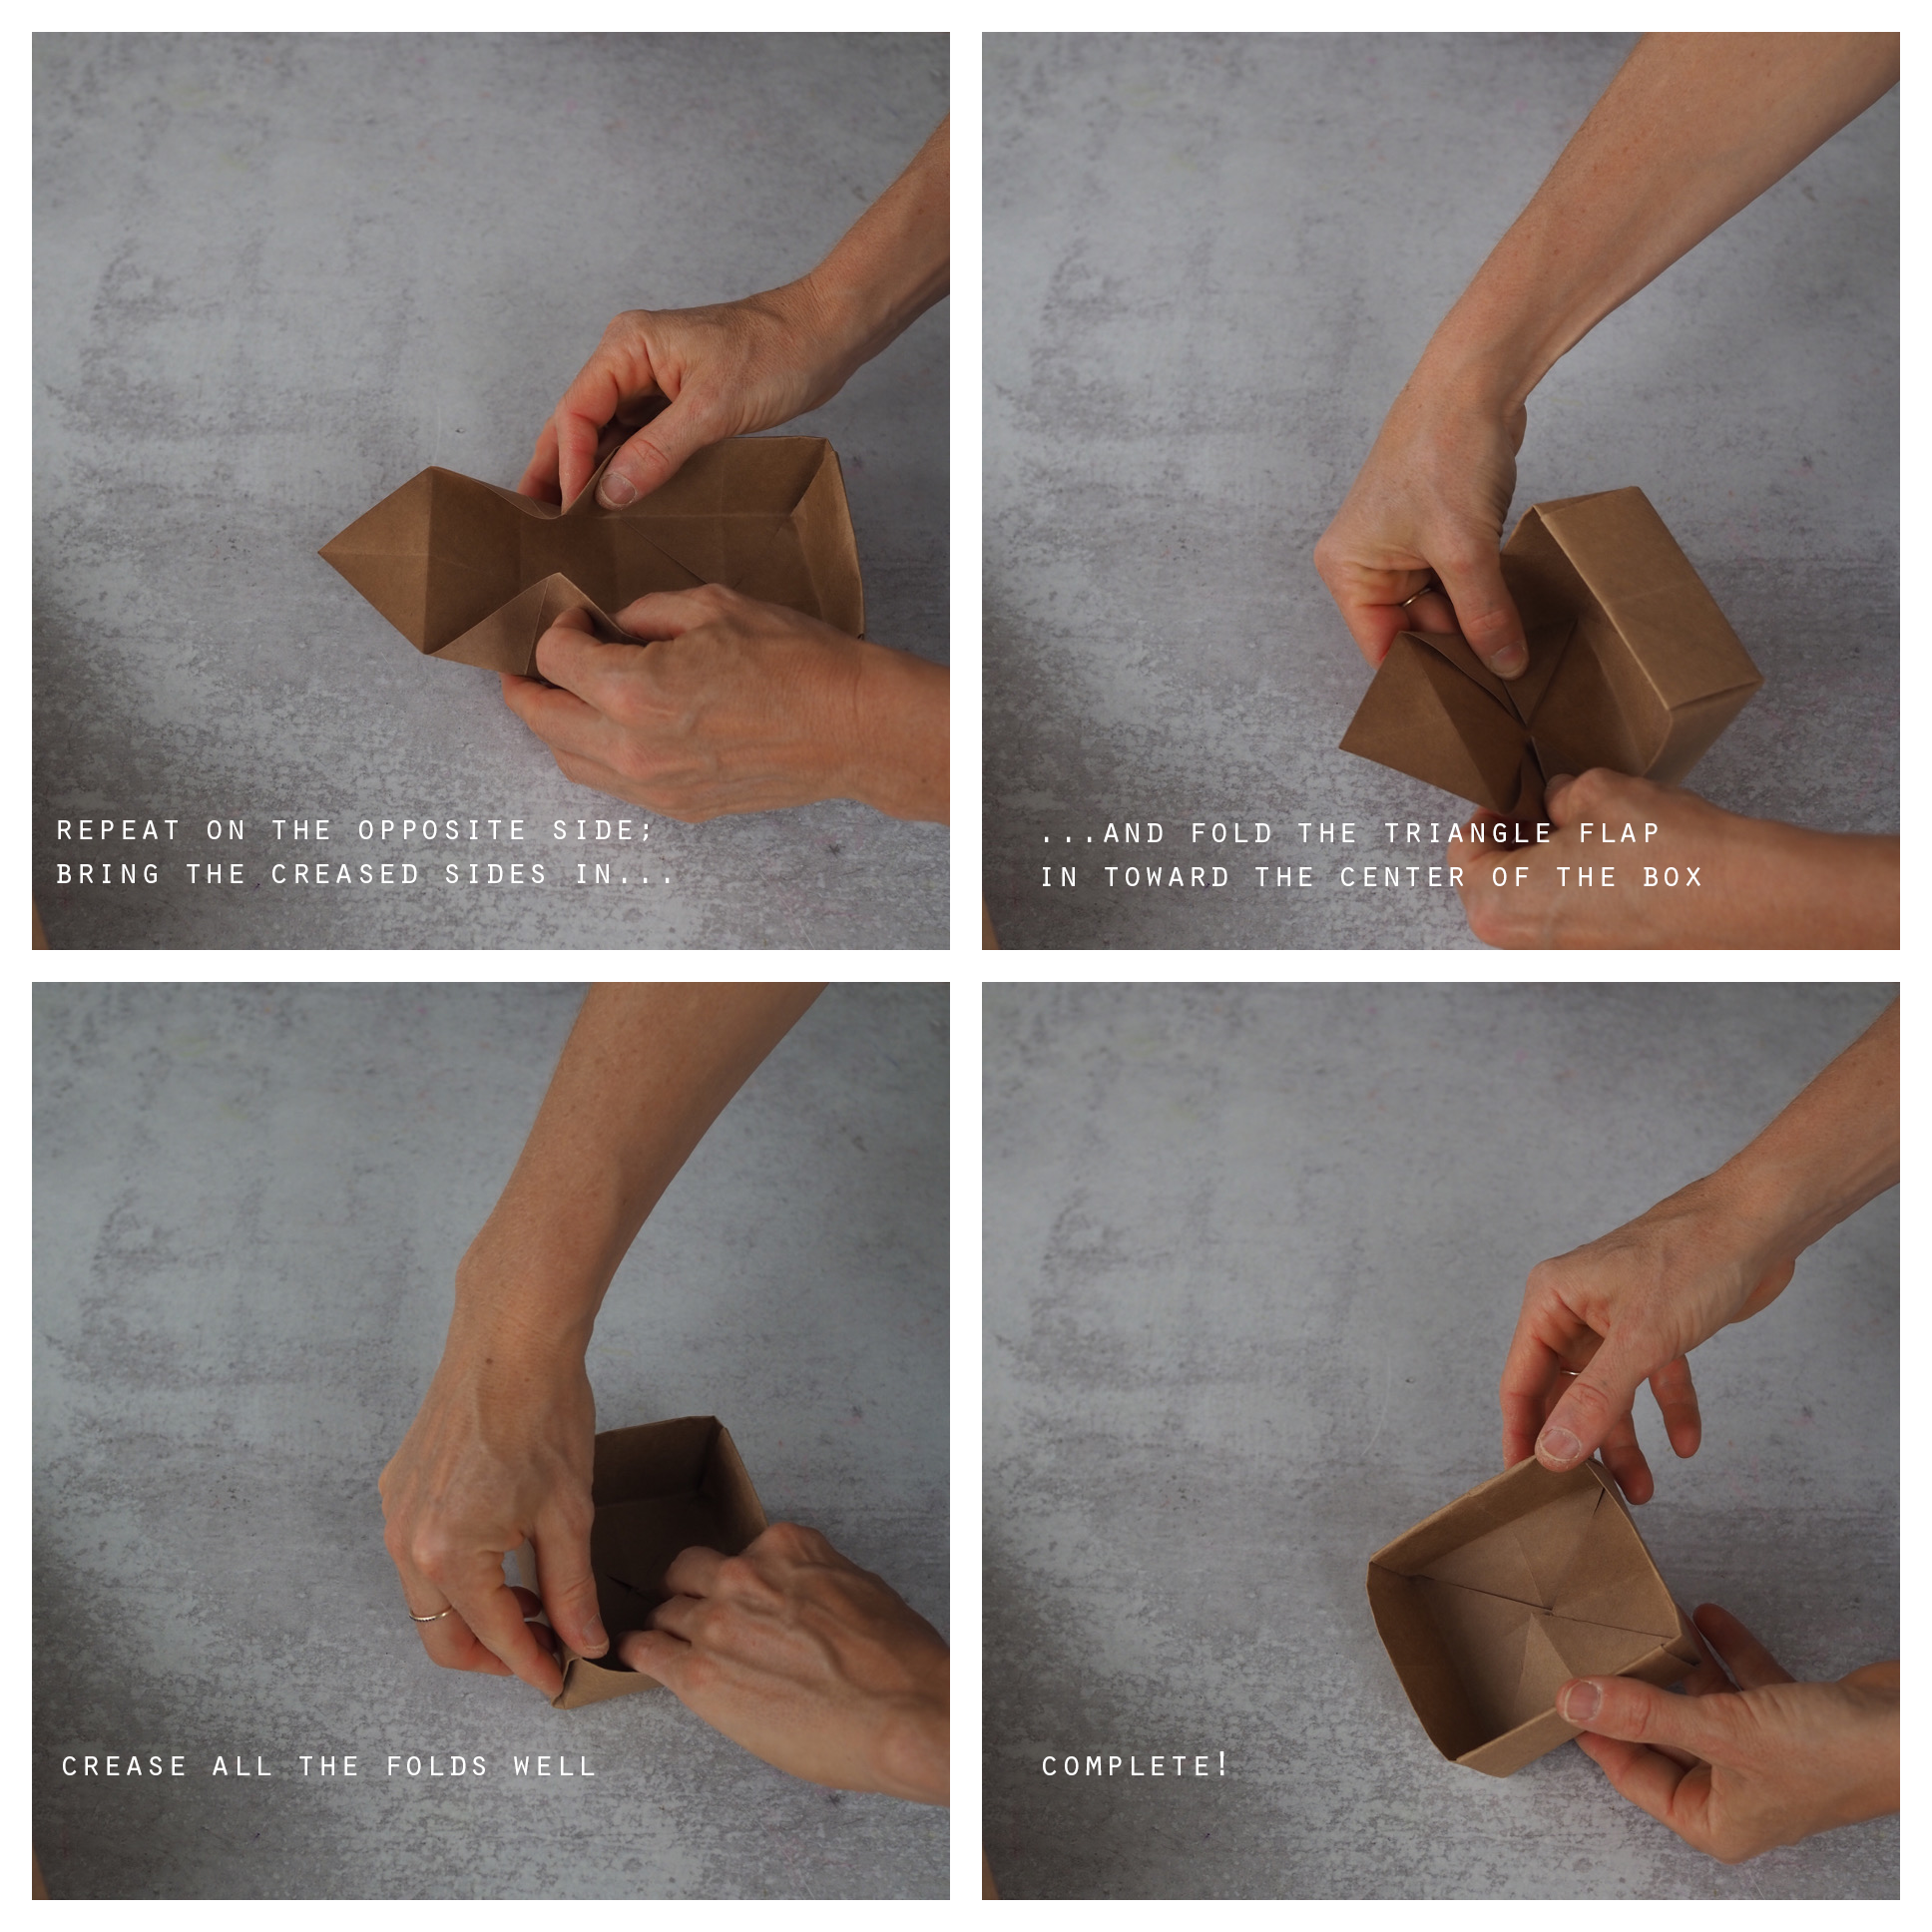
+ Repeat for the opposite side. Folding the triangle flap in towards the center of the box by folding
the side flaps in. This step is easiest done visually…so refer to the video or image.
+ To make the inside box you will need a second sheet of paper that is ½" shorter on both sides.
+ Repeat all the folding steps to make your second side of the box, and you're done!
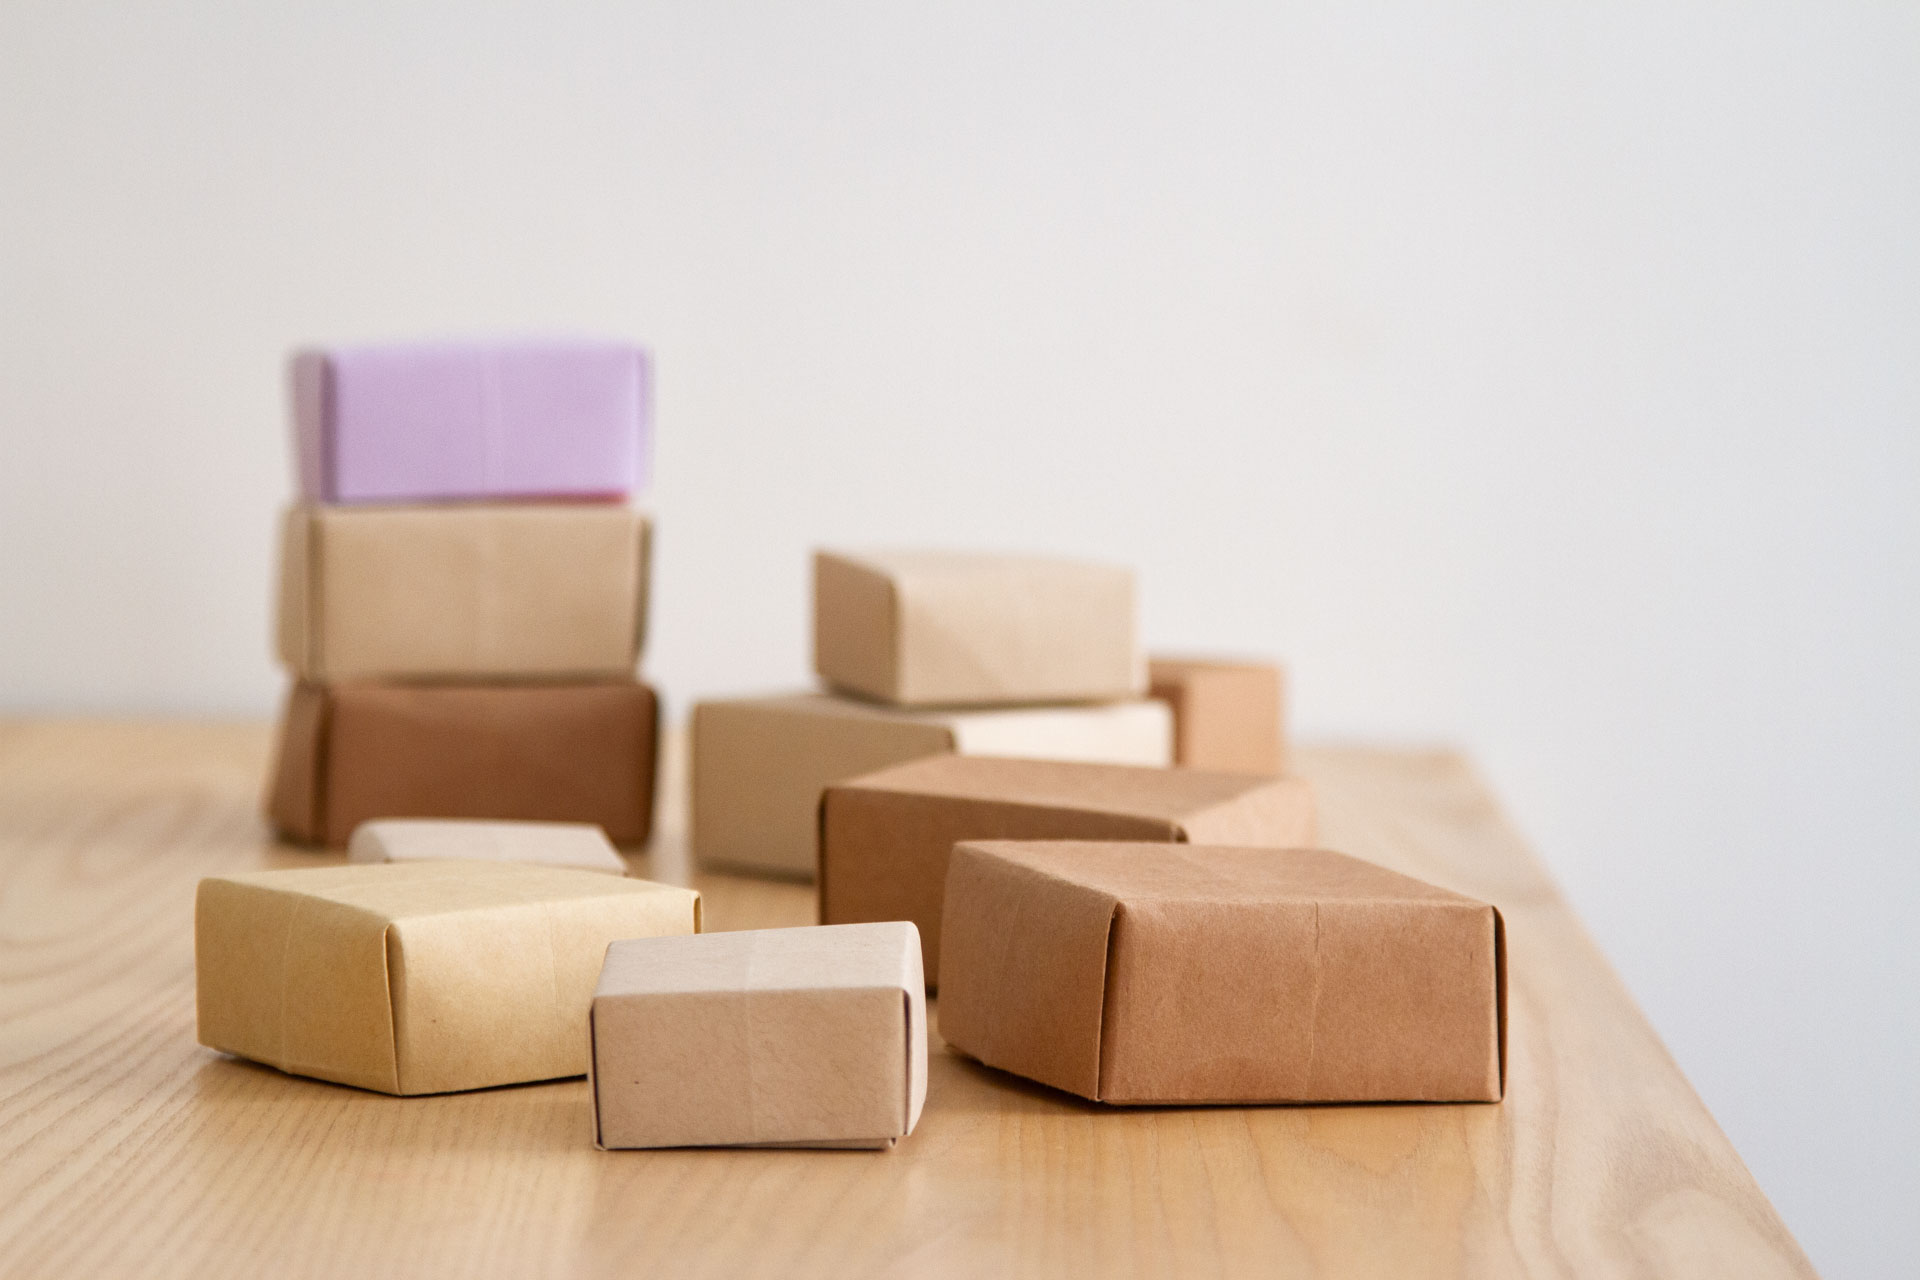
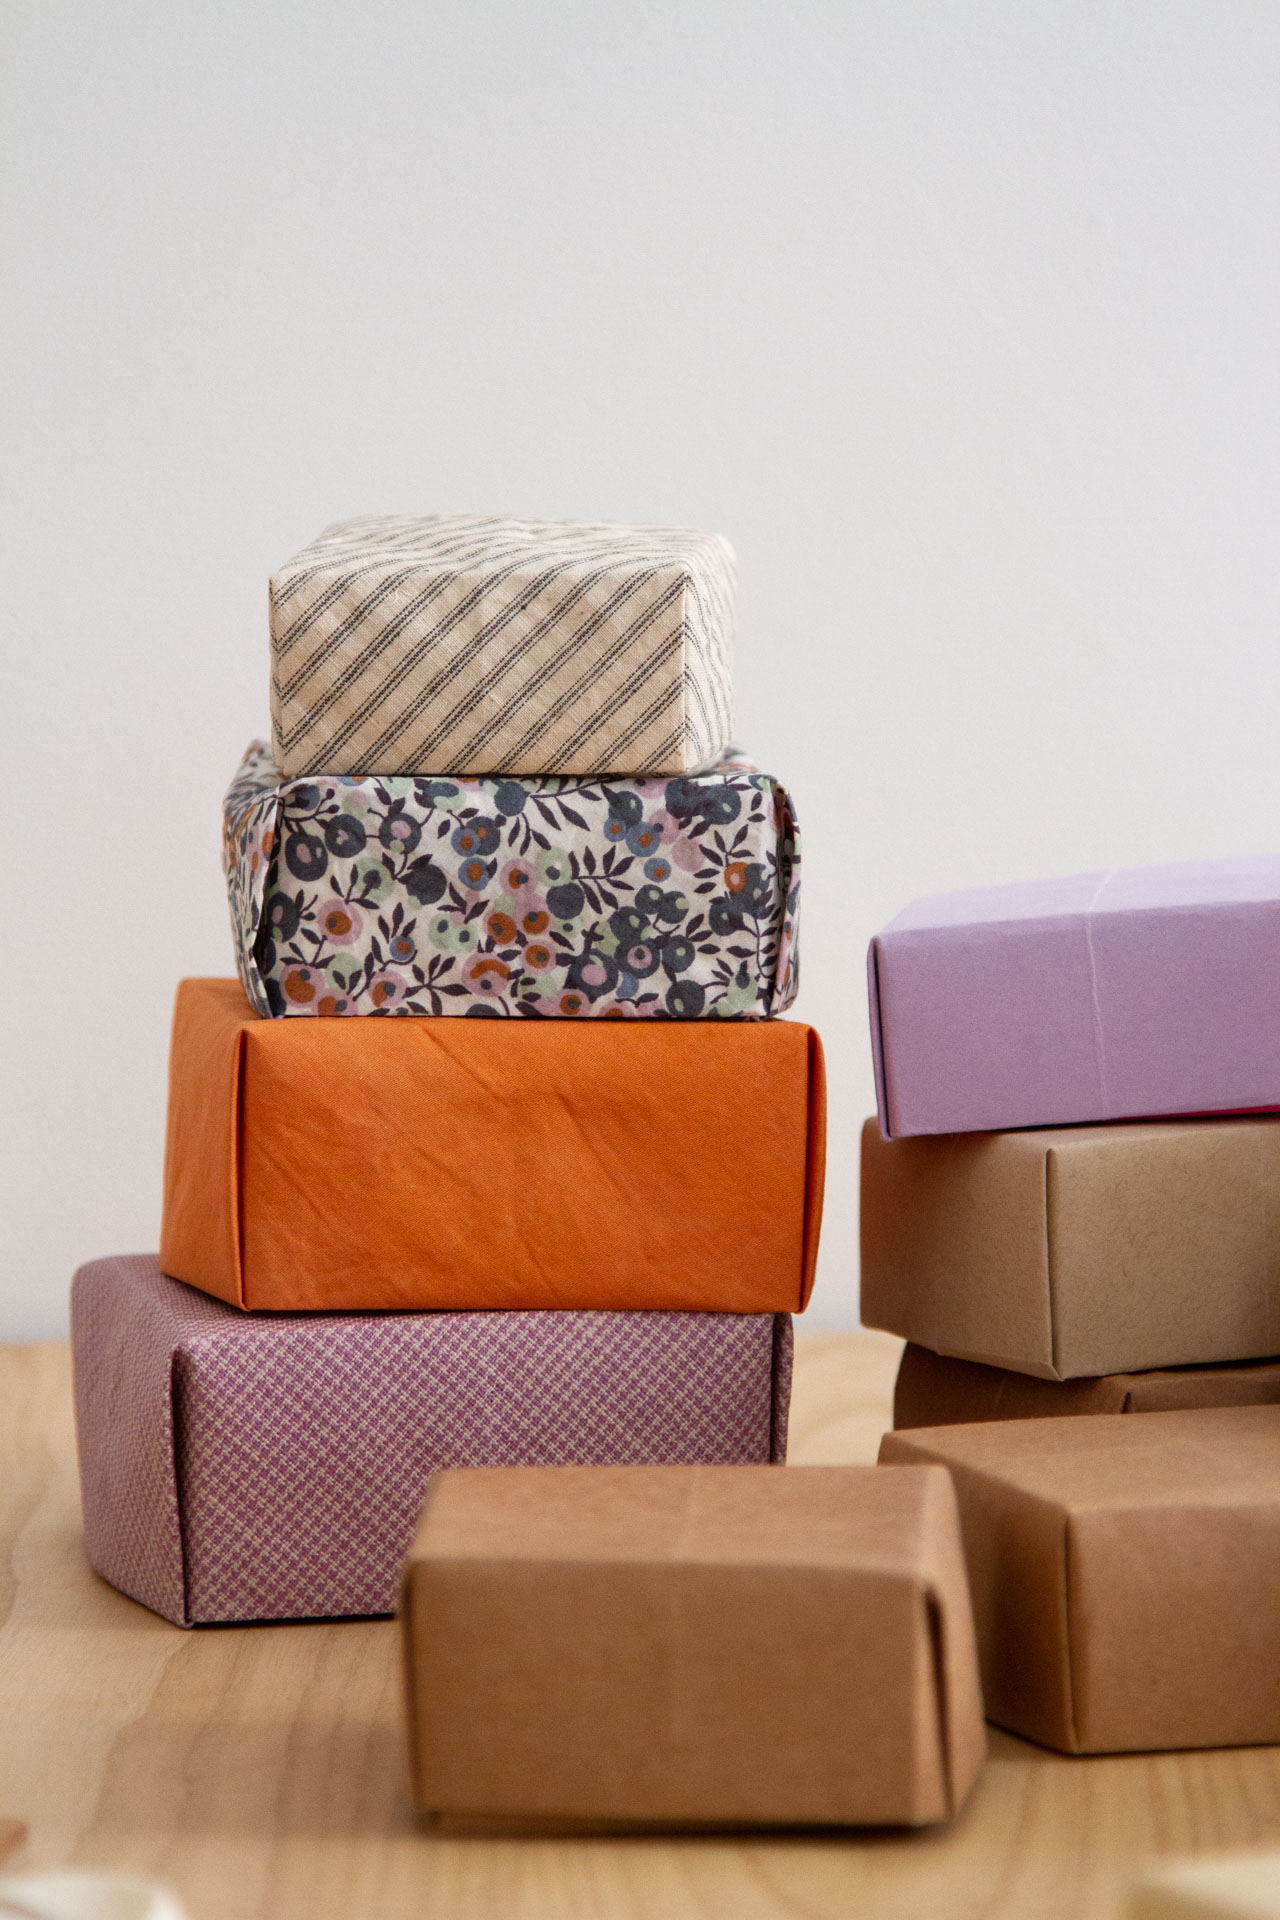
If you start with a square of paper, you can make just about any size box you'd like. They're excellent for stashing all kinds of things and predictably, very satisfying for stacking inside one another, matryoshka doll-style.
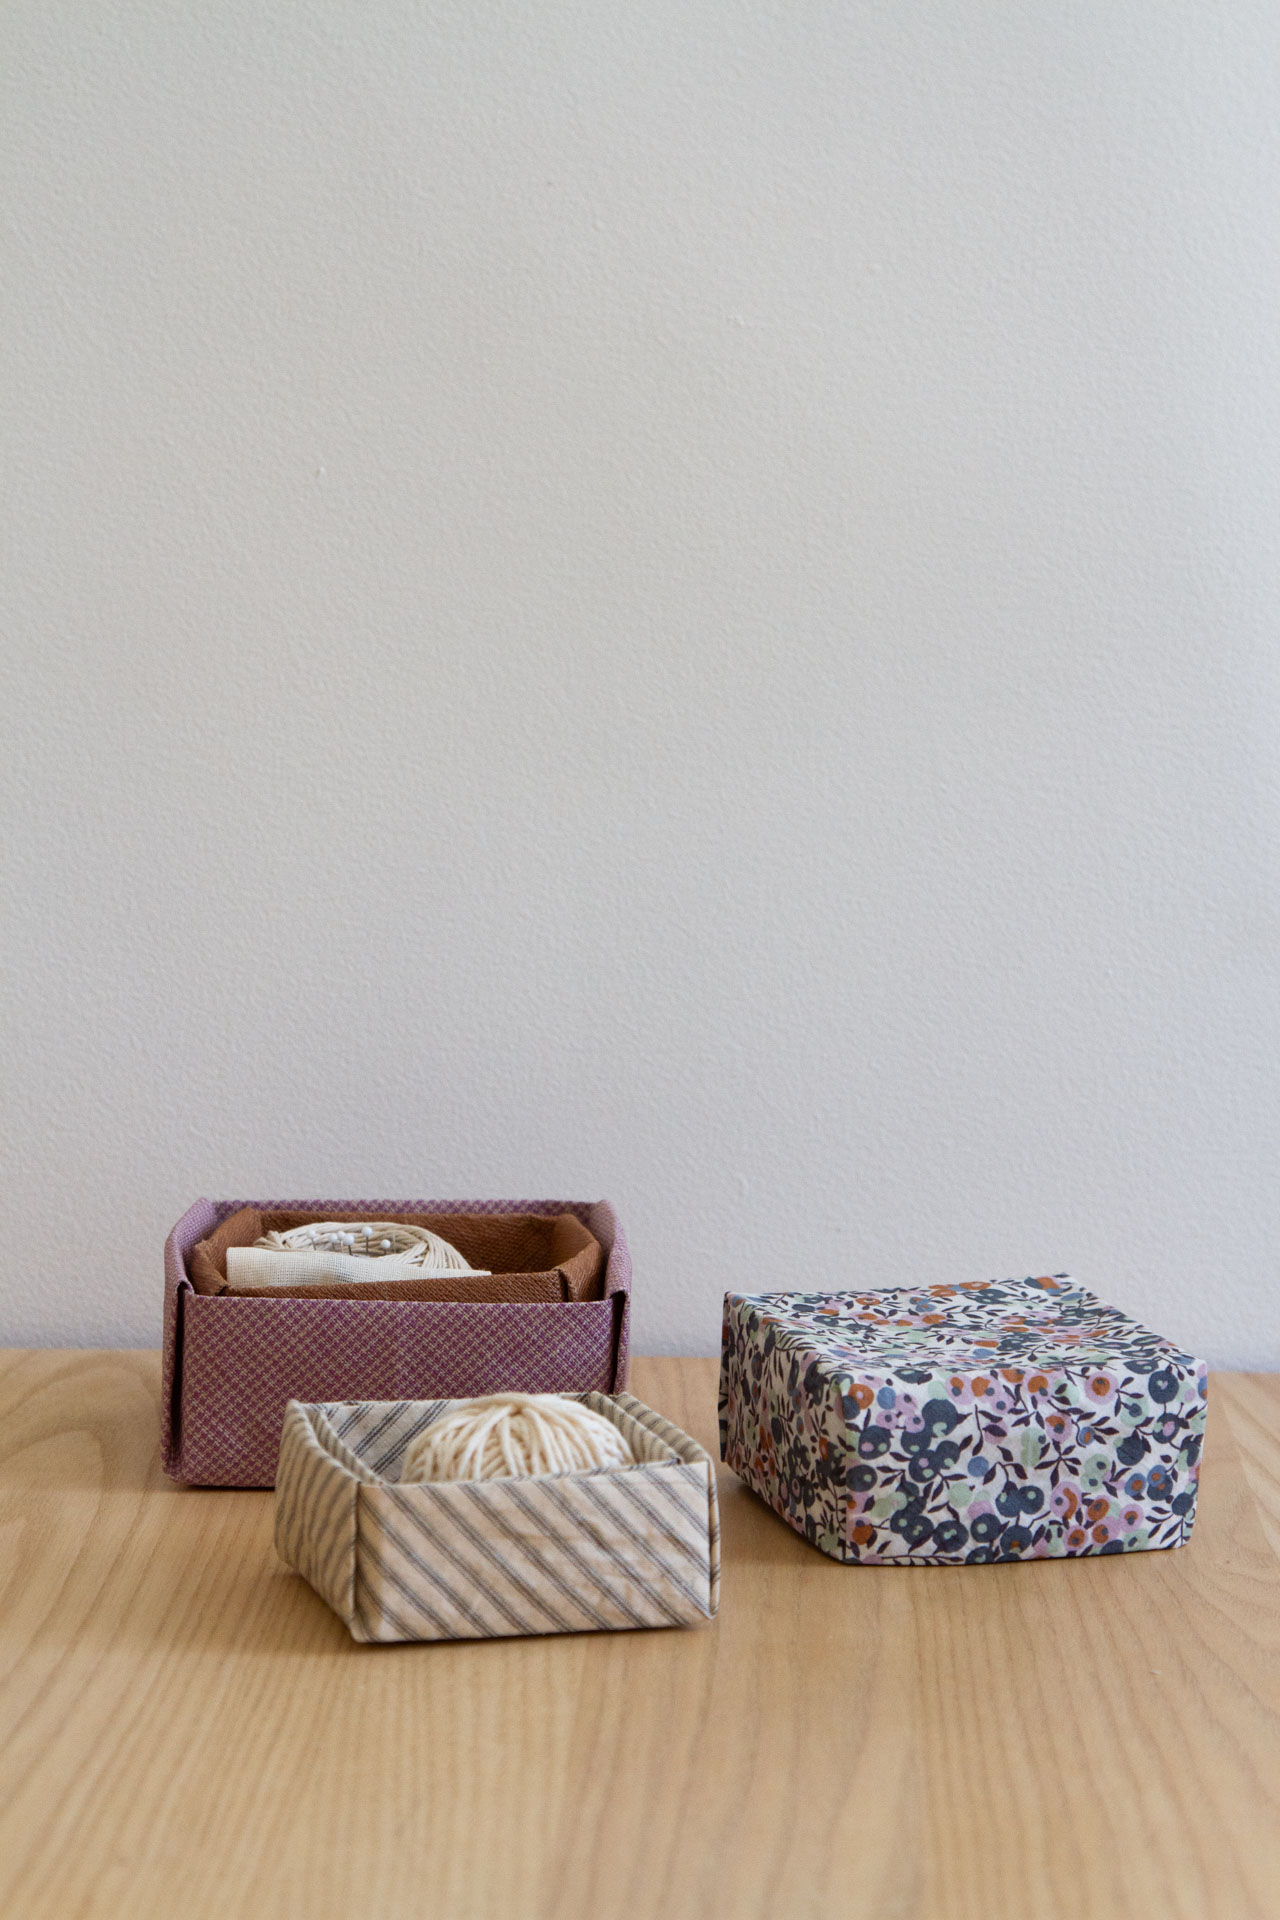
Above are masu boxes we made from fabric we stiffened with a simple cornstarch paste. The starch gives the fabric a paper-like texture and makes it sturdy enough to fold and crease into boxes using the exact same tutorial as above. We'll share our technique for starching the fabric later this week, so stay tuned and save your scraps. Here, we used large format linen fabric remnants that are 12″ square from Fog Linen, Liberty of London remnants that were probably closer to 8″ square, and ticking stripe from squares that were slightly smaller than that.
//
Thanks to Rose Pearlman for preparing this tutorial and photographing the step-by-steps. Rose is an artist, teacher, and textile designer. With a background in fine arts and a love of well designed functional objects, her creations blur the lines between art and craft and pushes the boundaries with non-traditional techniques and materials. Rose teaches monthly rug hooking workshops in and around her home in NYC, and also welcomes commissions for one of a kind constructions in decor and home furnishings. Her work has been featured in fiber magazines, galleries, and numerous online design sites. Her book Modern Rug Hooking is available wherever books are sold. Follow along with her functional craft projects at @art_objects_ She lives in Brooklyn, NY with her family.
This post includes affiliate links to online shops. Reading My Tea Leaves might earn a small commission on the goods purchased through those links, but most of these supplies can be found locally right in your own community. If you'd like to support this site directly, you can contribute directly here. Thanks so much for supporting this work.
Basic Steps for Creating One's Own Origami
Source: https://readingmytealeaves.com/2021/10/make-your-own-origami-masu-box.html
Belum ada Komentar untuk "Basic Steps for Creating One's Own Origami"
Posting Komentar