How to Make an Origami Envelope Out of Rectangular Paper

Making an origami envelope
Do you like making origami? I do, although I tend to limit myself to simple ones as I often get stuck when I follow instructions. This is a simple tutorial for an origami envelope that opens up like a box. You can use it as an envelope for a notecard, of course, but also to wrap small flattish items such as thin notebooks, books, and similar. So far I have tried it for parcels up to 50mm (half a centimetre) thick, with no problems.
Lets's start with a rectangular piece of paper (wrapping paper will do nicely, or any paper that's not too flimsy nor too thick. You could also use a sheet of A4 printing paper, and decorate it yourself. In this example, I'm using some recycled paper that I bought in a craft shop, a bit narrower than A4. Depending on the size of paper, you may end up with a square envelope, or a rectangular one. Just play around and experiment :)
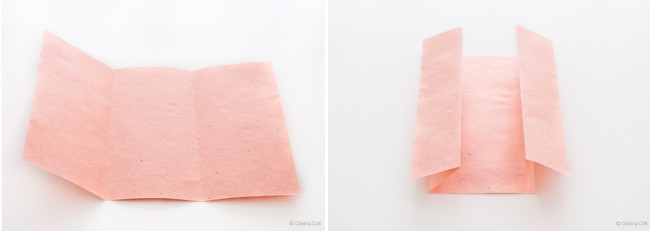
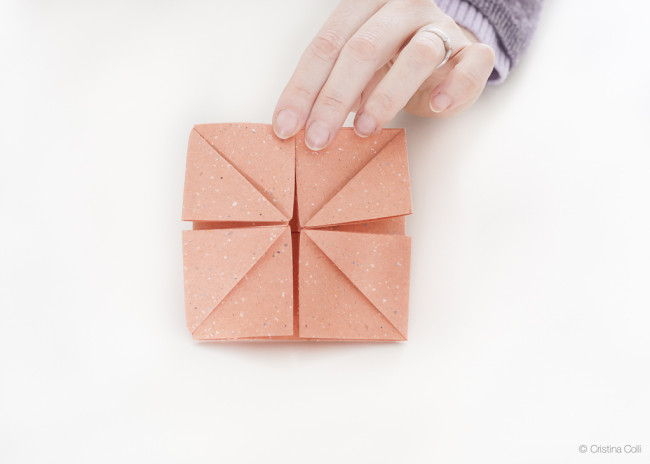
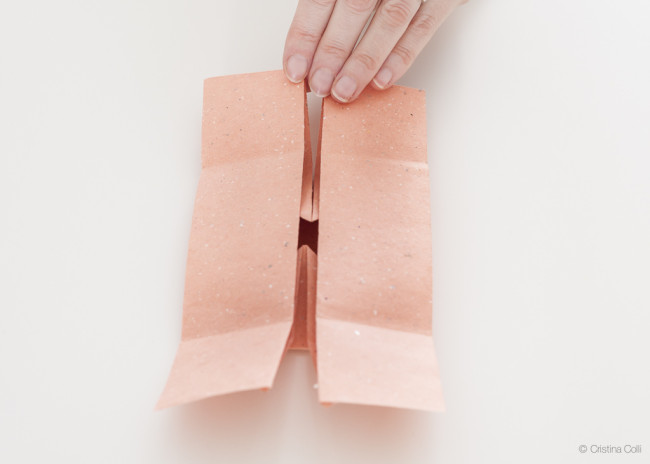
Step 1 – Fold the paper in 3 equal parts, and then fold the side flaps in half as shown below.
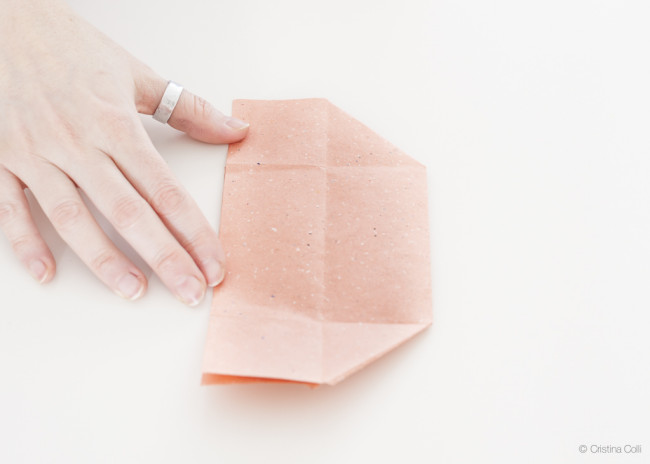
Step 2 – Turn the paper over, and fold in the corners
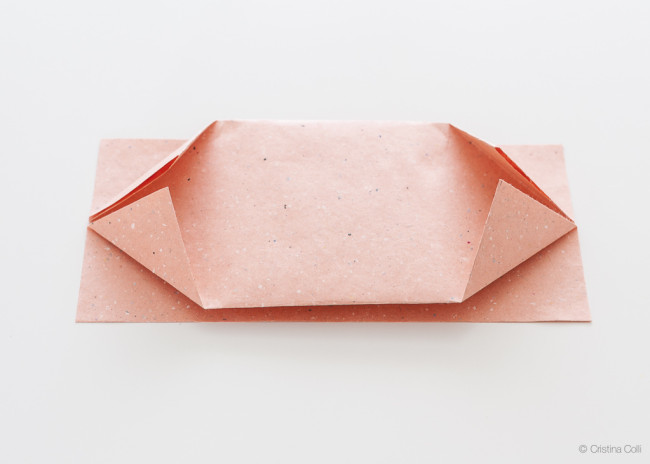
Step 3 – Turn the paper over again
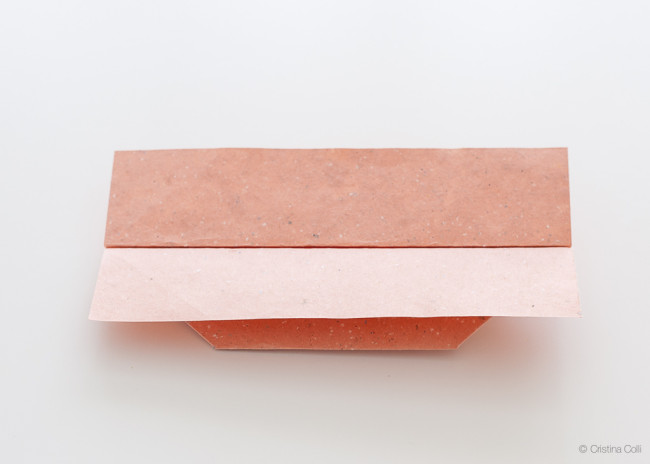
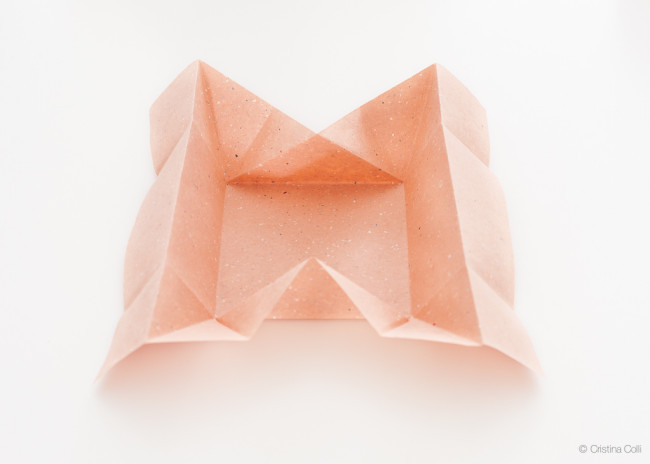
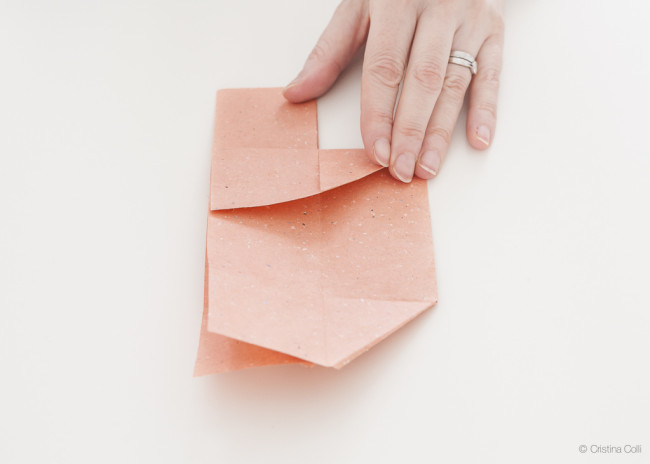
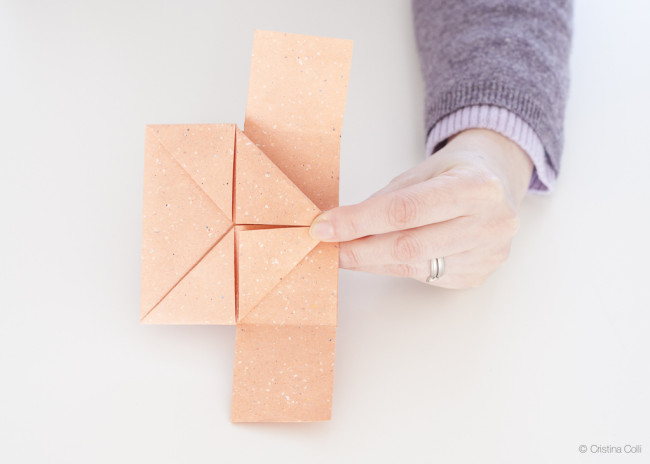
Step 4 – Fold the sides inwards as shown

Step 5 – Open out the paper
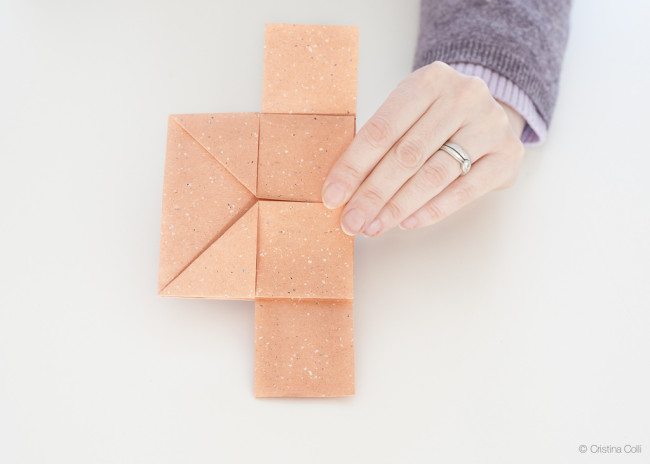
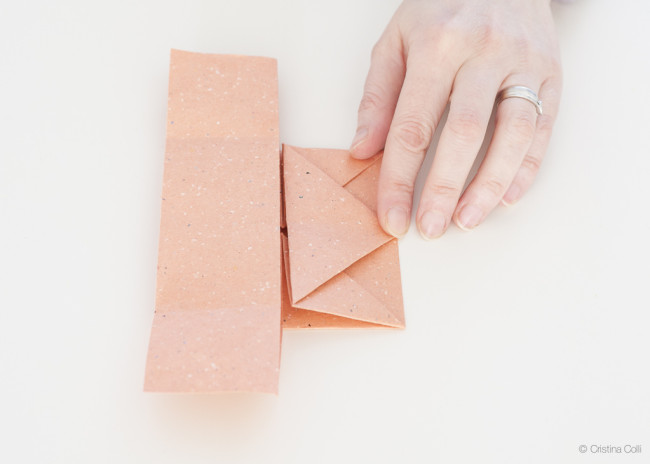
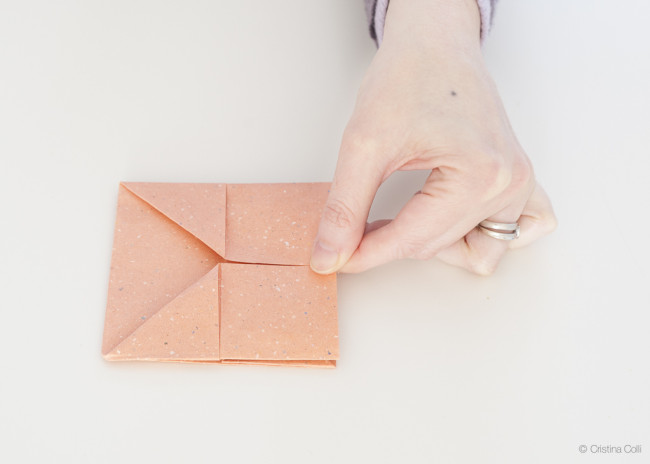
Step 6 – Fold the paper in again, as shown
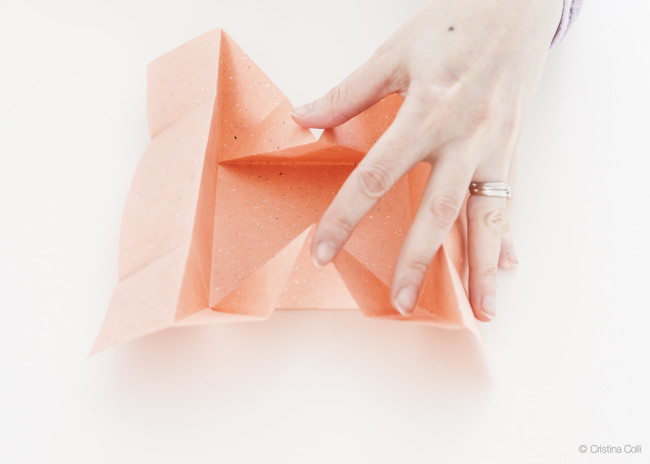
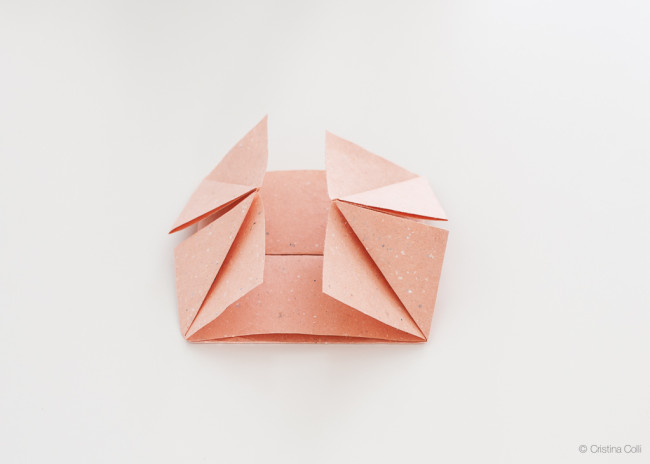
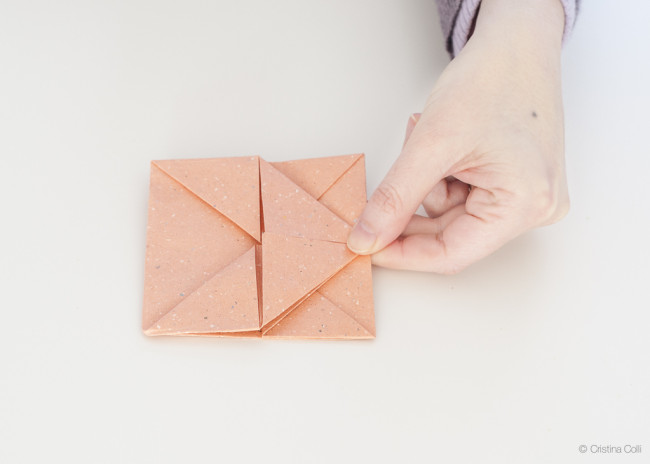
Step 7 – Turn one flap over the other
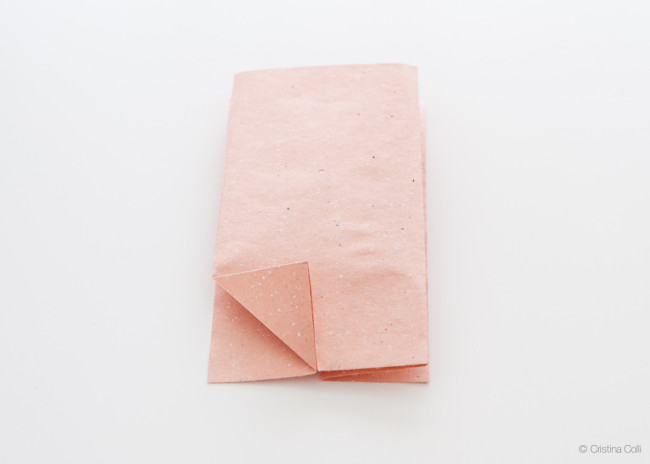
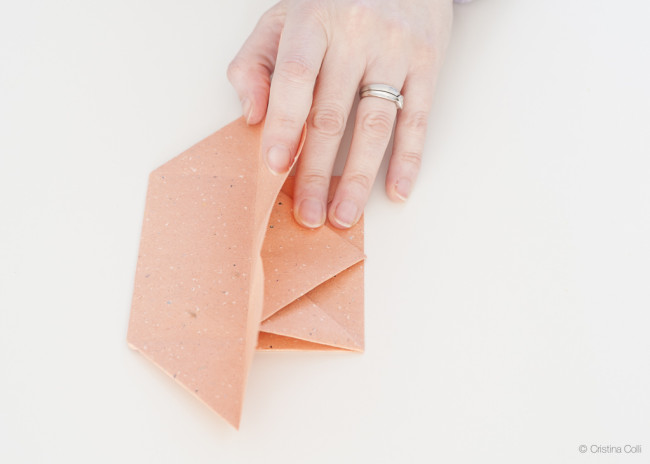
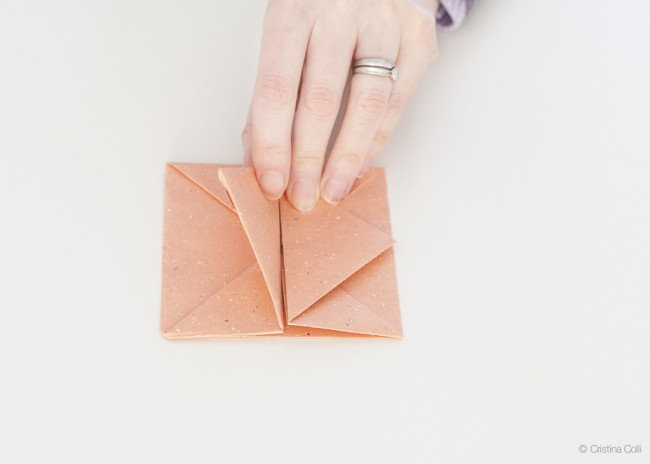
Step 8 – Fold the top and bottom corner of one flap inwards, as shown
(in case you're wondering: I turned the paper as it was easier for me to fold it)
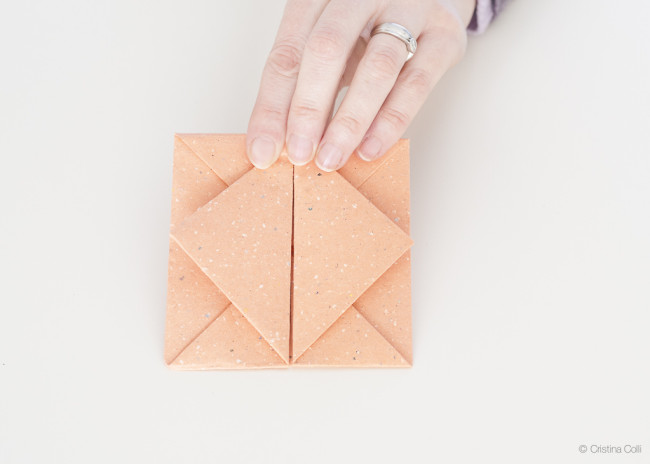
Step 9 – Fold in the top corners
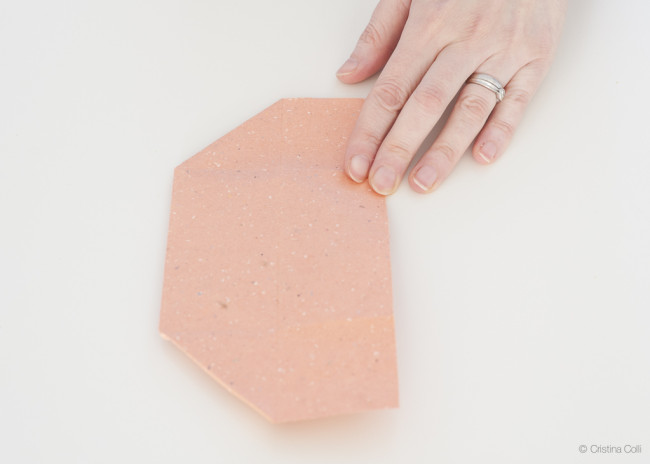
Step 10 – Fold the top corners inwards (I turned the paper again, sorry… at times I was so focused on the folding that I didn't realise I was turning the paper oops!).
Step 11 – Repeat for the other side
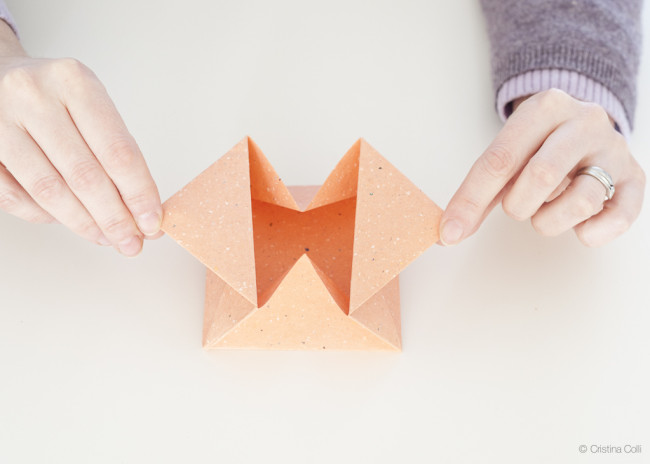
To open the envelope, gently pull the corners of the triangular flaps outwards as shown
Ta-da! That was easy wasn't it? Now you can have fun decorating your envelope as you like best. Here are a few ideas to get you started:
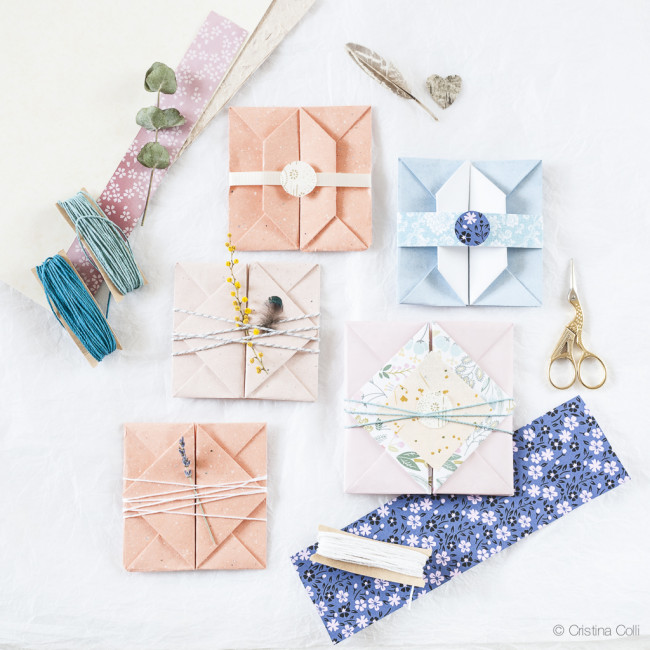
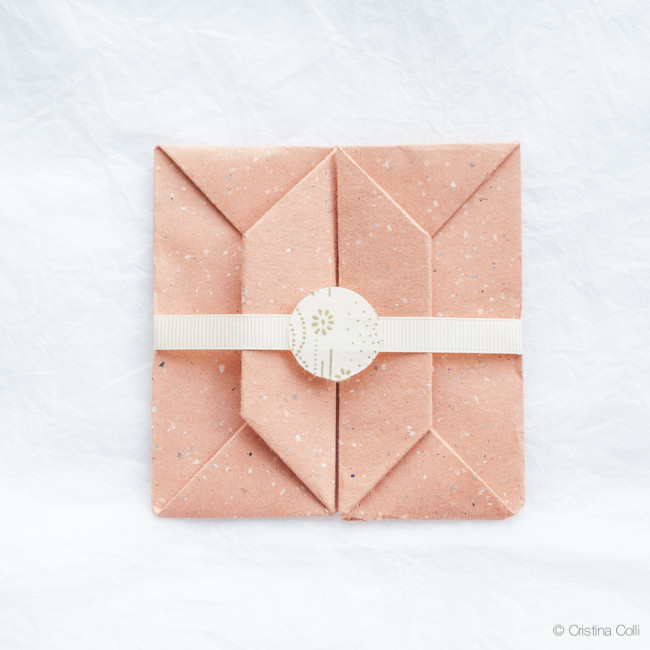
Fold the edge of the triangular flaps inward (use a dot of glue or some double sided sellotape to keep them flat or they'll tend to open up again), then use a piece of grosgrain ribbon to keep the envelope closed (secure at the back with some more tape) and glue a paper circle on the ribbon.
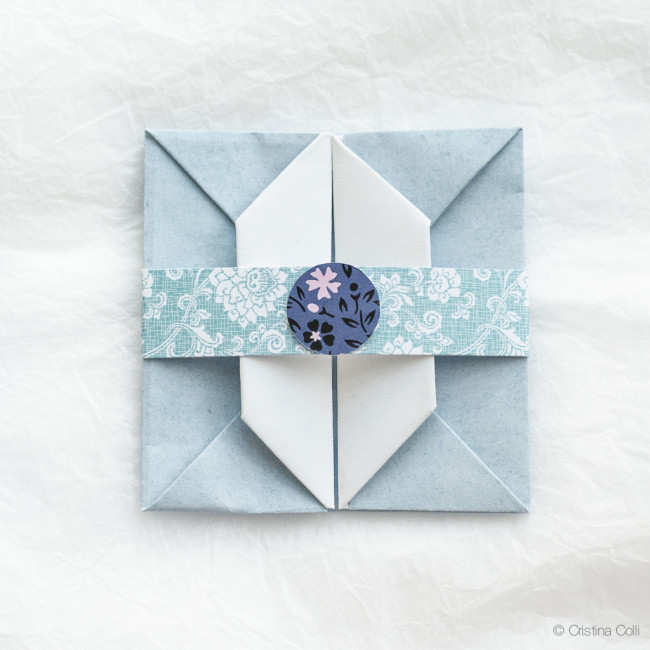
Similar, but with a strip of card instead of ribbon.
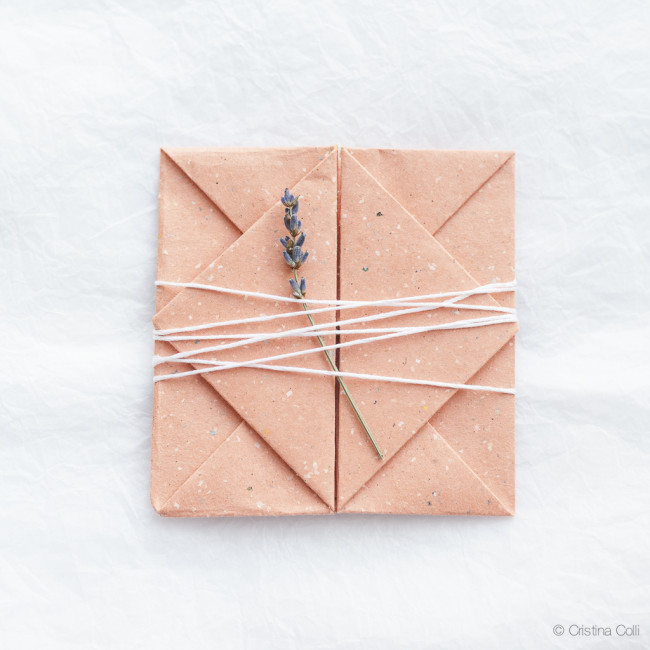
White string and dried lavender.
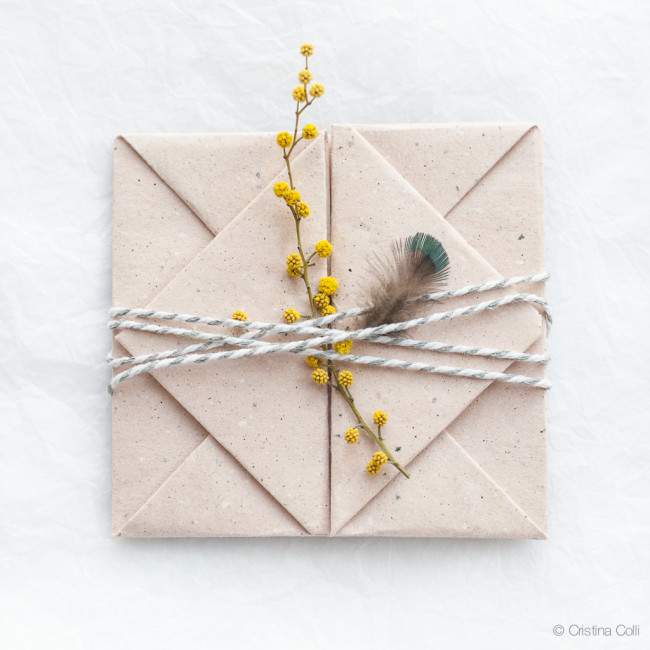
Baker's twine, mimosa and a tiny pheasant feather.

Blue string and some more paper.
Want to know what's inside this last one?
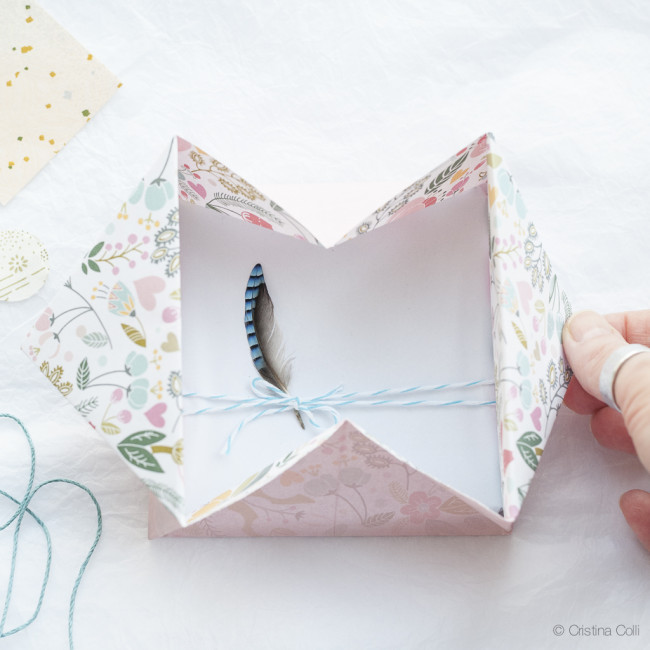
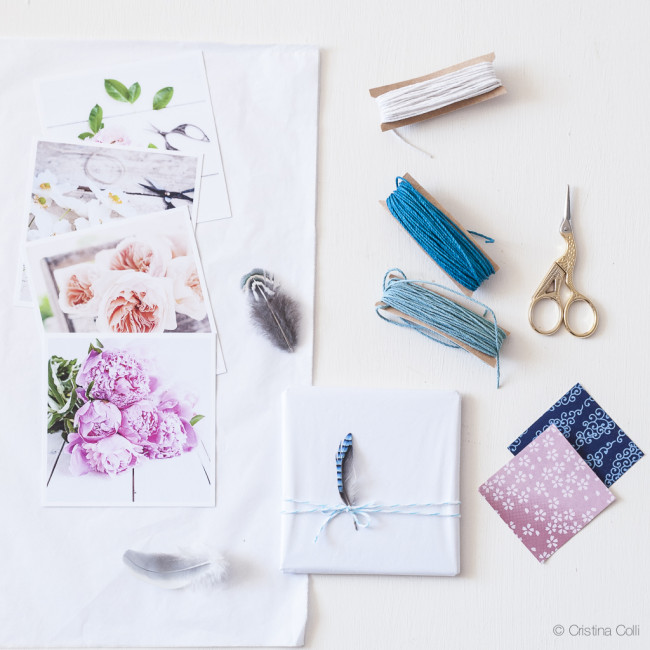
A small parcel! White tissue paper, baker's twine and a bluejay feather, to wrap some of my square mini prints for a friend.
![]()
***
Once or, occasionally, twice a month I send out a Creative Note to my readers, with my thoughts on the creative process, inspiring links, and course news.
Signing up also gives you access to my Inspiration Library, with free resources like my ebook "The heart of Instagram: finding your peeps and building community", the creativity workbook "Creative Intentions", desktop wallpapers, and more. Interested? Sign up here
If you're on Instagram and would like to follow me there, my account is @c_colli
Tags: origami, styling, tutorial
How to Make an Origami Envelope Out of Rectangular Paper
Source: https://www.cristinacolli.com/how-to-make-an-origami-envelope/
Belum ada Komentar untuk "How to Make an Origami Envelope Out of Rectangular Paper"
Posting Komentar